Contents
- 1 Why Make Garlic Dill Pickled Green Beans?
- 2 Ingredients You’ll Need
- 3 Equipment
- 4 Step-By-Step Garlic Dill Pickles Recipe
- 5 Tips for Perfect Garlic Dill Pickles
- 6 How to Store and Enjoy
- 7 Frequently Asked Questions (FAQs)
- 8 Variations to Try
- 9 Nutritional Information (Per Serving Approximate)
- 10 Conclusion
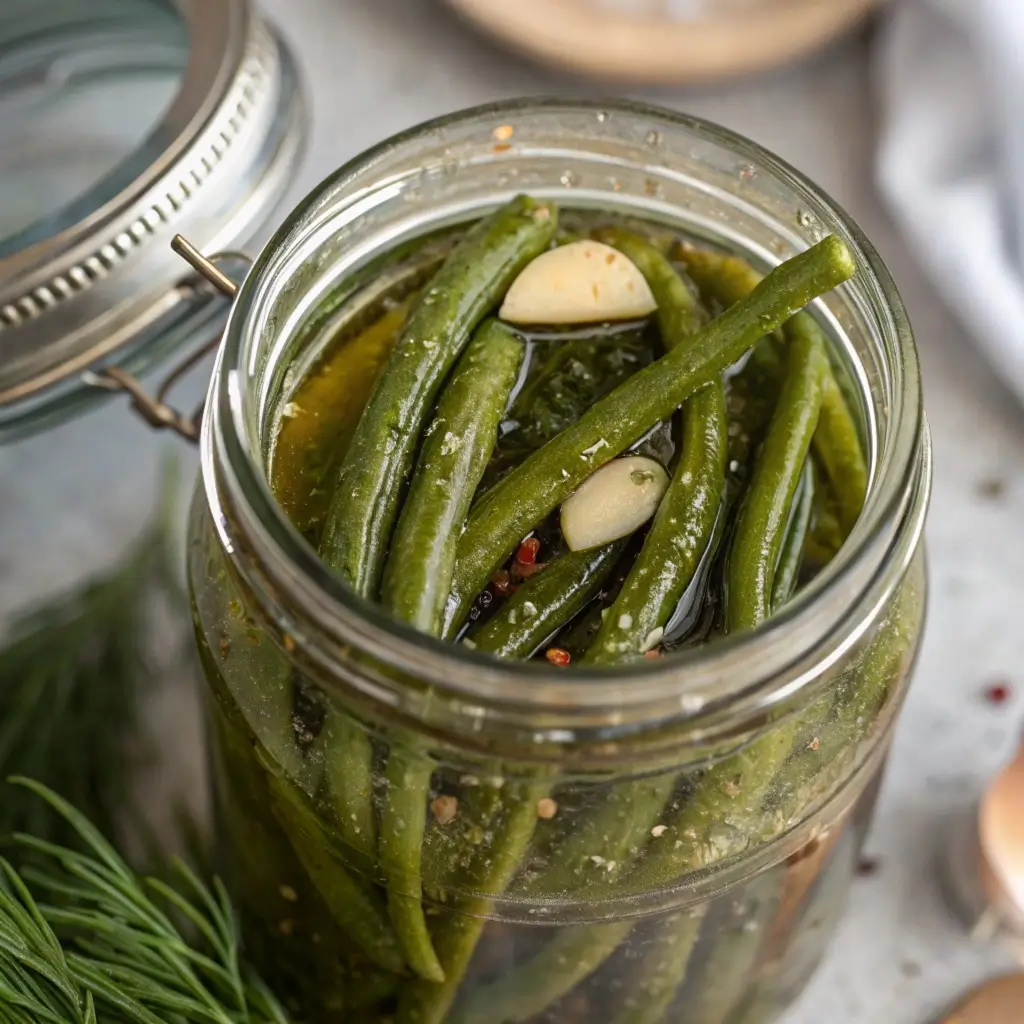
Garlic dill pickles are a beloved staple for anyone who treasures the tangy crunch of homemade pickled vegetables. This recipe brings green beans into the spotlight—transforming them into savory, garlicky delights that burst with flavor.
Whether you’re an experienced canner or a beginner eager to dive into preserving, these garlic dill pickles are a fantastic project. They store beautifully, taste incredible, and are completely free of pork, bacon, wine, or alcohol—keeping your pantry wholesome and accessible to all diets.
Why Make Garlic Dill Pickled Green Beans?
The Perfect Crunch
Unlike soft or mushy pickles, these green beans remain satisfyingly crisp, thanks to careful preparation and a tested brining method.
Full-Flavored & Aromatic
Generous garlic cloves and fresh dill create a bold, fragrant brine that’s irresistible.
Pantry-Ready Preservation
Canning these pickles means you can enjoy summer’s bounty year-round—no fridge space needed!
Versatile Snack or Ingredient
Perfect on charcuterie boards, chopped into salads, or straight from the jar as a satisfying snack.
Ingredients You’ll Need
| Ingredient | Quantity | Notes |
|---|---|---|
| Fresh green beans | 2 lbs | Trimmed and washed |
| Fresh dill | 4–6 sprigs | Or dill heads |
| Garlic cloves | 6–8, peeled and smashed | Adds pungent flavor |
| White vinegar (5% acidity) | 4 cups | For proper acidity |
| Water | 4 cups | Filtered, chlorine-free |
| Pickling salt | 3 tbsp | Non-iodized preferred |
| Black peppercorns | 1 tbsp | Optional |
| Mustard seeds | 1 tsp | Optional, adds subtle spice |
Equipment
-
Quart-sized canning jars with lids and rings
-
Large pot for boiling water bath
-
Small saucepan for brine
-
Tongs and jar lifter
-
Clean kitchen towels
-
Measuring spoons and cups
Step-By-Step Garlic Dill Pickles Recipe
Step 1: Prepare Your Green Beans
Wash and trim the green beans, removing the stem ends. Keep them whole or cut to fit your jars, depending on your preference.
Step 2: Sterilize Jars and Lids
Boil jars and lids in hot water for 10 minutes or run them through a dishwasher cycle on high heat to sterilize.
Step 3: Make the Brine
Combine vinegar, water, and pickling salt in a saucepan. Bring to a boil, stirring until the salt dissolves fully.
Step 4: Pack Jars
In each sterilized jar, place 1–2 sprigs of fresh dill, 1–2 smashed garlic cloves, and a pinch of black peppercorns and mustard seeds if using. Pack green beans vertically until the jar is full but not too tight.
Step 5: Add Hot Brine
Pour the hot brine over the beans in the jars, leaving about ½ inch headspace at the top.
Step 6: Seal and Process
Wipe rims clean with a damp cloth, place lids on jars, and screw on the rings finger-tight. Process jars in a boiling water bath for 10 minutes to seal.
Step 7: Cool and Store
Remove jars with tongs and place on a clean towel. Let them cool undisturbed for 12–24 hours. Check seals—lids should not flex up and down when pressed.
Store sealed jars in a cool, dark place for at least 2 weeks before opening to allow flavors to develop fully.
Tips for Perfect Garlic Dill Pickles
-
Use fresh, firm beans: Look for bright, crisp green beans with no blemishes.
-
Keep beans submerged: When fermenting (if you choose that method), ensure beans stay under the brine to prevent mold.
-
Adjust garlic amount: Garlic can be dialed up or down based on preference.
-
Use non-iodized salt: Iodine can cloud brine and affect flavor.
-
Try different vinegars: White vinegar is standard, but you can experiment with apple cider vinegar for a milder tang.
How to Store and Enjoy
Once opened, keep jars refrigerated and consume within 1–2 months for best flavor and texture. These pickles are fantastic in sandwiches, salads, as a snack, or alongside grilled dishes.
Frequently Asked Questions (FAQs)
Q1: Can I use frozen green beans for pickling?
A: Fresh green beans are best for crispness. Frozen beans tend to become mushy and are not recommended for canning pickles.
Q2: Can I omit the mustard seeds and peppercorns?
A: Yes! These spices add subtle complexity but can be left out if you prefer a simpler flavor.
Q3: How long can I store unopened jars?
A: Properly canned jars can be stored up to 1 year in a cool, dark pantry.
Q4: Can I make this recipe without canning?
A: Yes, you can make quick refrigerator pickles with this recipe by refrigerating the jars and consuming within 2 weeks.
Q5: Why is my brine cloudy?
A: Cloudiness can be normal due to spices and garlic. However, if accompanied by foul odor or mold, discard immediately.
Variations to Try
-
Spicy Garlic Dill: Add 1 tsp red pepper flakes or sliced jalapeños.
-
Herbed Dill Pickles: Add fresh thyme or rosemary sprigs.
-
Lemon Dill Pickles: Add thin lemon slices for bright citrus notes.
Nutritional Information (Per Serving Approximate)
-
Calories: 10
-
Carbohydrates: 2g
-
Protein: 1g
-
Fat: 0g
-
Sodium: High due to brining (consider if on a low-sodium diet)
Conclusion
Making garlic dill pickles at home is a rewarding way to preserve the freshness of your green beans with bold, zesty flavor. This classic recipe offers crunchy texture, vibrant aroma, and tangy goodness without any complicated ingredients or equipment.
Perfect for gift-giving, pantry stocking, or everyday snacking, these homemade pickles bring the taste of summer into every season. Embrace the canning season and enjoy every crunchy bite!
")


