Contents
- 1 The Basics of a Good Red Velvet Cake
- 2 Edible “Blood” Drip Recipe
- 3 Recipe A: Classic Bloody Red Velvet Cake
- 4 Recipe B: Devil’s Red Velvet with Spiced Filling
- 5 Recipe C: Black‑Red Swirl Haunted Velvet Cake
- 6 Decoration Ideas to Amplify Spookiness
- 7 Dietary Adaptations & Substitutes
- 8 Make‑Ahead, Storage & Transport Tips
- 9 Troubleshooting & Common Issues
- 10 Frequently Asked Questions
- 11 Final Thoughts
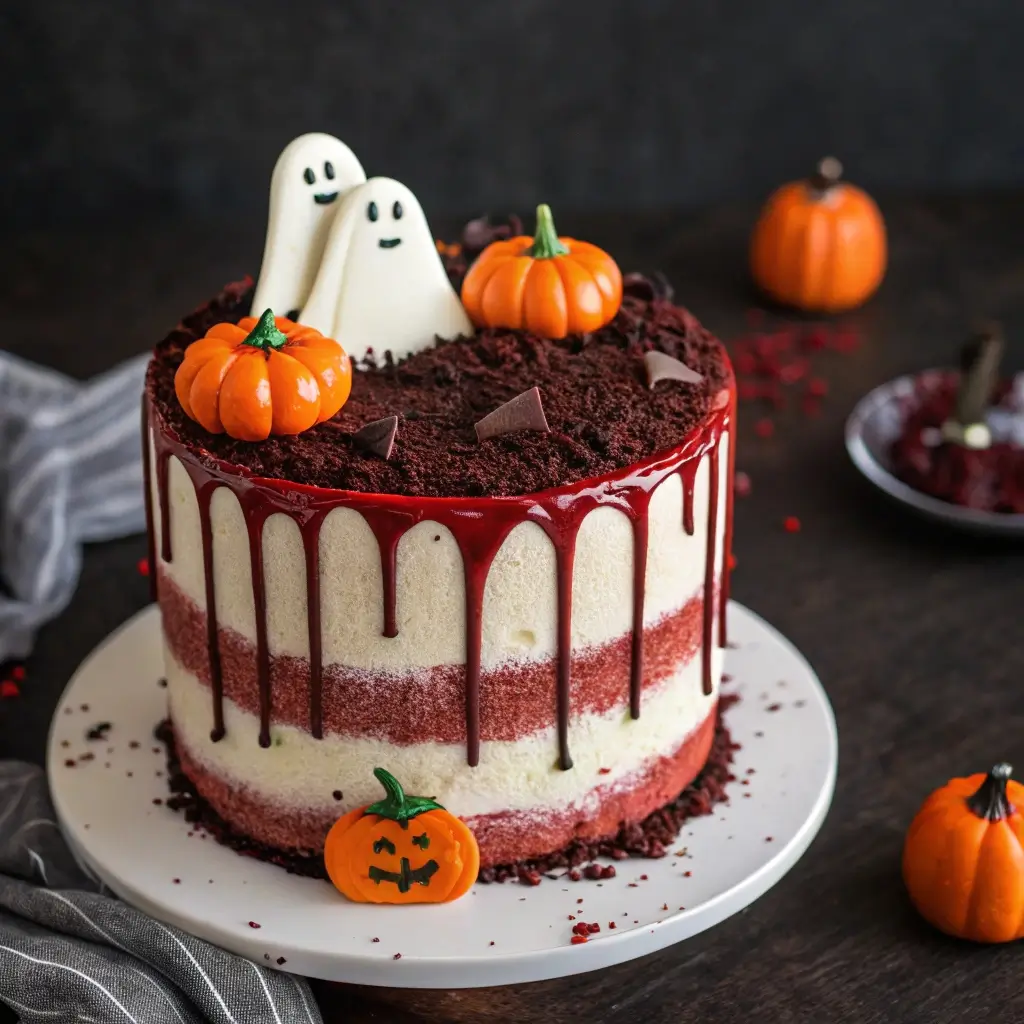
Few desserts say “Halloween drama” like a bloody red velvet cake. The deep red crumb paired with stark white cream cheese frosting and vibrant red “blood” drips make for a striking and delicious centerpiece. Whether you want individual mini cakes or a towering tiered version, these recipes bring gothic flair to your dessert table—without using alcohol or nonfamily‑friendly ingredients.
In this article, you’ll find:
-
Guidance on baking red velvet cake reliably
-
How to make edible “blood” drips
-
Three versions: classic red velvet, devil’s red velvet, and spooky black‑red swirl
-
Decoration ideas for creepiness: spiders, gravestones, dripping sides
-
Dietary alternatives (dairy-free, gluten-free)
-
Make‑ahead, storage, transport tips
-
Troubleshooting and decorator issues
-
Frequently asked questions
Let’s dig into a crimson‑clad delight!
The Basics of a Good Red Velvet Cake
Before you attempt spooky decor, you want a base cake that’s moist, vibrant, and sturdy enough to decorate.
Key Ingredients & Tips
-
Use buttermilk (or vinegar + milk alternative) for acidity and moisture.
-
Use a mix of cocoa powder and red food coloring to get the classic red hue without overpowering.
-
Don’t overmix—fold carefully to maintain light crumb.
-
Use cake pans with even heat distribution, and line bottoms with parchment for easier release.
-
Let cakes cool completely before frosting or filling, ideally on a rack, to prevent slipping.
For color intensity, use gel food coloring—not liquid—so you don’t thin the batter.
Edible “Blood” Drip Recipe
To make the edible red “blood” drips that come down the sides of your cake, here’s a reliable mixture.
Ingredients
-
½ cup corn syrup
-
3–4 tbsp red food coloring (gel)
-
1 tbsp powdered sugar (to thicken)
-
Optional: a drop of cocoa powder for “dark” blood tones
Instructions
-
In a small bowl, combine corn syrup and powdered sugar.
-
Stir in red gel coloring until fully blended. Adjust intensity by adding more or less gel.
-
If you want a slightly darker, deeper “blood” red, add a tiny pinch of cocoa powder and mix.
-
The consistency should be thick but pourable—if too thin, add a bit more powdered sugar; if too thick, a drop of water or corn syrup can thin.
-
Use immediately or cover tightly—if left open, it may dry.
When applied at the edge of a cake, the “blood” will drip down in dramatic streams.
Recipe A: Classic Bloody Red Velvet Cake
This is the go-to haunted red velvet cake with white frosting and red-drip effects.
Ingredients (makes two 8‑inch cake layers)
-
2 ½ cups all-purpose flour
-
1 tsp baking soda
-
1 tsp cocoa powder
-
½ tsp salt
-
1 cup unsalted butter or vegan butter, softened
-
1 ½ cups granulated sugar
-
2 large eggs
-
1 tsp vanilla extract
-
1 cup buttermilk (or plant‑based milk + 1 tbsp vinegar)
-
2 tbsp red food coloring (gel)
-
1 tsp white vinegar
Cream Cheese Frosting
-
8 oz cream cheese (or dairy‐free alternative)
-
½ cup unsalted butter or vegan butter, softened
-
2 to 3 cups powdered sugar
-
1 tsp vanilla extract
Assembly & Decoration
-
Preheat oven to 350°F (175°C). Grease and line two 8‑inch cake pans.
-
In a bowl, whisk flour, baking soda, cocoa powder, and salt.
-
In mixer, beat butter and sugar until fluffy. Add eggs one at a time, then vanilla.
-
Mix in red food coloring, then alternate adding flour mix and buttermilk (begin and end with flour).
-
Stir in vinegar at the end.
-
Divide batter into pans and bake 25–30 minutes or until a toothpick comes out mostly clean.
-
Let cakes cool in pans 10 minutes, then turn out onto racks to cool fully.
-
Meanwhile, prepare the cream cheese frosting: beat cream cheese and butter until smooth, then gradually add powdered sugar and vanilla until spreadable.
-
Level cake tops if needed.
-
Place first layer on cake board, spread frosting evenly, top with second layer, frost top and sides.
-
Chill briefly to firm the frosting.
-
Apply your edible “blood” drip to edges, letting it run down the sides.
-
Decorate center/top with spooky elements—candies, fudge gravestones, spider picks.
-
Serve at room temperature.
This classic will deliver dramatic effect and delicious flavor.
Recipe B: Devil’s Red Velvet with Spiced Filling
This version includes a spiced surprise in the middle and darker accents for creepiness.
Modifications / Additions
-
Add ½ tsp cinnamon and ¼ tsp nutmeg to the batter.
-
For filling, use a thin layer of spiced apple or cherry compote between layers.
-
Use darker “blood” by mixing red drizzle with a drop of dark food dye or cocoa.
-
Frost in slightly tinted pale pink or blush as an eerie contrast.
The warm spice inside gives depth, and darker accents intensify the Halloween mood.
Recipe C: Black‑Red Swirl Haunted Velvet Cake
For a bold, gothic look, swirl black and red batter for an internal surprise when cut.
How to Do It
-
Prepare the red velvet batter as in Recipe A, but divide into two bowls.
-
Tint one bowl black (use black cocoa + black gel food coloring) carefully to avoid thinning.
-
In cake pans, alternate spoonfuls of red and black batter and use a knife to swirl lightly (don’t overmix).
-
Bake as usual.
-
Frost white or pale frosting.
-
Drip red “blood” and accent with dark decorative bits—black fondant spiders or cracked lines.
When sliced, each piece reveals a red & black swirl—visually haunting.
Decoration Ideas to Amplify Spookiness
-
Fudge gravestones: Cut small rectangles of chocolate fudge or firm fondant, pipe “RIP” and insert upright in top.
-
Spider webs: Pipe thin webs with white royal icing or white chocolate on top surface.
-
Candy wrappers / plastic skeleton hands: Place skeletal hands or small bones around edges.
-
Red veining: After frosting, use a toothpick dipped in red “blood” and drag tiny lines inward to mimic oozing veins.
-
Dusting: Light dust of cocoa powder or red dust around edges for “splatter.”
-
Color contrast: Use black candy, licorice, or dark sprinkles to punctuate face of cake.
-
Glow effect: If you have safe edible glow powder or UV light, use it to make red drips pop under light.
Dietary Adaptations & Substitutes
-
Dairy-free / vegan: Use vegan butter, plant‑based cream cheese substitute, and nondairy milk with vinegar in cake.
-
Gluten-free: Use a gluten-free flour blend that matches texture (with xanthan gum).
-
Uncolored version: If you avoid artificial food dyes, use natural beet powder or blended raspberries to tint the cake (though color may shift).
-
Lower sugar: Reduce sugar modestly in both cake and frosting; taste carefully.
-
Nut-free: Avoid nuts entirely in decorations or garnishes.
Make adjustments carefully to maintain moisture, structure, and flavor.
Make‑Ahead, Storage & Transport Tips
-
You can bake layers ahead and wrap in plastic, freeze for a day or two. Defrost gently before decorating.
-
Frosting can be made ahead and rewhipped lightly before use.
-
Apply decorative toppers, gravestones, and drizzle just before serving for freshness.
-
Store decorated cake covered loosely but airtight in a cool area or refrigerator (if temperature allows) for up to 2–3 days.
-
For transport: lock cake in a sturdy box, chill beforehand, avoid tilting; carry steady level.
Troubleshooting & Common Issues
-
Cake crumbles when slicing: Make sure cake is fully cooled and used a sharp, serrated knife. Chill before cutting if needed.
-
Drip too thick: Thin with a drop of corn syrup or water.
-
Drip too runny: Add a bit more powdered sugar to stiffen.
-
Fondant toppers sliding: Press lightly into slightly set frosting, or chill the cake to firm the frosting first.
-
Uneven rise or doming: Trim domes or level tops; avoid overfilling pans.
-
Color too pale: Boost gel coloring carefully; too much liquid color thins batter.
Frequently Asked Questions
Does red velvet cake really taste like chocolate?
Yes, it has a mild chocolate flavor from cocoa, balanced with tang from buttermilk and vinegar.
Is red food coloring necessary?
For the dramatic “bloody” effect, yes. But you can use natural colorants (beet powder, hibiscus) with less intensity.
Can kids help decorate?
Absolutely! Kids can help with “blood” dripping, placing candy gravestones, or sprinkling dust.
How many slices does a two‑layer 8‑inch cake serve?
Typically 10 to 12 slices, depending on thickness.
Can I make mini cupcakes with this idea?
Yes—use recipe scaled down to mini cupcake size. The drip effect still works; just proportion the “blood” drip carefully.
Final Thoughts
Bloody red velvet Halloween cakes perfectly blend spectacle and taste. The striking contrast of deep red crumb, white frosting, and vivid red drizzle captures the eye—and the imagination. Whether you make the classic version, a devil’s spice variant, or swirl in black tones, each slice becomes a dramatic reveal.
Focus on structure, cool your layers, get your drip consistency right, and decorate with bold accents like gravestones, faux veins, or spider webs. With a bit of planning and creativity, your cake will be the haunting highlight of the night.
")


