Contents
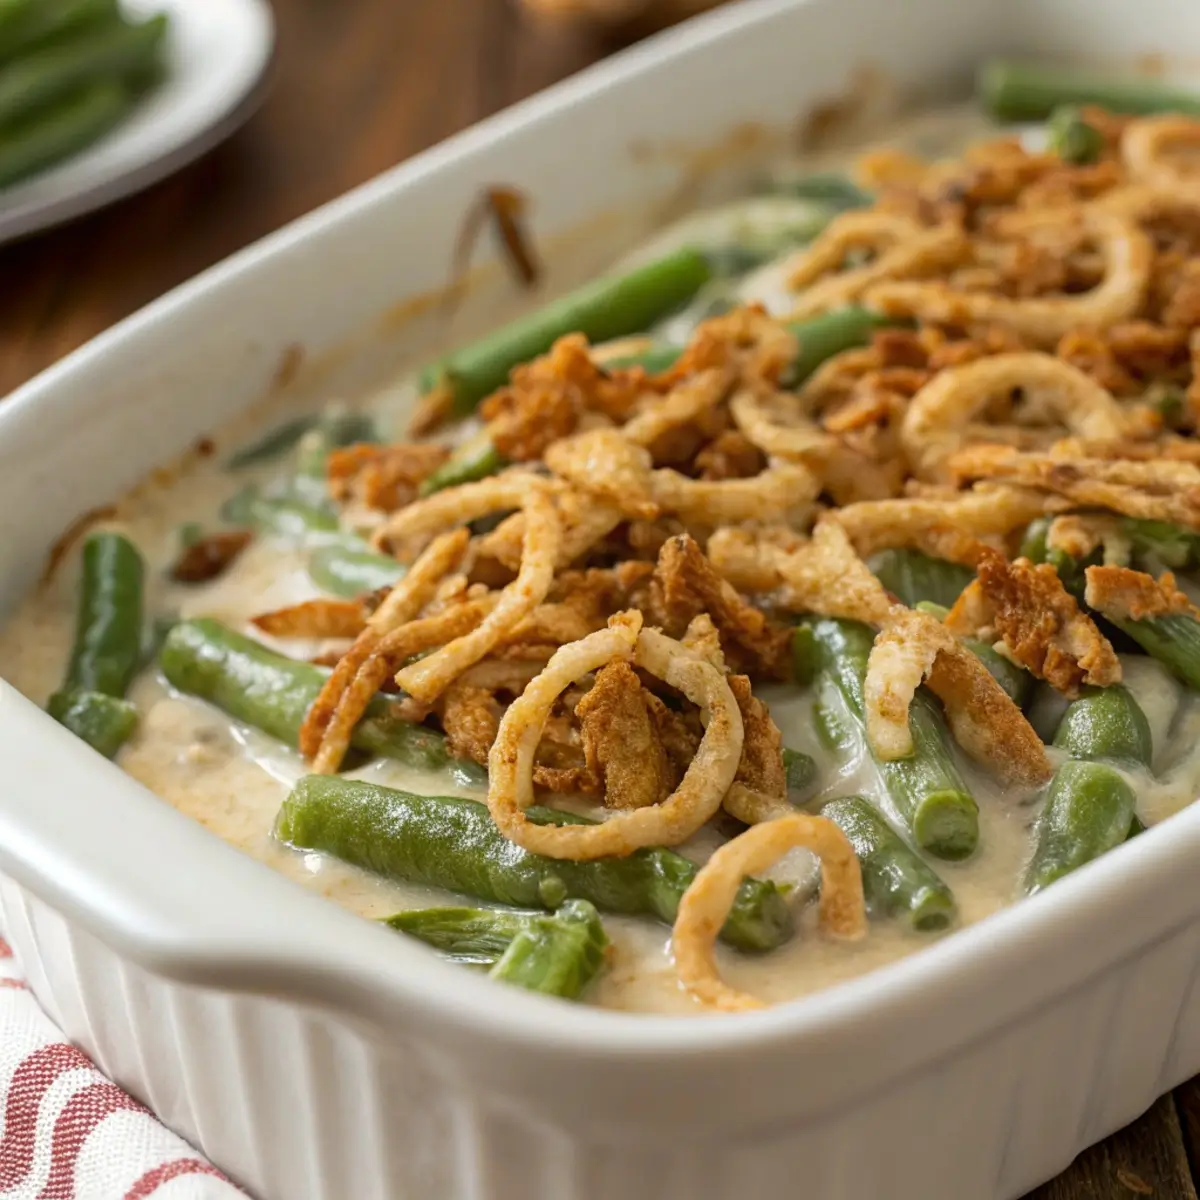
There’s something deeply comforting about a beautifully baked casserole that blends crisp‑tender vegetables, a rich, creamy sauce and a crunchy topping. Enter the classic side dish: green bean casserole. While the original version became a holiday staple thanks to canned components, this remake from scratch elevates the dish—substituting fresh green beans, real mushrooms, and a hand‑crafted sauce for the convenience shortcuts. What you end up with is a luscious side that fits perfectly alongside your festive turkey, roasted root veggies or holiday ham (or whatever main you’re serving).
In this article you’ll find everything: from prepping fresh green beans, to building the cream sauce, to adding layers of flavor, and finishing with a golden crispy topping. Whether you’re cooking for Thanksgiving, Christmas dinner or simply want to elevate your weeknight side dish, this is the dish to rely on.
Why Make It from Scratch?
Although the traditional version of the dish (popularised in the 1950s) served a purpose, it also came with limitations. Let’s look at what’s gained when you make the upgrade.
A bit of history
The original version of what we now call “green bean casserole” was invented around 1955 by Dorcas Reilly while working at the kitchen of Campbell’s. American Table+2Smithsonian Magazine+2 The recipe used canned green beans, condensed cream of mushroom soup and fried onions—very much a convenience dish in the post‑war United States. NPR Illinois+1 Its simplicity is part of the nostalgia.
The benefits of going fresh
-
Better texture. Fresh (or lightly blanched) green beans remain crisp‑tender, rather than the mushy texture that often comes from over‑cooked canned beans.
-
Deeper flavor from real mushrooms. Using whole fresh mushrooms gives you more umami and better texture than the condensed soup base.
-
Control of ingredients. You can adjust how rich, salty or seasoned the sauce becomes, and you’re not relying on pre-packaged additives.
-
Customizable for dietary needs. Making from scratch makes it easier to adapt (for example, for gluten‑free, vegetarian, lower‑sodium) by swapping in specific ingredients.
-
Modern appeal. While the original dish is beloved, many home cooks now expect a more elevated side dish—one that looks and tastes fresh, rather than “canned.”
Why this dish still belongs on your holiday table
Despite its humble origins, the dish has become a trusted favourite. Its strengths: it can be made ahead, it reheats well, it pairs seamlessly with heavy mains and it adds both green veg and comfort to the plate. Because you’re starting fresh, this version honours tradition but brings upgraded flavour and texture.
Ingredients & Key Components
Below are the core components and what to look for.
Green beans
-
Use fresh green beans, ideally about 1½ to 2 pounds (around 700‑900 g). Snap off the ends and blanch them until just crisp‑tender before transferring to an ice bath to stop the cooking.
-
Alternatively, if fresh aren’t available, use good‑quality frozen green beans (defrosted) but avoid using canned—they tend to be too soft.
-
Season lightly after blanching with salt to highlight their natural flavour.
Mushrooms & aromatics
-
Use about 8–12 oz (250‑350 g) of mushrooms—cremini or white button work well. Slice them about ¼‑inch thick.
-
Aromatics: 1 small onion (yellow or sweet) finely diced, 2‑3 garlic cloves minced. These build flavour in the sauce and ensure you’re not relying purely on a canned soup base.
The cream sauce from scratch
-
Butter: about 2 tbsp (30 g) unsalted.
-
Flour: about 2 tbsp (15 g) to make a roux.
-
Milk: about 1½ cups (360 ml) whole milk (or half‑and‑half if you prefer richer).
-
Vegetable or chicken stock: about ½ cup (120 ml) to add depth.
-
Seasonings: salt, pepper, a few grinds of nutmeg (optional), and a splash of soy sauce or Worcestershire sauce for umami (a little goes a long way).
-
Shredded Parmesan or Gruyère (optional) for a nutty finish—about ¼ cup (20 g).
This sauce replaces the canned condensed soup and gives you full control of richness and seasoning.
Toppings
-
Crispy onions: You can buy good quality fried onions, or make your own by thinly slicing 1 large onion, tossing in a little flour and salt, then pan‑frying until golden. Making your own gives maximum crispness.
-
Optional garnish: chopped fresh parsley or chives for a fresh green finish.
Additional flavour enhancements
-
A splash of lemon juice at the end helps brighten the dish.
-
If you like mushrooms, you can also add a few dried porcini (rehydrated) to deepen the flavour.
-
For extra crispness in the topping, you can mix breads crumbs or panko with a little melted butter and onion crisps.
Step‑by‑Step Instructions
1. Prepare the green beans
-
Preheat your oven to 190 °C (375 °F).
-
Bring a large pot of salted water to a boil. Add the trimmed fresh green beans and blanch for 3‑4 minutes until bright green and just tender.
-
Immediately transfer the beans to an ice bath to stop cooking and preserve colour. Drain and pat dry.
-
Set aside in a large mixing bowl.
2. Sauté mushrooms and aromatics
-
In a medium‑sized skillet over medium heat, melt the butter. Add diced onion and cook until translucent, about 3–4 minutes.
-
Add minced garlic, cook for another 30 seconds until fragrant.
-
Add the sliced mushrooms. Cook until the mushrooms have released their moisture and are nicely browned—about 6–8 minutes. Season lightly with salt and pepper.
-
If using, add the splash of soy or Worcestershire sauce and stir. Remove from heat.
3. Make the cream sauce
-
In the same skillet (or a separate saucepan), melt an additional 1 tbsp butter if needed, then add the flour and whisk continuously for about 1 minute (this is your roux).
-
Slowly whisk in the milk and stock. Continue whisking until the mixture thickens and comes to a gentle simmer—about 2‑3 minutes.
-
Stir in the browned mushrooms and onions. Add the Parmesan (if using), nutmeg (a pinch), more salt and pepper to taste. Adjust seasoning.
-
Taste and correct: you’re aiming for a creamy, rich sauce that isn’t overly thick (it should coat the beans, not smother them).
4. Assemble the casserole
-
In your prepared bowl of drained green beans, pour in the mushroom cream sauce and gently toss until the beans are evenly coated.
-
Transfer this mixture into a lightly greased 9″ × 13″ (or equivalent) baking dish, smoothing the top.
-
Sprinkle about half of the crispy onion topping evenly over the surface.
5. Bake and finish
-
Place the dish in the preheated oven and bake for 20‑25 minutes until the sauce is bubbling around the edges.
-
Remove the dish from the oven, stir gently, then top with the remaining crispy onions (and breadcrumb or panko mix if using).
-
Return to the oven and bake for an additional 5 minutes or until the top is golden brown and the sauce is fully hot.
-
Let rest for 5 minutes before serving to allow the sauce to set slightly.
6. Serve and garnish
-
Just before serving, sprinkle chopped parsley or chives over the top to brighten the dish.
-
Serve hot alongside your mains—this dish holds well in a warm oven (low heat) if you need to time it with other dishes.
Tips for Success
-
Don’t overcook the beans. Blanch just until crisp‐tender—they’ll continue to cook in the oven. Overcooked beans will turn mushy and lose their snap.
-
Ensure mushrooms brown properly. If your mushrooms steam instead of brown, you’ll miss flavour. Use a hot pan, don’t crowd them, and don’t salt too early (which draws moisture).
-
Consistency of the sauce matters. If the sauce is too thin, the casserole will be watery; if too thick, it can become gluey. Aim to coat the beans evenly.
-
Keep the topping separate. Waiting until the last few minutes to add the onion crisps (and breadcrumbs if using) keeps them crunchy rather than soggy.
-
Season at every stage. From blanching water (light salt) to mushrooms, to the sauce—layering seasoning ensures the final dish isn’t bland.
-
Make ahead potential. You can prepare everything up to the point before topping and final bake, then refrigerate for up to 24 hours. Before baking, bring the dish closer to room temperature and bake slightly longer.
-
Adjust for dietary needs. Use a plant‑based butter and milk substitute to make it vegetarian, or gluten‑free flour for the roux. Use gluten‑free crispy onions for topping.
Why This Works on Your Holiday Table
-
Visual appeal. The bright green beans, creamy sauce and golden topping look inviting and festive.
-
Texture balance. Crisp beans + creamy sauce + crunchy topping = satisfying contrast.
-
Make‑ahead friendly. As mentioned, you can prep ahead and bake just before serving, freeing up oven space.
-
Crowd‑pleaser. It complements rich mains, gives a vegetable component with flair and is familiar yet elevated.
-
Flexibility. You can easily scale up for large groups, adapt the topping, or tinker with flavours (e.g., add herbs, swap mushrooms) while preserving the core comfort.
Frequently Asked Questions (FAQs)
Q1: Can I use frozen or canned green beans instead of fresh?
Yes, you can, but fresh gives the best texture and colour. Frozen are acceptable—make sure they are defrosted and well drained. Canned tend to be softer and less vibrant. Fresh also absorbs the sauce better and retains a crisper bite.
Q2: What mushrooms work best?
Cremini (baby bellas) are a great choice because they’re flavourful and hold texture. White button mushrooms are fine too. Avoid super‑large portobello slices—they may become too soft. Slicing about ¼‑inch thick gives you the right balance.
Q3: Can this be made ahead of time?
Yes! You can assemble up to the point of baking, cover and refrigerate 1 day ahead. On bake day, bring it to room temperature for ~30 minutes, then bake, add topping and finish. This helps especially when you’re juggling multiple dishes.
Q4: How to make the topping extra crunchy?
For extra crunch: mix half of the onion crisps with ¼ cup panko breadcrumbs and a little melted butter, then top the casserole. Add remaining crisps at the very end of baking so they stay crisp.
Q5: Can I lighten the dish (less fat/calories) without ruining it?
Yes—use milk instead of half‑and‑half, reduce butter slightly, and choose a lighter crispy onion topping (or fewer of them). You might lose a bit of richness, but the core flavour will still shine.
Q6: How many people does this recipe serve?
A 9″ × 13″ dish typically serves about 8‑10 side‑dish portions, depending on how big your servings are and what else is on the table.
Q7: What if my sauce gets too thick or too thin?
-
If too thick, stir in a splash of milk or stock until you reach the desired pour/coat consistency.
-
If too thin, continue to simmer on the stovetop for a minute or two to reduce, or whisk in a tiny bit more flour (1 tsp) and cook briefly—just enough to thicken.
Q8: Can I add cheese?
Absolutely. Stir in ¼‑cup grated Parmesan or Gruyère into the sauce before baking for a richer flavour. Top with some shredded cheese if you like a slightly gratinéed surface, but the crunchy topping still needs to shine.
Variations & Customisations
-
Herb‑Infused: Add fresh thyme leaves or chopped rosemary in the sauce for an aromatic twist.
-
Spicy Kick: Stir in a pinch of cayenne or a dash of hot sauce into the sauce for subtle heat.
-
Nut Topping: Replace or combine the onion crisps with toasted slivered almonds or pecans for a nutty crunch.
-
Vegan/Plant‑based: Use plant‑based butter, non‑dairy milk (e.g., oat milk), vegetable stock and vegan crispy onion topping.
-
Low‑Sodium: Use low‑salt stock, skip the soy sauce or choose a low‑sodium version, and make your own onion crisps to control salt.
-
Gluten‑Free: Use gluten‑free flour for the roux and gluten‑free crispy onions for the topping.
-
Fresh Herbs & Lemon Zest: After baking, sprinkle with lemon zest and chopped parsley for brightness.
-
Mushroom Variations: Swap in wild mushrooms (like shiitake or oyster) for more depth of flavour—be sure to clean them well and slice appropriately.
Final Thoughts
Upgrading this holiday staple by making it from scratch means you get a dish that not only honours the comfort of tradition but also delivers in flavour, texture and presentation. The crisp‑tender green beans, rich homemade sauce and golden crunchy topping make this version one you’ll be proud to serve—whether it’s for a big holiday dinner or just a comforting weeknight alongside roasted mains.
Let this dish be the side that gets devoured first, and let your guests taste the difference. Take your time with each component (especially the sauce and topping) and you’ll end up with a standout classic done the right way.
Enjoy your cooking, savour the moment, and may your holiday table be full of warm memories and delicious food.
")


