Gooey Brown Sugar CinnamonRolls From Scratch: A Weekend Baking Delight
There’s something undeniably magical about the aroma of cinnamon rolls baking in your kitchen. That sweet, spicy scent promises warmth and comfort, a perfect reward for any weekend or special morning. While store-bought versions are convenient, nothing compares to the sheer joy and satisfaction of pulling gooey brown sugar cinnamon rolls fresh from your own oven. These aren’t just rolls; they’re a labor of love, a testament to the simple pleasures of baking. This recipe takes you step-by-step through creating incredibly soft, fluffy dough and a decadent, sticky brown sugar cinnamon filling, resulting in rolls that are truly from scratch and utterly irresistible.
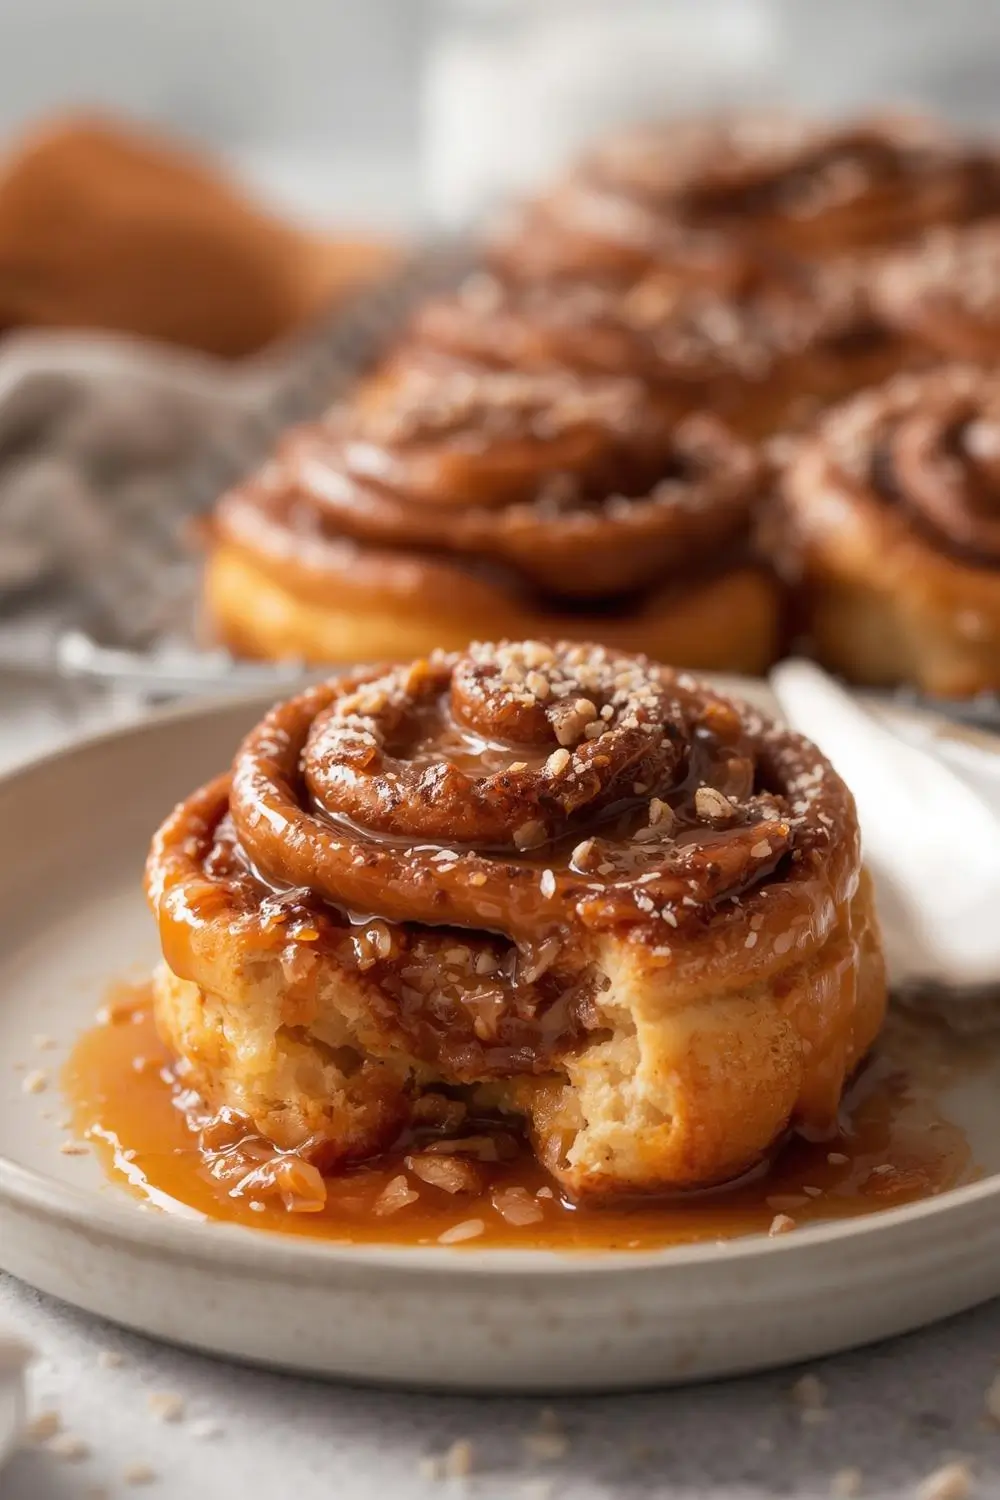
Why Brown Sugar? The deep, caramel-like sweetness of brown sugar, combined with the warm spice of cinnamon, creates a filling that melts into the dough, creating pockets of pure, gooey bliss. It’s the secret ingredient that elevates these rolls far beyond the ordinary.
The Perfect Weekend Project: Baking cinnamon rolls from scratch might seem daunting, but with clear instructions and a little patience, it’s incredibly achievable. This recipe is designed with the beginner in mind, breaking down each step into manageable parts. You’ll learn the art of kneading, the importance of proofing (letting the dough rise), and the tricks to achieving that perfect golden-brown, gooey center. The result? Soft, pillowy rolls with a molten core of brown sugar and cinnamon that will have everyone asking for seconds.
Ingredients Explained: Building Flavor and Texture
The magic lies in the quality of your ingredients and understanding their roles:
- Warm Milk (1 cup): This activates the yeast. Use whole milk for the richest flavor and tenderness, though 2% or even plant-based milks work well. The liquid should be comfortably warm (about 110°F / 43°C) – not hot, or it will kill the yeast.
- Active Dry Yeast (2 1/4 tsp / 1 packet): The leavening agent that makes the dough rise. Ensure it’s fresh and active. If unsure, proof it first by dissolving it in the warm milk with a pinch of sugar.
- Granulated Sugar (1/4 cup + 1 tbsp): Used in two parts. The first portion feeds the yeast. The second portion sweetens the dough and the filling.
- Salt (1 1/2 tsp): Essential for flavor balance and controlling yeast activity. Don’t skip it!
- Large Eggs (2, room temperature): Adds richness, structure, and moisture to the dough. Room temperature eggs incorporate better.
- Unsalted Butter (1/2 cup / 1 stick, melted): Provides tenderness, flavor, and richness. Let it cool slightly before adding to the warm milk mixture to avoid cooking the eggs.
- All-Purpose Flour (4 1/2 cups, plus extra for dusting): The foundation. Bread flour can be used for an even chewier texture, but all-purpose is perfectly fine. Measure accurately by spooning flour into the measuring cup and leveling it off.
- Brown Sugar (1 cup, packed): The star of the filling. Light or dark brown sugar both work; dark adds a deeper molasses note. Pack it firmly into the measuring cup.
- Ground Cinnamon (2 tbsp): The classic spice that defines cinnamon rolls. Use a high-quality brand for the best flavor.
- Softened Butter (1/4 cup): For brushing the rolled dough before baking, adding extra richness and helping the filling adhere.
- Cream Cheese (4 oz, softened): The key ingredient for the ultimate frosting. Full-fat cream cheese gives the best texture and flavor.
- Powdered Sugar (2 cups): Sweetens the frosting and gives it a smooth texture.
- Vanilla Extract (1 tsp): Enhances all the flavors.
- Salt (1/4 tsp): Balances the sweetness in the frosting.
Step-by-Step Instructions: From Dough to Deliciousness
1. Activating the Yeast (The Foundation):
* In a large mixing bowl (or the bowl of a stand mixer), combine the warm milk, 1 tbsp of granulated sugar, and the active dry yeast. Stir gently and let it sit for 5-10 minutes. You should see it become foamy and bubbly – this confirms the yeast is active and ready to work its magic. If it doesn’t foam, your yeast might be expired, and you’ll need to start over.
2. Building the Dough Base:
* Once the yeast mixture is foamy, add the remaining 1/4 cup granulated sugar, salt, room-temperature eggs, and the melted (but cooled) butter. Whisk these together until well combined.
* Gradually add 4 1/2 cups of flour, about 1 cup at a time, mixing well after each addition. The dough will start to come together but will be quite sticky. Don’t be tempted to add all the flour at once.
3. Kneading for Perfection:
* Turn the dough out onto a lightly floured surface. Begin kneading. This is crucial for developing gluten, which gives the rolls their soft yet slightly chewy texture. Knead for about 8-10 minutes. The dough should become smooth, elastic, and slightly tacky but not sticky. If it’s too sticky, add a tablespoon of flour at a time. If it’s too dry, add a teaspoon of milk. The dough is ready when you can gently poke it and the indentation springs back slowly.
Tip:* If using a stand mixer with a dough hook, mix on medium speed for 5-7 minutes until the dough pulls away from the sides of the bowl and forms a smooth ball.
4. The First Rise: Patience is Key:
* Lightly grease a large bowl with a little oil or butter. Place the kneaded dough ball into the bowl, turning it once to coat it lightly with oil. Cover the bowl tightly with plastic wrap or a damp kitchen towel.
* Let the dough rise in a warm, draft-free place until it has doubled in size. This usually takes 1 to 1.5 hours. You can test if it’s risen enough by gently pressing two fingers into the dough; if the indentation remains, it’s ready. Avoid rushing this step; proper rising is vital for light, airy rolls.
5. Preparing the Filling: The Gooey Core:
* While the dough rises, make the filling. In a small bowl, combine the packed brown sugar, ground cinnamon, and a pinch of salt. Mix well. This creates a fragrant, sweet-spicy paste. Set aside.
6. Rolling and Filling: Creating the Spiral:
* Once the dough has doubled, punch it down gently to release the air. Turn it out onto a lightly floured surface and roll it into a large rectangle, roughly 12 inches by 18 inches. Aim for an even thickness.
* Spread the softened butter evenly over the entire surface of the dough, leaving a small border around the edges.
* Sprinkle the brown sugar-cinnamon mixture evenly over the buttered dough, pressing it gently so it adheres.
* Starting from the long edge closest to you, carefully roll the dough up tightly into a log. Pinch the seam closed firmly to seal. Trim the ends if they look very uneven.
7. Cutting and Shaping: The Final Form:
* Using a sharp knife or dental floss (for cleaner cuts), cut the log into 12 equal pieces. A piece of unflavored dental floss works wonders for this – slide it under the log, cross the ends over the top, and pull tight to slice cleanly.
* Place the rolls cut-side up in a lightly greased 9×13 inch baking pan, leaving a little space between them. They will expand significantly during baking.
* Cover the pan loosely with plastic wrap or a damp towel and let the rolls rise again for another 30-45 minutes, or until they look puffy and nearly doubled in size.
8. Baking: Golden and Gooey Perfection:
* Preheat your oven to 350°F (175°C) during the last 10 minutes of the second rise.
* Bake the rolls for 25-35 minutes, or until they are a deep golden brown on top and sound hollow when tapped on the bottom. The gooey filling should be bubbling around the edges. Keep an eye on them towards the end to prevent over-browning.
9. Making the Cream Cheese Frosting: The Finishing Touch:
* While the rolls cool slightly (about 10-15 minutes), make the frosting. In a medium bowl, beat the softened cream cheese and butter together until smooth and creamy.
* Gradually add the powdered sugar, beating well after each addition until fully incorporated and smooth.
* Beat in the vanilla extract and a pinch of salt. The frosting should be thick but spreadable. If it’s too thick, add a tiny splash of milk; if too thin, add a bit more powdered sugar.
10. Frosting and Serving: The Moment of Truth:
* Spread or drizzle the cream cheese frosting generously over the warm rolls. The heat from the rolls will melt the frosting slightly, creating an even more decadent, gooey experience. Serve immediately and enjoy the incredible aroma and flavor!
Variations and Substitutions: Making it Your Own
- Add-Ins: Fold in 1/2 cup of chopped pecans, walnuts, or raisins into the filling for extra texture and flavor.
- Different Sugars: Use light brown sugar for a milder molasses flavor or dark brown sugar for a richer taste. Granulated sugar can be used in the dough but will make the filling less gooey.
- Milk Alternatives: Use whole milk, 2% milk, or plant-based milks (like oat or almond milk) for the dough. Avoid unsweetened plant milks for the best flavor.
- Flavored Fillings: Add 1 tsp of pure vanilla extract or 1/2 tsp of almond extract to the filling for a different twist. A pinch of nutmeg or cardamom can also complement the cinnamon beautifully.
- Frosting Variations: Substitute half the cream cheese with mascarpone for a silkier frosting. Add a splash of lemon juice for brightness or a teaspoon of orange zest for a citrus note. For a chocolate fix, mix in 1/4 cup of cocoa powder with the powdered sugar.
- Dough Adjustments: For a softer crust, brush the tops with melted butter after baking. For a chewier texture, use bread flour instead of all-purpose. For a richer dough, replace 1/2 cup of the milk with heavy cream.
Storage and Reheating: Keeping the Goodness Alive
- Room Temperature: Store leftover rolls in an airtight container at room temperature for up to 2 days. They are best enjoyed fresh but still delicious the next day.
- Refrigeration: For longer storage (up to 5 days), refrigerate the rolls in an airtight container. Let them come to room temperature before reheating.
- Freezing: You can freeze the baked rolls (without frosting) for up to 3 months. Wrap them tightly in plastic wrap and then foil. To reheat, thaw overnight in the fridge and then warm in a 300°F (150°C) oven for 10-15 minutes, or microwave individually for 15-20 seconds. Frost after reheating.
- Reheating: For the best texture, reheat individual rolls in the microwave for 15-20 seconds or in a 300°F (150°C) oven for 10-15 minutes. The frosting will soften beautifully.
Common Mistakes to Avoid: Ensuring Success
- Killing the Yeast: Using water that’s too hot (above 110°F / 43°C) or adding salt directly to the yeast mixture without dissolving it first can kill the yeast. Always use warm (not hot) liquid and dissolve yeast and sugar first.
- Over-Kneading: While kneading is important, over-kneading can make the dough tough. Knead until smooth and elastic, about 8-10 minutes by hand or 5-7 minutes in a mixer. The dough should feel soft and springy.
- Rushing the Rise: Proper rising time is non-negotiable for light, airy rolls. Don’t skip or shorten this step. Find a warm, draft-free spot.
- Over-Baking: Baking until golden brown is key, but overbaking leads to dry rolls. Bake until golden and the center is cooked through (a toothpick inserted near the center should come out clean, though it might have some gooey filling on it).
- Frosting Too Early: Frosting the rolls while they are piping hot will cause the frosting to melt and slide off. Always wait until they are warm but not scalding hot (about 10-15 minutes).
- Using Cold Ingredients: Room temperature eggs and melted butter mix in much more easily and create a smoother dough than cold ingredients.
Frequently Asked Questions: Your Cinnamon Roll Queries Answered
- Q: Can I make these rolls ahead of time?
A: Absolutely! You can prepare the dough through the first rise, shape the rolls, and refrigerate them overnight (covered). Let them come to room temperature and complete their second rise before baking in the morning. You can also freeze the shaped rolls before the second rise and bake from frozen (add a few extra minutes to the baking time).
- Q: Why are my rolls dense and not fluffy?
A: This is often due to under-proofing (not rising long enough) or over-kneading. Ensure the dough rises until doubled, and knead just until smooth and elastic. Using fresh yeast is also crucial.
- Q: How do I know when the dough has risen enough?
A: The dough is ready when it has roughly doubled in size and when you gently press two fingers into it, the indentation remains (doesn’t spring back quickly).
- Q: Can I use a bread machine?
A: Yes! You can use the dough cycle on your bread machine to mix and knead the dough. Then proceed with shaping, rising, and baking as directed.
- Q: What’s the best way to store frosted rolls?
A: Store frosted rolls in an airtight container at room temperature for up to 2 days. If storing unfrosted rolls, they keep well for 3-4 days. Frost just before serving for the best texture.
- Q: Can I make these without a stand mixer?
A: Definitely! You can knead the dough by hand on a lightly floured surface for about 10-15 minutes until smooth and elastic. It requires a bit more effort but is entirely doable.
- Q: Why is my frosting runny?
A: This usually happens if you add too much liquid. Ensure your cream cheese and butter are softened (not melted) and at room temperature. Beat them together thoroughly before adding powdered sugar gradually. If it’s too thin, add more powdered sugar.
- Q: Can I use self-rising flour?
A: No, self-rising flour contains baking powder and salt, which will interfere with the yeast rising process and the flavor balance. Stick to all-purpose or bread flour.
- Q: How do I prevent the rolls from sticking to the pan?
A: Generously grease your baking pan with butter or non-stick spray. You can also line the pan with parchment paper for easy removal.
- Q: Can I use a different type of milk?
A: Yes, as mentioned earlier. Whole milk, 2% milk, or plant-based milks like oat or almond milk work well. Avoid unsweetened plant milks for the best flavor and texture.
Conclusion: The Reward of Homemade Gooeyness
Creating these gooey brown sugar cinnamon rolls from scratch is more than just baking; it’s an act of love and a celebration of simple, delicious food. The process, from activating the yeast to the final, heavenly bite, connects you to the timeless tradition of home baking. The rich, caramel-sweet filling oozes with every bite, perfectly complementing the soft, pillowy dough. Whether you’re treating yourself on a quiet weekend morning or surprising loved ones with a special breakfast, these rolls deliver pure, unadulterated joy. The effort invested is repaid tenfold in the smiles and satisfied sighs they inspire. So, gather your ingredients, embrace the process, and experience the unparalleled delight of warm, gooey cinnamon rolls made with your own hands. Enjoy every moment and every mouthful!
")


