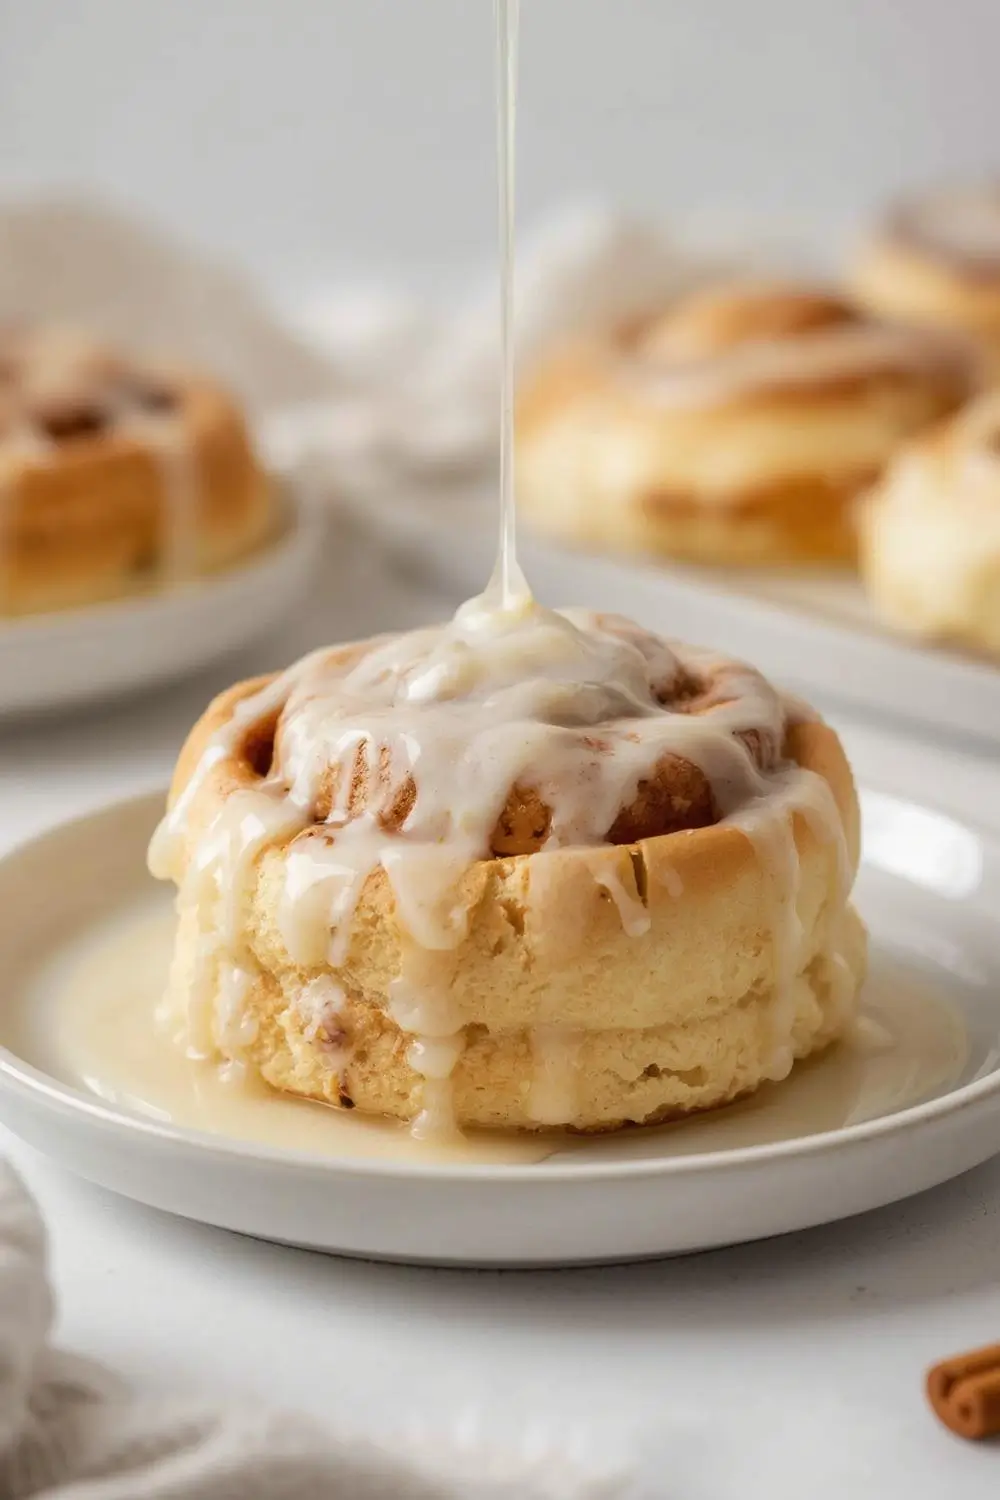
Thewarm, inviting aroma of cinnamon and vanilla begins to fill your kitchen, promising a treat that feels like a special bakery indulgence right in your own home. These aren’t just cinnamon rolls; they’re pillowy soft cinnamon rolls with a smooth vanilla glaze, crafted to deliver that coveted bakery-style texture and flavor you crave. This recipe is designed for success, ensuring your efforts result in tender, buttery rolls that melt in your mouth, topped with a luscious, sweet glaze that ties it all together perfectly. Whether you’re a seasoned baker or just starting your culinary journey, this detailed guide will walk you through every step, making the process enjoyable and the outcome absolutely rewarding.
The Magic of Pillowy Softness
The secret to achieving those incredibly tender, almost cloud-like rolls lies in a few key techniques. Using instant yeast simplifies the process, eliminating the need for a separate proofing step. The dough benefits from a gentle kneading – not too aggressive, just enough to develop the gluten without making it tough. Allowing the dough to rise slowly in a warm, draft-free spot is crucial; this slow fermentation develops flavor and ensures the rolls stay soft even after baking. Finally, the glaze is applied while the rolls are still warm, allowing it to seep into the crevices and create that irresistible, glossy finish.
Gathering Your Ingredients: Simplicity Meets Flavor
This recipe relies on pantry staples and a few special touches to create something truly special. Here’s what you’ll need:
- For the Dough:
* 4 1/2 to 5 cups (560-625g) all-purpose flour (plus extra for dusting)
* 1 cup (240ml) whole milk, warmed to about 110°F (43°C)
* 1/2 cup (113g) unsalted butter, melted and slightly cooled
* 1/4 cup (50g) granulated sugar
* 1 large egg, at room temperature
* 1 large egg yolk, at room temperature
* 1 1/2 teaspoons salt
* 2 1/4 teaspoons (1 standard packet) instant yeast
* 1 teaspoon pure vanilla extract
- For the Cinnamon Sugar Filling:
* 1/2 cup (100g) brown sugar, packed
* 2 tablespoons ground cinnamon
* 1/4 cup (60g) unsalted butter, softened to room temperature
- For the Vanilla Glaze:
* 1 1/2 cups (180g) powdered sugar, sifted
* 2 tablespoons heavy cream (or whole milk)
* 1 teaspoon pure vanilla extract
* Pinch of salt
Step-by-Step: Crafting Your Cinnamon Rolls
1. Warming the Milk & Activating the Yeast: Gently warm the milk in a small saucepan or microwave until it reaches that perfect 110°F (43°C). It should feel comfortably warm, like bathwater, not hot. Pour this warm milk into the bowl of your stand mixer fitted with the dough hook attachment. Sprinkle the instant yeast evenly over the milk and let it sit for 5-10 minutes. You’ll see it become foamy and active – this means your yeast is alive and ready to work its magic.
2. Combining the Wet Ingredients: Add the melted butter, granulated sugar, egg, egg yolk, salt, and vanilla extract to the yeast mixture. Mix on low speed until everything is well combined and smooth.
3. Incorporating the Flour: With the mixer on low speed, gradually add 4 1/2 cups of the flour, one cup at a time. Mix until a shaggy dough forms and no dry flour remains. The dough will be sticky at this stage.
4. Kneading for Tenderness: Increase the mixer speed to medium-low. Knead the dough for about 8-10 minutes. If the dough seems too sticky, add the remaining 1/2 cup of flour, a tablespoon at a time, only as needed. The dough is ready when it pulls away cleanly from the sides of the bowl, forms a smooth ball, and feels slightly tacky but not sticky to the touch. It should pass the “windowpane test” – stretching thinly without tearing.
5. First Rise: Patience is Key: Lightly grease a large bowl with a little oil or nonstick spray. Place the dough ball into the bowl, turning it once to coat it lightly with oil. Cover the bowl tightly with plastic wrap or a damp kitchen towel. Let the dough rise in a warm, draft-free spot until it has doubled in size, which usually takes about 1 to 1.5 hours. You can test if it’s ready by gently pressing two fingers about an inch into the dough; if the indentation remains, it’s risen enough.
6. Preparing the Filling & Pan: While the dough rises, make the cinnamon sugar filling by whisking together the brown sugar and cinnamon in a small bowl. In another small bowl, soften the 1/4 cup of butter for the filling. Lightly grease a 9-inch or 10-inch round or square baking pan with butter or nonstick spray.
7. Rolling Out the Dough: Once the dough has doubled, gently punch it down to release the air. Turn it out onto a lightly floured surface. Roll the dough into a large rectangle, roughly 12 inches by 18 inches and about 1/4 inch thick. Aim for an even thickness.
8. Adding the Filling: Spread the softened 1/4 cup of butter evenly over the entire surface of the dough rectangle. Sprinkle the cinnamon sugar mixture evenly over the butter, leaving a small border around the edges.
9. Rolling & Cutting: Starting from the long side, carefully roll the dough up tightly into a log. Pinch the seam closed firmly. Using a sharp knife or dental floss, cut the log into 9 equal pieces (about 1.5 inches thick each). Place the rolls cut-side up in the prepared baking pan, spacing them evenly. They should fit snugly.
10. Second Rise: Cover the pan loosely with plastic wrap or a damp towel. Let the rolls rise again in a warm spot until they are noticeably puffy and have nearly doubled in size, which usually takes about 30-45 minutes. They should look much fuller than before.
11. Baking to Golden Perfection: Preheat your oven to 350°F (175°C) during the last 10 minutes of the second rise. Bake the rolls for 25-30 minutes, or until they are deeply golden brown on top and sound hollow when tapped gently on the bottom. The internal temperature should reach about 190°F (88°C) if you have a thermometer.
12. Making the Glaze: While the rolls are baking, whisk together the powdered sugar, heavy cream, vanilla extract, and a pinch of salt in a medium bowl until smooth. The glaze should be thick but pourable. If it’s too thick, add a tiny splash more cream; if too thin, add a bit more powdered sugar.
13. Glazing & Serving: As soon as the rolls come out of the oven, drizzle the warm vanilla glaze generously over the top. The heat helps the glaze melt slightly and seep into the rolls, creating that signature glossy finish. Let the rolls cool in the pan for about 10-15 minutes before serving. They are best enjoyed warm, but leftovers are still delicious!
Variations & Substitutions: Making it Your Own
- Flavors: Add 1-2 teaspoons of ground cardamom or orange zest to the dough for a different twist. For a chocolate-cinnamon combo, mix 1/2 cup of chocolate chips into the filling.
- Flour: All-purpose flour is ideal for the best texture. Bread flour can be used for a slightly chewier roll, but the texture will be different. For a gluten-free option, use a high-quality gluten-free all-purpose flour blend designed for yeast breads, following package instructions closely.
- Milk: Whole milk is recommended for richness. You can use 2% or even unsweetened almond milk, but the flavor and texture will be slightly different.
- Butter: Unsalted butter is standard. If using salted butter, reduce the added salt in the dough slightly.
- Glaze: For a thicker glaze, use less cream. For a thinner, drizzlier glaze, use more cream. Add a splash of lemon juice for a bright contrast to the sweetness.
- Add-ins: Fold in chopped pecans, walnuts, or raisins into the filling for extra texture and flavor.
Storage & Reheating: Keeping the Magic Alive
- Room Temperature: Store leftover rolls in an airtight container at room temperature for up to 2 days. Reheat gently in the microwave for 10-15 seconds or in a low oven (300°F/150°C) for a few minutes to restore softness.
- Refrigeration: For longer storage (up to 5 days), wrap individual rolls tightly in plastic wrap and store in the refrigerator. Reheat as above.
Freezing: Freeze the baked rolls (without glaze) in a single layer on a baking sheet until solid, then transfer to a freezer bag or airtight container. Freeze for up to 3 months. Thaw overnight in the refrigerator, then reheat gently. You can also freeze the dough before* the second rise. Place the cut rolls in the pan, cover tightly, and freeze. Thaw overnight in the refrigerator, then let them rise until puffy before baking and glazing as directed.
Common Mistakes to Avoid: Ensuring Success
- Hot Milk: Using milk that’s too hot (above 110°F/43°C) can kill the yeast, preventing the dough from rising.
- Over-Kneading: Overworking the dough develops too much gluten, resulting in tough, chewy rolls instead of soft and tender ones.
- Under-Proofing: If the rolls don’t rise enough during the second rise, they will be dense and heavy.
- Over-Baking: Baking too long can dry out the rolls. They should be golden brown but still moist inside.
- Glaze Too Thick: If the glaze is too thick, add a tiny bit more cream or milk. If too thin, add a bit more powdered sugar.
- Skipping the Second Rise: This rise is essential for the rolls to develop their signature puffiness and texture.
Frequently Asked Questions
- Can I use active dry yeast instead of instant yeast? Yes, but you need to activate it first. Dissolve 2 1/4 teaspoons of active dry yeast in the warm milk (110°F/43°C) with 1 teaspoon of the sugar and let it sit for 10 minutes until foamy. Then proceed with the recipe as written.
- My dough is too sticky. What should I do? Add flour, a tablespoon at a time, while kneading. Don’t add too much at once. The dough should be soft and slightly tacky, not sticky to the touch.
- Why are my rolls dense? This usually happens if the dough didn’t rise enough (under-proofed) or if they were over-baked. Ensure a warm, draft-free spot for rising and check the baking time carefully.
- Can I make these ahead of time? Absolutely! You can make the dough through the first rise, punch it down, shape the rolls, and let them rise in the pan overnight in the refrigerator. Bake and glaze as directed in the morning. You can also freeze the baked rolls without glaze.
- How do I know when the glaze is the right consistency? It should be thick enough to coat the back of a spoon but still pourable. If it’s too thick, add a tiny bit more cream; if too thin, add a bit more powdered sugar.
- What if my rolls are browning too quickly but aren’t done in the middle? Tent the pan loosely with aluminum foil to prevent further browning while the centers finish baking.
The Final Touch: A Warm Welcome
There’s something deeply satisfying about pulling warm, fragrant cinnamon rolls from your oven, the sweet vanilla glaze glistening on top. These pillowy soft rolls, crafted with care and attention to detail, are more than just a breakfast treat; they’re a celebration of home, comfort, and the simple joy of baking. Whether enjoyed fresh from the oven with a cup of coffee, packed for a picnic, or shared with loved ones, they embody the warmth and deliciousness that makes homemade baking so special. So, gather your ingredients, embrace the process, and enjoy the delicious reward of your own bakery-style cinnamon rolls. Happy baking!
")


