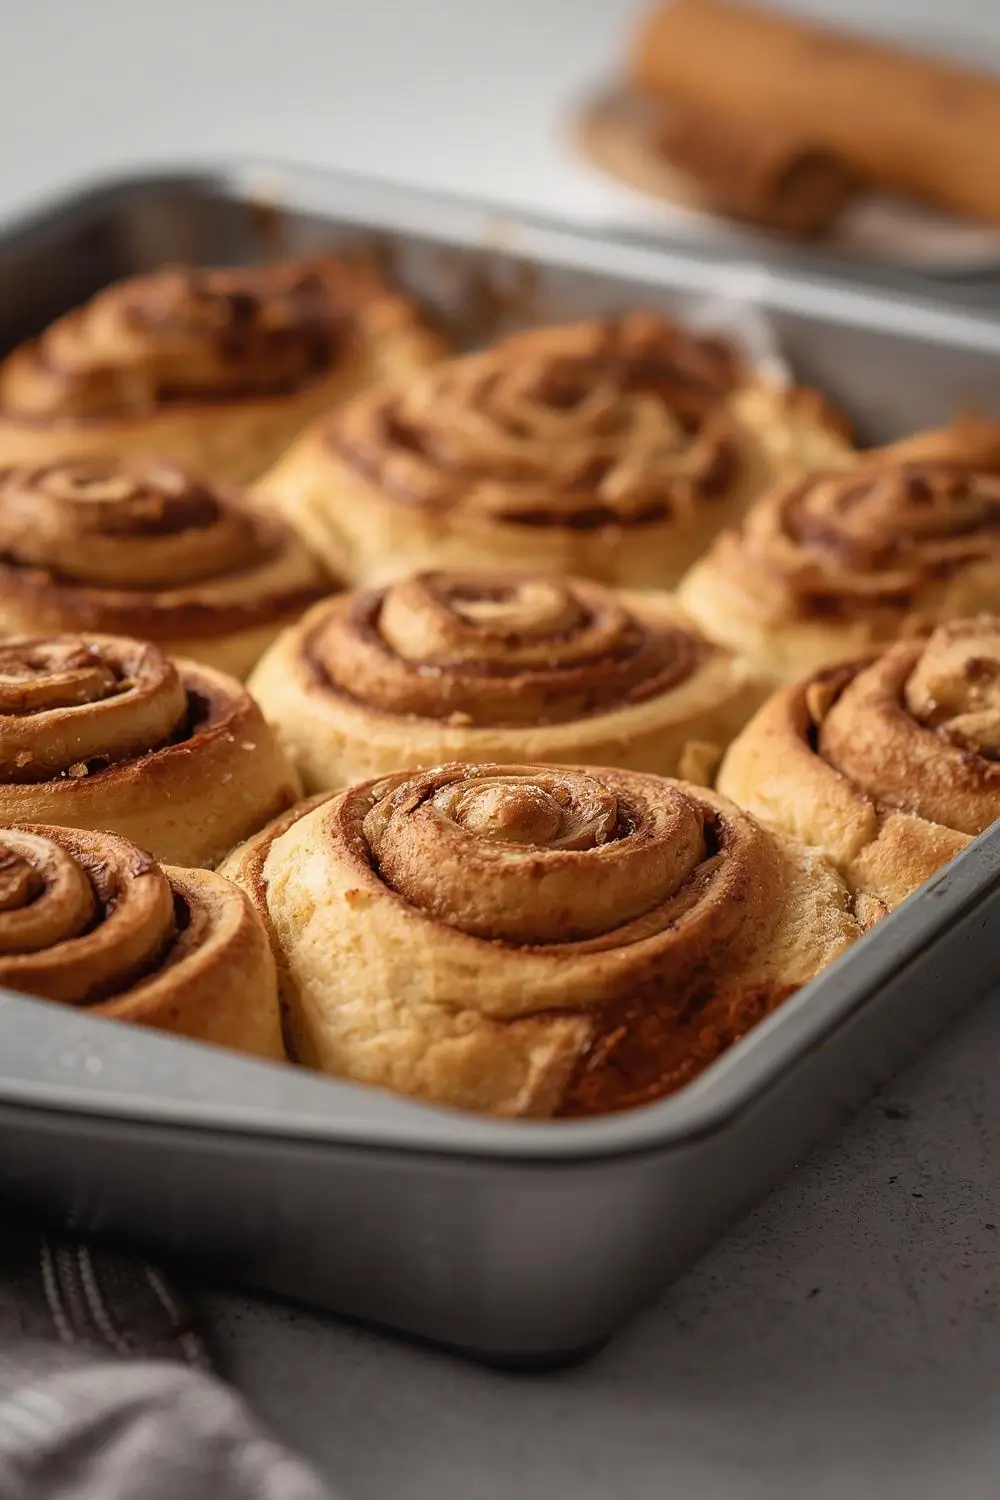
Imagine the moment: golden-brown, pillowy cinnamon rolls, their surfaces glistening with a thick layer of sweet, creamy icing. The aroma – a warm, intoxicating blend of cinnamon and buttery dough – fills your kitchen, promising pure comfort. These aren’t just breakfast treats; they’re a celebration of simple ingredients transformed into something truly special. And the best part? You can achieve this bakery-worthy perfection in a fraction of the time using the magic of rapid rise yeast. Forget the long, overnight waits. This recipe unlocks the joy of fresh cinnamon rolls whenever the craving strikes, making them an accessible delight for any home baker.
Why Rapid Rise Yeast is Your Secret Weapon
Traditional yeast recipes often require a lengthy proofing (rising) time, sometimes overnight. This can feel daunting, especially for beginners or those with busy schedules. Rapid rise yeast, also known as instant yeast or bread machine yeast, is a game-changer. It’s designed to work faster, allowing the dough to rise significantly in a shorter period, typically within 30-60 minutes. This means your cinnamon rolls can go from mixing bowl to warm, gooey goodness in under 2 hours. The texture remains wonderfully soft and tender, just like the rolls you love from your favorite bakery. Plus, it simplifies the process, making cinnamon rolls feel less intimidating and more achievable for everyone.
Gathering Your Ingredients: The Foundation of Flavor
Before you begin, ensure you have everything ready. This recipe relies on quality ingredients for the best flavor and texture. Here’s what you’ll need:
- All-Purpose Flour: The backbone of the dough. Use a standard 4 1/2 to 5 cups (about 560-625g). Spoon and level for accuracy.
- Granulated Sugar: Adds sweetness and helps feed the yeast. About 1/2 cup (100g).
- Salt: Essential for flavor balance. 1 teaspoon (5g).
- Warm Milk: Crucial for activating the yeast. Use whole milk for the richest flavor and tenderness, but 2% or skim works too. Heat it to about 110°F (43°C) – warm to the touch, not hot.
- Unsalted Butter: Softened to room temperature. This adds richness and tenderness. 1/2 cup (113g).
- Large Eggs: At room temperature. They add structure and richness. 2 large eggs.
- Rapid Rise Yeast: The star of the show! 2 1/4 teaspoons (7g) – one standard packet.
- For the Filling:
* Brown Sugar: Packed, for deep caramel notes. 1 cup (200g).
* Ground Cinnamon: 2 tablespoons (about 12g). Freshly ground is best.
* Salt: A pinch (1/8 teaspoon) to enhance the sweetness.
* Unsalted Butter: Softened. 1/3 cup (76g).
- For the Icing:
* Cream Cheese: Softened. 4 ounces (113g).
* Unsalted Butter: Softened. 2 tablespoons (28g).
* Powdered Sugar: Sifted. 1 1/2 cups (180g).
* Vanilla Extract: 1 teaspoon (5ml).
* Salt: A pinch (1/8 teaspoon).
The Dough: Mixing, Kneading, and Rising
Creating the perfect cinnamon roll dough is straightforward with rapid rise yeast. Here’s how to do it:
1. Warm the Milk: Gently heat the milk in a small saucepan or microwave until it reaches 110°F (43°C). It should feel comfortably warm, like bath water. Pour it into a large mixing bowl.
2. Add Sugar and Yeast: Sprinkle the granulated sugar and rapid rise yeast evenly over the warm milk. Give it a gentle stir. Let it sit for 5-10 minutes. You’ll see it become foamy and bubbly – this confirms the yeast is active and ready to work its magic.
3. Incorporate the Fat and Eggs: Add the softened butter and the two room-temperature eggs to the yeast mixture. Whisk vigorously until everything is fully combined and smooth.
4. Combine Dry Ingredients: In a separate medium bowl, whisk together the all-purpose flour and salt.
5. Form the Dough: Make a well in the center of the dry ingredients. Pour the wet yeast mixture into the well. Using a sturdy wooden spoon or a dough hook attachment on your stand mixer, mix until a shaggy dough forms. It will be sticky at first.
6. Knead for Tenderness: Turn the dough out onto a lightly floured surface. Knead for about 8-10 minutes. This develops the gluten, giving the rolls their structure and chew. The dough should become smooth, elastic, and slightly tacky but not sticky. If it’s too sticky, add a tablespoon of flour at a time. If it’s too dry, add a teaspoon of water. The goal is a soft, pliable dough.
7. First Rise (Proofing): Place the kneaded dough in a lightly oiled bowl, turning it once to coat. Cover the bowl tightly with plastic wrap or a damp kitchen towel. Let it rise in a warm, draft-free spot for 30-60 minutes, or until it has doubled in size. Rapid rise yeast works quickly, so check it around the 30-minute mark. The warmth of your kitchen will be key here.
Rolling, Filling, and Cutting: Creating the Signature Swirl
Once your dough has risen, it’s time to transform it into cinnamon rolls:
1. Prepare the Filling: In a small bowl, combine the packed brown sugar, ground cinnamon, and a pinch of salt. Whisk until well blended. Set aside.
2. Roll Out the Dough: Punch down the risen dough gently to release air bubbles. Turn it out onto a lightly floured surface. Roll it into a large rectangle, roughly 18×12 inches (45×30 cm). Aim for an even thickness, about 1/4 to 1/2 inch (6-12mm).
3. Apply the Filling: Spread the softened butter evenly over the entire surface of the dough, leaving a small border around the edges. Sprinkle the brown sugar and cinnamon mixture evenly over the butter. Press it gently into the dough with the back of a spoon or your fingers to help it adhere.
4. Roll Up the Dough: Starting from the long edge closest to you, carefully roll the dough up tightly into a log. Pinch the seam gently to seal it. Try to roll it as evenly as possible.
5. Cut the Rolls: Using a sharp knife or dental floss (for cleaner cuts), slice the log into 12 equal pieces, about 1.5 inches thick. Place the rolls cut-side up in a lightly greased 9×13 inch baking pan, leaving a little space between them. They will expand significantly during baking.
6. Second Rise (Proofing): Cover the pan loosely with plastic wrap or a damp towel. Let the rolls rise again in a warm spot for 20-30 minutes, or until they look puffy and have nearly doubled in size. This second rise helps develop flavor and ensures a light, airy texture.
Baking: Achieving Golden Perfection
The moment of truth! Baking transforms the dough and filling into the iconic cinnamon roll:
1. Preheat: While the rolls are proofing, preheat your oven to 375°F (190°C).
2. Bake: Place the pan in the preheated oven. Bake for 18-25 minutes, or until the rolls are deeply golden brown on top and the edges look set. The internal temperature should reach around 190-200°F (88-93°C) when tested with a thermometer. They should sound hollow when tapped on the bottom.
3. Cool Slightly: Remove the pan from the oven and let the rolls cool in the pan for at least 10-15 minutes. This allows them to set slightly and makes them easier to handle when icing.
The Creamy Icing: The Perfect Finishing Touch
A thick, luscious icing is essential for the ultimate cinnamon roll experience. Here’s how to make it:
1. Prepare the Icing: In a medium bowl, beat together the softened cream cheese and softened butter until smooth and creamy.
2. Add Sweetness and Flavor: Gradually sift in the powdered sugar, beating well after each addition until fully incorporated. Add the vanilla extract and a pinch of salt, beating until the icing is smooth, fluffy, and spreadable. If it’s too thick, add a teaspoon of milk or cream. If it’s too thin, add a tablespoon of powdered sugar.
3. Apply the Icing: Once the rolls have cooled slightly, spread or drizzle the icing generously over the warm rolls. The heat from the rolls will help the icing melt slightly and soak in slightly, creating that irresistible, gooey center.
Variations and Substitutions: Making it Your Own
While the classic cinnamon roll is divine, feel free to experiment:
- Chocolate Chip Cinnamon Rolls: Add 1 cup of chocolate chips to the filling mixture before rolling.
- Nutty Cinnamon Rolls: Fold in 1/2 cup of chopped pecans, walnuts, or almonds into the filling.
- Cream Cheese Filling: Instead of icing, pipe a thick layer of cream cheese frosting between the layers after rolling and before the second rise.
- Orange Zest: Add 1-2 teaspoons of finely grated orange zest to the filling for a bright, citrusy note.
- Maple Icing: Substitute maple syrup for vanilla in the icing for a distinct, rich flavor.
- Dairy-Free: Use almond milk and a dairy-free butter substitute. Ensure your yeast and powdered sugar are dairy-free if needed.
- Egg-Free: Substitute 1/4 cup of unsweetened applesauce or mashed banana for each egg. The texture may be slightly different.
Storage and Reheating: Keeping the Magic Alive
Enjoy your cinnamon rolls fresh on the day they’re baked for the absolute best flavor and texture. However, you can store them for later:
- Room Temperature: Store cooled, iced rolls in an airtight container at room temperature for up to 2 days. Reheat gently in the microwave for 15-20 seconds or in a warm oven (300°F/150°C) for a few minutes.
- Refrigerator: Store un-iced rolls (wrapped tightly) in the fridge for up to 3 days. Reheat as above.
- Freezer: Wrap individual rolls tightly in plastic wrap and then foil. Freeze for up to 1 month. Thaw overnight in the fridge, then reheat gently.
Common Mistakes to Avoid: Mastering the Process
Even experienced bakers can hit a snag. Here are some pitfalls to watch for:
- Water Too Hot: Killing the yeast is a common beginner mistake. Ensure your milk is only warm (110°F/43°C), not scalding hot.
- Over-Kneading: While kneading is important, over-kneading can make the dough tough. Knead just until smooth and elastic.
- Under-Kneading: Insufficient kneading leads to a weak structure and dense rolls. Be patient and knead for the full 8-10 minutes.
- Over-Proofing: Letting the dough rise too long can cause it to collapse or become overly airy and gummy. Follow the time guidelines, especially with rapid rise yeast.
- Too Much Flour: Adding too much flour during kneading makes the dough dry and tough. Add flour sparingly if needed.
- Icing Too Thin/Thick: Adjust the icing consistency by adding more powdered sugar (thicken) or a splash of milk (thin) as needed.
- Cutting Without Floss: Using a knife can squish the rolls. Dental floss provides a clean, straight cut.
Frequently Asked Questions: Your Quick Reference
- Can I use active dry yeast instead of rapid rise? Yes, but you’ll need to adjust the process. Activate active dry yeast in warm milk (110°F/43°C) with sugar for 5-10 minutes until foamy. Then proceed with the recipe, allowing for a longer first rise (about 1-1.5 hours) and a second rise (about 30-45 minutes).
- Why are my rolls dense? This often happens if the dough isn’t kneaded enough, the yeast wasn’t active, the rolls were over-proofed, or the oven wasn’t hot enough. Ensure proper kneading, active yeast, correct proofing times, and a preheated oven.
- Can I make these ahead of time? Absolutely! You can make the dough through the first rise, shape the rolls, and refrigerate them overnight (covered). Let them come to room temperature and complete their second rise before baking in the morning. You can also freeze shaped rolls before the second rise.
- How do I know when the dough has doubled in size? It should look visibly puffy and expanded, roughly 1.5 to 2 times its original size. An indentation made with your finger should slowly spring back but leave a slight dent.
- What’s the best way to store iced rolls? Store them in an airtight container at room temperature for up to 2 days. Avoid refrigerating iced rolls as condensation can make the icing soggy. Reheat gently as needed.
- Can I use a bread machine? Yes! Add all the dough ingredients (except the butter) to the bread machine pan in the order recommended by your machine’s manual. Select the dough cycle. Once the cycle finishes, proceed with shaping, filling, and baking as directed. Add the softened butter during the kneading stage if your machine allows it.
The Perfect Finish: A Warm Embrace
There’s something profoundly satisfying about pulling a warm, fragrant cinnamon roll from the oven. The soft, buttery crumb yielding to a gentle pressure, the sweet, spiced filling bursting with every bite, and the luxurious icing melting on your tongue – it’s pure comfort in edible form. By embracing the efficiency of rapid rise yeast, you’ve unlocked the ability to create this bakery classic anytime the craving hits, without the daunting wait. Whether enjoyed for a leisurely weekend brunch, a special treat, or simply a moment of pure indulgence, these cinnamon rolls are guaranteed to become a cherished favorite. So preheat that oven, gather your ingredients, and get ready to experience the joy of baking perfection. Happy baking!
")


