Easy Sourdough Discard Wafflesfrom Scratch: Fluffy, Crispy, and Zero Waste!
Imagine waking up to the irresistible aroma of freshly baked waffles, knowing every bite is crafted from your own sourdough starter. No need for store-bought mixes or complicated techniques! This Easy Sourdough Discard Waffles from Scratch recipe transforms your leftover starter into light, airy, and incredibly crispy waffles. It’s a brilliant way to reduce waste while creating a breakfast or brunch centerpiece that’s both impressive and utterly delicious. Let’s dive into how you can master these waffles at home.
Why Sourdough Discard Waffles?
Using sourdough discard isn’t just eco-friendly; it infuses your waffles with a subtle tang and complex flavor that regular waffles simply can’t match. The natural fermentation process breaks down starches, making these waffles easier to digest and adding a delightful chewiness to the crisp exterior. Plus, they freeze beautifully, so you can enjoy homemade waffles anytime.
Your Journey to Waffle Perfection
This recipe is designed for success, even if you’re new to sourdough or waffle making. We’ll cover everything from understanding your discard to troubleshooting common hiccups. By the end, you’ll have a foolproof method for creating restaurant-worthy waffles in your own kitchen.
Gather Your Ingredients: The Foundation of Flavor
Here’s what you’ll need for a batch of about 6-8 waffles:
- 1 1/2 cups (360ml) Active Sourdough Discard: This is the star! Use discard that’s been fed within the last 24-48 hours for best results. It should be bubbly and active. If your discard is very thick, thin it slightly with a splash of water.
- 1 1/2 cups (180g) All-Purpose Flour: Provides the structure. Bread flour can be used for a slightly chewier texture, but AP flour is perfect for classic waffles.
- 1/2 cup (120ml) Milk: Whole milk adds richness and tenderness. You can use plant-based milk (like oat or almond) if preferred, though the flavor will be slightly different.
- 1/4 cup (60ml) Neutral Oil or Melted Butter: Oil keeps them extra crispy, while melted butter adds incredible flavor. Use what you have on hand.
- 2 Large Eggs: At room temperature for best emulsification. They add structure, richness, and help the waffles rise.
- 1/4 cup (50g) Granulated Sugar: Balances the tang of the sourdough and adds a touch of sweetness. Brown sugar can be used for deeper flavor.
- 1 1/2 teaspoons Baking Powder: Essential for lift and fluffiness. Make sure it’s fresh!
- 1/2 teaspoon Baking Soda: Works with the acidity of the sourdough to create extra lift and tenderness.
- 1/2 teaspoon Salt: Enhances all the other flavors beautifully.
- 1 teaspoon Vanilla Extract: Adds a warm, comforting note that pairs perfectly with sourdough.
- Optional Add-ins: 1/2 cup (60g) chopped nuts (walnuts, pecans), 1/2 cup (80g) fresh berries (blueberries, raspberries), 1/4 cup (30g) shredded coconut, 1/4 cup (30g) chocolate chips. Fold these in gently after mixing the wet and dry ingredients.
The Magic Begins: Mixing Your Batter
1. Combine Wet Ingredients: In a large bowl, whisk together the sourdough discard, milk, oil (or melted butter), eggs, sugar, and vanilla extract until smooth. The discard might look a bit lumpy at first – that’s normal! Don’t worry.
2. Whisk Dry Ingredients: In a separate medium bowl, whisk together the flour, baking powder, baking soda, and salt. This ensures even distribution of the leavening agents.
3. The Gentle Fold: Pour the dry ingredients into the wet ingredients. Using a spatula or wooden spoon, gently fold the mixture together. Stir just until the dry ingredients are barely moistened. It’s okay if there are a few small lumps – overmixing develops gluten and makes tough waffles. A few lumps are fine!
4. Rest for Flavor & Texture: Cover the bowl with plastic wrap or a clean kitchen towel and let the batter rest at room temperature for at least 15-20 minutes (up to 30 minutes). This allows the flour to fully hydrate and the sourdough to work its magic, resulting in lighter, more flavorful waffles.
Cooking to Crispy Perfection
1. Preheat Your Waffle Iron: This is crucial! Preheat your waffle iron according to the manufacturer’s instructions. A properly preheated iron ensures even cooking and that beautiful golden-brown exterior. If your iron has a light or indicator, wait until it’s fully ready.
2. Prepare the Iron: Lightly grease the hot waffle iron plates with a neutral oil or non-stick cooking spray. This prevents sticking and helps achieve maximum crispiness. You can also use a small amount of the oil you used in the batter.
3. Pour the Batter: Pour approximately 1/2 to 3/4 cup of batter onto the center of the preheated waffle iron plate. The amount depends on the size of your iron. Avoid overfilling – it will spread and might make it hard to close the iron.
4. Close and Cook: Close the waffle iron firmly. Cook for 3-5 minutes, or until the steam stops and the waffle is golden brown and crispy on the outside. Cooking times vary significantly based on your iron’s heat and the batter’s thickness. Look for the steam to subside and the waffle to release easily when you lift the lid slightly. If it’s not quite done, close it again for another minute or two.
5. The Golden Test: The best indicator is the color and sound. It should be deep golden brown and sound crisp when you lift it. If it’s pale, it needs more time. If it’s browning too quickly, your iron might be too hot – adjust accordingly next time.
6. Transfer and Keep Warm: Use a fork or spatula to carefully lift the waffle out of the iron. Place it on a wire rack set over a baking sheet in a warm oven (around 200°F/95°C) to keep it crispy while you cook the remaining waffles. This prevents them from getting soggy.
Serving Your Masterpiece
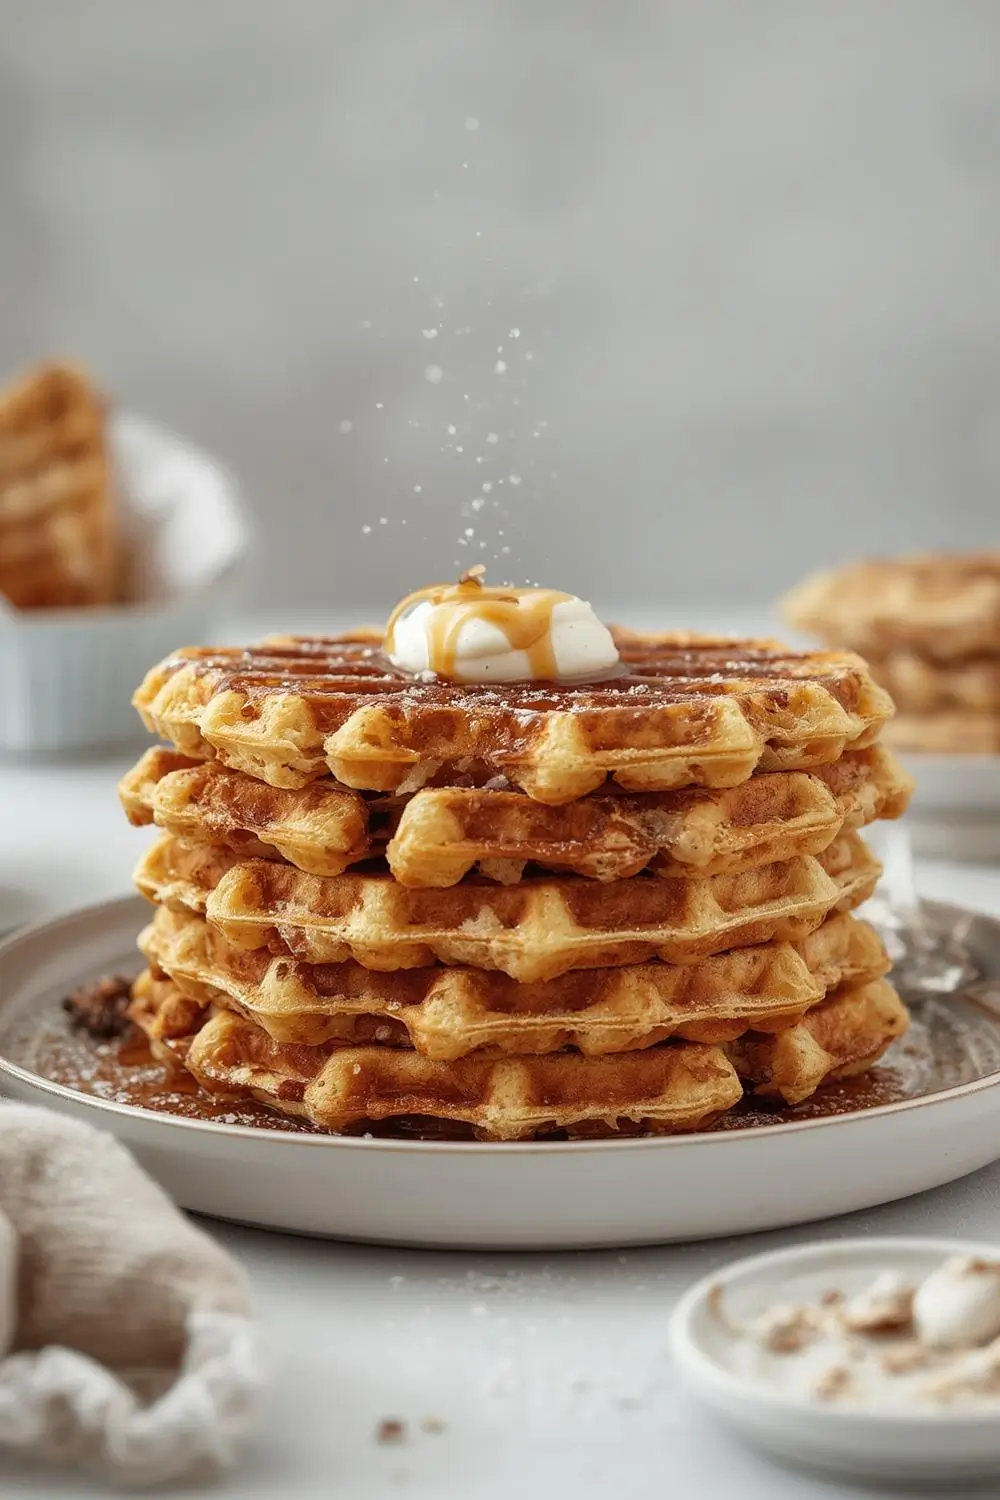
Serve your Easy Sourdough Discard Waffles immediately while they are hot and crispy! The contrast between the tender interior and the shatteringly crisp exterior is pure joy. Top them with:
- Classic: Butter and pure maple syrup.
- Fruitful: Fresh berries, sliced bananas, or a dollop of whipped cream.
- Nutty: A sprinkle of chopped nuts or a drizzle of nut butter.
- Sweet & Savory: A scoop of vanilla ice cream or a dollop of Greek yogurt with a drizzle of honey.
Variations to Spark Your Creativity
- Blueberry Bliss: Fold in 1/2 cup fresh blueberries right before cooking.
- Chocolate Chip Crunch: Add 1/4 cup chocolate chips for a decadent twist.
- Cinnamon Roll Waffles: Mix in 1 teaspoon cinnamon and 1/4 teaspoon nutmeg into the dry ingredients. Top with a simple glaze (powdered sugar mixed with a splash of milk or cream).
- Nutty Delight: Fold in 1/2 cup chopped walnuts or pecans.
- Savory Option: Reduce sugar to 1 tablespoon. Add 1/2 teaspoon dried herbs (like rosemary or thyme) to the dry ingredients. Top with a sprinkle of cheese or a fried egg.
Storage & Reheating: Enjoy Your Waffles Anytime
- Cooling: Let cooked waffles cool completely on a wire rack.
- Freezing: Place cooled waffles in a single layer on a baking sheet in the freezer for 1-2 hours until solid. Transfer to a ziplock bag or airtight container. They’ll keep frozen for up to 3 months.
- Reheating: For the best texture, reheat frozen waffles in a toaster, toaster oven, or a preheated dry skillet/frying pan over medium heat for 2-4 minutes per side until crisp. Avoid the microwave, as it makes them soggy. If using a toaster oven, place them directly on the rack.
Common Mistakes to Avoid: Your Waffle Success Guide
1. Overmixing the Batter: This is the #1 culprit for tough waffles. Mix just until combined. Lumps are your friend!
2. Using Cold Ingredients: Eggs and milk should be at room temperature. Cold eggs can cause the batter to seize slightly.
3. Premature Preheating: Don’t start cooking until your iron is fully preheated. This ensures even cooking and maximum crispiness.
4. Overfilling the Iron: This makes it hard to close and can cause batter to spill. Pour a moderate amount.
5. Not Letting the Batter Rest: Skipping the rest time means less flavor development and potentially denser waffles.
6. Using Stale Baking Powder/Soda: These lose their potency. Test yours by adding 1 teaspoon to 1/3 cup hot water – it should fizz vigorously.
7. Overcrowding the Iron: Cook waffles in batches. Overcrowding lowers the temperature and leads to steaming instead of crisping.
Your Sourdough Discard Waffle FAQs
- Q: What if my discard is very thick or dry? A: Thin it with a splash of water or milk until it reaches a pourable consistency, similar to pancake batter. It should be thick but not doughy.
- Q: Can I use discard that’s been in the fridge for a while? A: Yes, but ensure it’s still active and bubbly. If it’s been neglected, it might need a quick feed (mix 1 cup discard with 1/2 cup flour and 1/2 cup water, let sit 4-6 hours until bubbly) before using.
- Q: Can I make these waffles without sourdough discard? A: You can substitute 1 1/2 cups of buttermilk or plain yogurt for the discard, but the unique flavor and tang will be missing. The discard is key!
- Q: Why are my waffles dense? A: Likely overmixing the batter or using old baking powder/soda. Ensure you rest the batter and check your leavening agents.
- Q: How do I get them extra crispy? A: Ensure your iron is very hot before cooking. Don’t overcrowd the iron. Serve immediately on a wire rack to prevent steam buildup. Reheating in a toaster oven or skillet is best.
- Q: Can I make a larger batch and freeze? A: Absolutely! Make a double batch, cool completely, freeze individually, and reheat as needed. This is perfect for busy mornings.
- Q: What if my waffles stick to the iron? A: Ensure the iron is well-greased before each batch. Let it preheat fully. If they still stick, try a light spray of oil right before pouring the batter.
The Final Crisp: Your Waffle Victory
Mastering Easy Sourdough Discard Waffles from Scratch is a rewarding journey. It connects you to the ancient art of fermentation while delivering pure breakfast joy. The subtle tang, the incredible texture, and the satisfaction of zero waste make these waffles a standout. Don’t be discouraged if your first batch isn’t perfect – waffles, like sourdough, take practice. Experiment with toppings, tweak the batter, and soon you’ll be whipping up batches of these crispy, fluffy delights that will become a cherished weekend ritual. Enjoy every golden, crispy bite!
")


