Easy Homemade Sourdough Discard Sandwich Bagels: Zero-Waste Breakfast Magic
Imagine transforming something you’d usually toss into the compost bin into the star ingredient for incredibly delicious, fluffy, chewy sandwich bagels. That’s the magic of using sourdough discard! This recipe takes your leftover sourdough starter and turns it into the perfect base for homemade bagels, ready to be filled with your favorite breakfast or lunch goodies. No pork, no alcohol, just wholesome, homemade goodness bursting with flavor. Let’s dive into creating these satisfying treats together.
Why Sourdough Discard is Perfect for Bagels
Sourdough discard is essentially the leftover sourdough starter you feed your starter with. It’s a fantastic way to reduce food waste while creating something truly special. Using discard in bagels gives them a wonderful tangy depth of flavor that store-bought bagels simply can’t match. The discard also contributes to the bagels’ characteristic chewy texture and helps them rise beautifully. Plus, it’s incredibly satisfying to know you’re making something delicious from what might otherwise be thrown away.
The Heart of the Recipe: Ingredients Explained
Here’s what you’ll need to create your batch of delicious sourdough discard sandwich bagels:
- Sourdough Discard: This is the star! Use about 1 1/2 cups (360ml) of discard that’s been fed recently (within the last 24-48 hours). It should be thick and active, not thin and watery. The discard’s acidity and fermentation activity are key to flavor and texture.
- All-Purpose Flour: 4 1/2 cups (560g) provides the structure. You can use bread flour for an even chewier bagel, but all-purpose works wonderfully and is more common.
- Warm Water: 1 1/2 cups (360ml) at around 100-110°F (38-43°C). This activates the yeast in the discard and helps hydrate the flour.
- Salt: 2 teaspoons (10g). Essential for flavor and controlling yeast activity.
- Sugar: 2 tablespoons (25g). A small amount feeds the yeast, helping it work efficiently and contributing to browning.
- Baking Soda: 1/4 cup (60ml) for the boiling bath. This creates the signature chewy crust.
- Egg Wash (Optional): 1 large egg beaten with 1 tablespoon water for a shiny, golden finish.
- Toppings (Optional): Everything bagel seasoning, sesame seeds, poppy seeds, coarse salt, or your favorite bagel toppings.
The Process: From Dough to Delicious Bagels
Creating these bagels is a rewarding process. Here’s a detailed, step-by-step guide:
1. Combining the Dough: In a large mixing bowl, whisk together the warm water, sugar, and sourdough discard until the sugar dissolves. Sprinkle the salt over the top. Gradually add the flour, mixing with a sturdy spoon or your hands until a shaggy dough forms. Don’t worry if it’s sticky at this stage.
2. Kneading for Texture: Turn the dough out onto a lightly floured surface. Knead for about 8-10 minutes. The dough will start smooth and elastic. It should feel slightly tacky but not sticky. If it’s too sticky, add a tablespoon of flour at a time; if too dry, add a teaspoon of water. The goal is a smooth, slightly firm dough.
3. First Rise (Bulk Fermentation): Place the kneaded dough in a lightly oiled bowl, turning it once to coat. Cover tightly with plastic wrap or a damp kitchen towel. Let it rise in a warm, draft-free spot for 1 to 1.5 hours, or until it has roughly doubled in size. It should look puffy and feel airy.
4. Shaping the Bagels: Punch down the risen dough gently to release air. Turn it out onto a lightly floured surface. Divide the dough into 8 equal pieces (about 85-95g each). Roll each piece into a smooth ball.
5. Creating the Hole: Take one ball and press your thumb firmly into the center. Gently stretch the dough outward, rotating it, until you have a hole about 1.5-2 inches (4-5cm) wide. The bagel should be about 3-4 inches (7.5-10cm) in diameter. Place each shaped bagel onto a parchment-lined baking sheet, leaving space between them. Cover loosely with plastic wrap or a towel and let them rest for 20-30 minutes. This relaxes the dough, making it easier to boil.
6. Preparing the Boiling Bath: While the bagels rest, bring a large pot of water to a rolling boil. Add the baking soda and stir until dissolved. This creates the alkaline bath that gives bagels their characteristic chew and flavor. Reduce the heat to maintain a gentle simmer.
7. Boiling the Bagels: Carefully lower 2-3 bagels into the simmering water bath using a slotted spoon or spatula. Boil for exactly 1 minute per side. They will puff up and darken slightly. Remove them with the slotted spoon and place them back onto the parchment-lined baking sheet. Repeat with the remaining bagels.
8. Preheating and Egg Wash: Preheat your oven to 425°F (220°C). If using, brush the boiled bagels lightly with the egg wash.
9. Baking to Perfection: Bake the bagels for 20-25 minutes, rotating the pan halfway through, until they are deep golden brown and sound hollow when tapped on the bottom. The internal temperature should reach around 200°F (93°C).
10. Cooling: Transfer the baked bagels to a wire rack and let them cool completely before slicing and filling. This is crucial! Cutting into them while hot releases steam and makes them gummy. Patience pays off for the perfect texture.
Tips for Success and Common Pitfalls
- Don’t Skip the Rest: The 20-30 minute rest after shaping is vital for the dough to relax and the bagels to hold their shape during boiling.
- Gentle Handling: Be careful when boiling; use a slotted spoon to avoid tearing the delicate dough.
- Don’t Over-Boil: Boiling for exactly 1 minute per side is key. Too long makes them dense; too short makes them tough.
- Cool Completely: Resist the urge to slice hot bagels. Cooling allows the crumb structure to set.
- Storage: Store cooled bagels in an airtight container at room temperature for up to 2 days. For longer storage, freeze them individually wrapped in plastic and then in a freezer bag for up to 3 months. Thaw at room temperature or toast from frozen.
- Reheating: For the best texture, reheat bagels in a toaster, toaster oven, or a dry skillet over medium heat until warmed through and slightly crisp. Avoid the microwave as it makes them soggy.
Variations and Fillings Galore
The beauty of homemade sourdough discard bagels is their blank canvas. Here are some ideas:
- Flavors: Add 1-2 tablespoons of dried herbs (dill, garlic powder, onion powder) to the dough before kneading. Or, brush the boiled bagels with melted butter or olive oil before baking for extra richness.
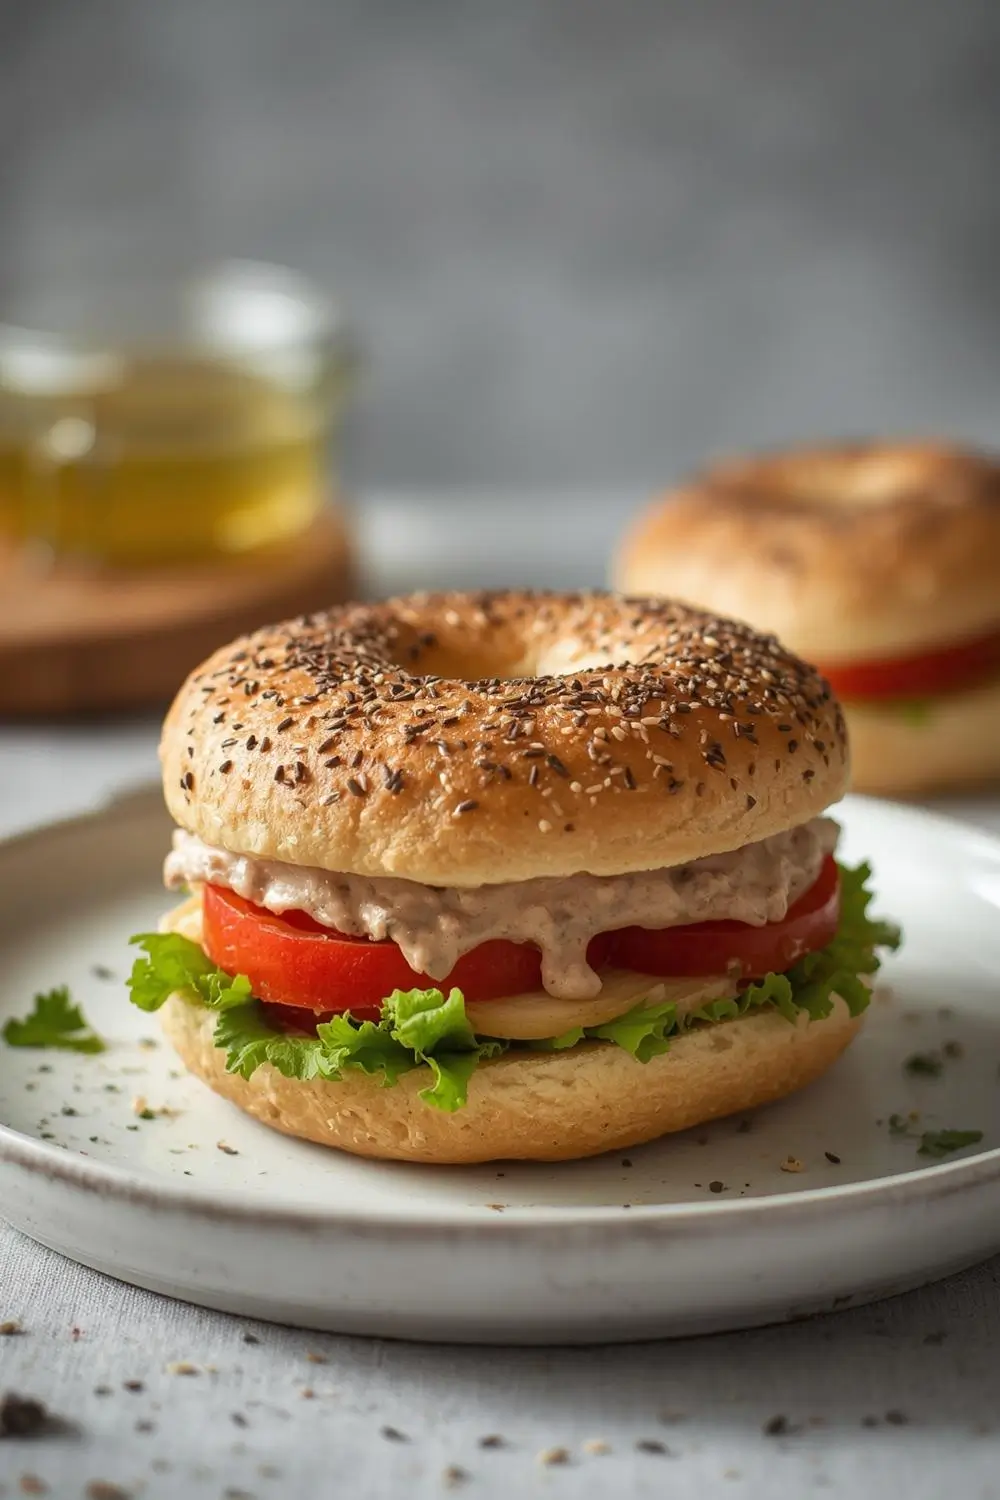
- Fillings: The possibilities are endless! Try classic cream cheese with smoked salmon, avocado and everything bagel seasoning, peanut butter and banana, scrambled eggs with cheese, or hummus and sliced veggies. Get creative!
- Different Toppings: Sprinkle seeds or spices on the egg wash before baking for extra flavor and crunch.
Frequently Asked Questions
- Can I use discard that’s been in the fridge for a week? Yes, but it might be more sour. Ensure it’s still active (bubbly) and not moldy. You might need to adjust the water slightly if it’s very stiff.
- My bagels are dense. What went wrong? Possible causes: Over-kneading, under-kneading (dough too sticky), under-boiling, or under-baking. Ensure you knead until smooth and elastic, boil for the full minute per side, and bake until golden brown.
- Can I use bread flour instead of all-purpose? Absolutely! Bread flour has more protein, resulting in a chewier bagel. You might need a tiny bit less water.
- How do I know when the bagels are done baking? They should be deep golden brown and sound hollow when tapped on the bottom. An internal temperature of 200°F (93°C) is ideal.
- Can I make these without an oven? Unfortunately, no. Baking is essential for the chewy crust and cooked interior.
- How long do they last? At room temperature, about 2 days in an airtight container. Freeze for longer storage.
- Can I freeze the shaped bagels before boiling? Yes! Place shaped bagels on a baking sheet lined with parchment, freeze until solid, then transfer to a freezer bag. Boil from frozen, adding 30-60 seconds to the boiling time.
The Final Bite
Creating your own sourdough discard sandwich bagels is a deeply satisfying experience. It connects you to the ancient art of fermentation, reduces food waste, and results in a breakfast or lunch staple that tastes worlds better than anything you can buy. The tangy depth from the discard, the satisfying chew, and the endless filling possibilities make these bagels a true kitchen treasure. Gather your ingredients, embrace the process, and enjoy the delicious rewards of your homemade efforts. Your taste buds (and your sourdough starter) will thank you!
Enjoy your homemade sourdough discard sandwich bagels!
")


