Fresh Spring Vegetable Couscous Bowl: A Vibrant Celebration of Seasonal Goodness
Spring bursts onto the scene, painting the world in fresh greens, delicate blossoms, and the promise of renewal. It’s the perfect time to embrace lighter, brighter meals that celebrate the abundance of the season. This Fresh Spring Vegetable Couscous Bowl is exactly that – a symphony of crisp, colorful vegetables tossed with fluffy, lemon-herbed couscous, creating a dish that’s as visually stunning as it is delicious and nourishing. Bursting with the essence of spring, it’s a meal that feels both celebratory and deeply satisfying, ready in under 30 minutes. Let’s dive into creating this vibrant masterpiece together.
Why This Bowl Captures Spring’s Essence
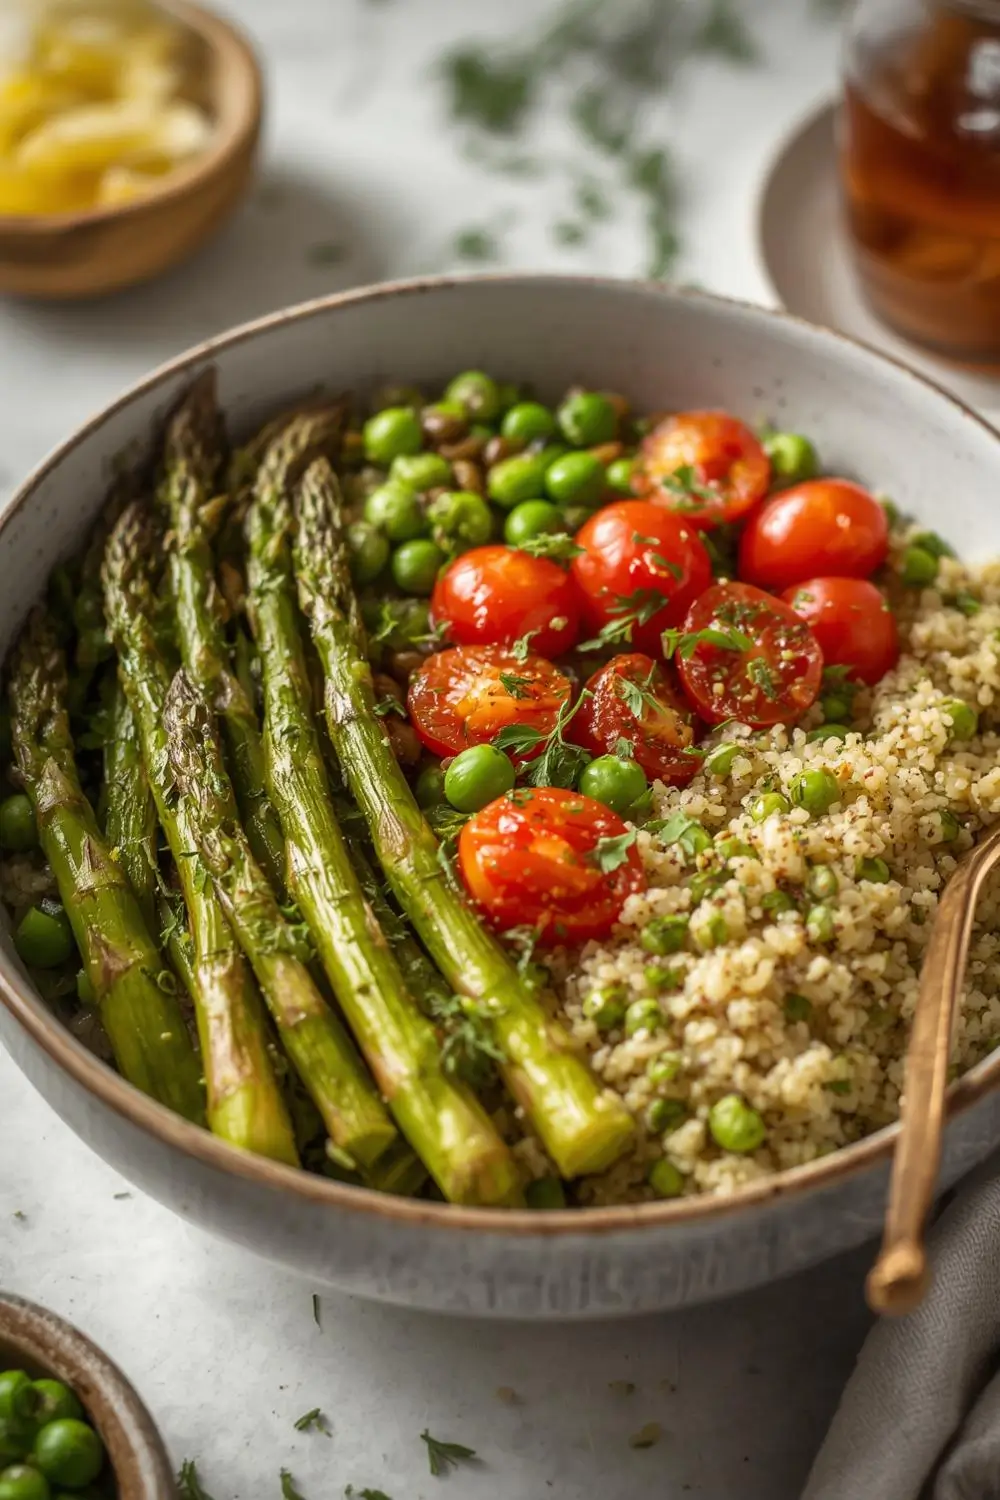
Imagine the first tender spears of asparagus, the sweet pop of fresh peas, the juicy burst of cherry tomatoes, all mingling with the fragrant, citrusy notes of lemon and herbs. This bowl isn’t just food; it’s a taste of the season. It’s light, refreshing, and packed with nutrients. The couscous provides a comforting, slightly nutty base, while the vegetables offer a delightful array of textures and flavors. It’s incredibly versatile – you can swap in whatever seasonal treasures you find at your local farmers market. Best of all, it’s naturally gluten-free, making it accessible and healthy. Perfect for a quick weeknight dinner, a refreshing lunch, or even as a stunning side dish for a spring gathering.
Gathering Your Spring Bounty: Ingredients Explained
The beauty of this recipe lies in its simplicity and the quality of its ingredients. Here’s what you’ll need, with a little insight into why each component shines:
- Couscous (1 cup, dry): The heart of the bowl. Traditional couscous is made from semolina wheat, but for a gluten-free option, use certified gluten-free couscous or substitute with quinoa or millet. It cooks quickly and absorbs flavors beautifully.
- Vegetable Broth (2 cups, low-sodium): Essential for cooking the couscous. Using low-sodium allows you to control the salt level in the final dish. Chicken or vegetable broth both work well.
- Asparagus (1 bunch, about 12-15 spears): The quintessential spring vegetable. Look for bright green, firm spears with tightly closed tips. Trim the woody ends (they snap off easily when bent).
- Fresh Peas (1 cup, frozen or fresh): Sweet, tender peas are a spring staple. Frozen peas are convenient and retain their sweetness and color perfectly. If using fresh, shell them just before cooking.
- Cherry Tomatoes (1 pint, halved): These add bursts of juicy sweetness and vibrant color. Choose ripe, firm tomatoes. Halving them allows them to release their juices beautifully.
- Lemon (1 large): For brightness and acidity. The zest adds intense flavor, while the juice brightens the entire dish. Use a fine grater for zest.
- Fresh Herbs (1/4 cup, chopped): Parsley and mint are classic pairings with couscous and spring vegetables. They add freshness and aroma. Dill or chives also work wonderfully.
- Olive Oil (2 tablespoons): For cooking and dressing. Extra virgin olive oil provides a fruity base.
- Garlic (2 cloves, minced): Adds depth and savory notes. Use fresh garlic for the best flavor.
- Salt and Freshly Ground Black Pepper: To taste. Season carefully, especially if your broth is already seasoned.
- Optional Additions: For extra protein, consider adding chickpeas or crumbled feta. For a richer dressing, a drizzle of good quality extra virgin olive oil or a squeeze of lemon juice at the end can elevate it.
Step-by-Step: Crafting Your Vibrant Bowl
Now, let’s bring all these wonderful ingredients together. This process is straightforward and forgiving, perfect for a beginner.
1. Prepare the Couscous: In a medium saucepan, combine the dry couscous and vegetable broth. Bring to a gentle boil over medium-high heat. Once boiling, reduce the heat to low, cover the pan tightly, and let it simmer for 5-7 minutes, or until the liquid is absorbed and the couscous is tender. Remove from heat and let it sit, covered, for 5 minutes. This allows the couscous to steam and become perfectly fluffy. Fluff it gently with a fork.
2. Blanch the Asparagus: While the couscous cooks, bring a large pot of salted water to a boil. Add the asparagus spears and blanch for 2-3 minutes, until they turn bright green and are just tender-crisp. Immediately transfer the asparagus to a bowl of ice water to stop the cooking process and preserve their vibrant color. Drain well and pat dry with a paper towel.
3. Sauté the Aromatics: Heat 1 tablespoon of olive oil in a large skillet or pan over medium heat. Add the minced garlic and sauté for about 30 seconds, until fragrant but not browned.
4. Cook the Tomatoes: Add the halved cherry tomatoes to the skillet with the garlic. Cook for 3-4 minutes, stirring occasionally, until they start to soften and release their juices. Season lightly with salt and pepper.
5. Combine Everything: Add the cooked, fluffed couscous to the skillet with the tomatoes. Stir gently to combine. Add the blanched asparagus and frozen peas (if using frozen, they will thaw and warm through quickly). Stir everything together until well combined and heated through, about 2-3 minutes.
6. Finish with Flavor: Remove the skillet from the heat. Stir in the lemon zest and most of the chopped fresh herbs (reserve a little for garnish). Drizzle in the remaining 1 tablespoon of olive oil. Taste and adjust seasoning with salt and pepper if needed. The lemon juice is usually sufficient for acidity, but a final squeeze can be added if desired.
7. Serve: Spoon the vibrant couscous bowl into serving bowls. Garnish generously with the reserved fresh herbs. Serve immediately while the vegetables are still crisp and the flavors are at their peak.
Tips for Perfect Couscous Every Time
- Fluffing is Key: Don’t skip the final fluffing with a fork! This separates the grains and prevents clumping.
- Don’t Overcook the Asparagus: Blanching just until bright green and crisp-tender ensures they retain their texture and vibrant color.
- Fresh Herbs Matter: Adding the herbs at the end preserves their delicate flavor and color. Don’t skip them!
- Lemon Zest is Essential: It adds a concentrated burst of lemon flavor that elevates the entire dish.
- Taste as You Go: Especially when seasoning the couscous. The vegetables and herbs can mellow the salt slightly.
Variations to Suit Your Taste and Pantry
This bowl is incredibly adaptable. Here are some ideas to make it your own:
- Protein Boost: Stir in cooked chickpeas, white beans, or crumbled feta cheese for added protein and heartiness.
- Vegetable Swaps: Replace asparagus with green beans, snap peas, or zucchini. Swap peas for corn kernels or edamame. Add diced bell peppers or shredded carrots for extra color and sweetness.
- Herb Variations: Experiment with different herbs like dill, chives, or basil instead of (or alongside) parsley and mint.
- Dressing Variations: For a creamier texture, stir in a tablespoon of Greek yogurt or a dollop of labneh. For a different tang, use lemon juice instead of zest or add a pinch of sumac.
- Spice It Up: Add a pinch of red pepper flakes to the sautéed tomatoes for a subtle kick.
Storage and Reheating: Keeping the Spring Alive
This bowl stores beautifully and reheats well, making it perfect for meal prep:
- Cooling: Allow the cooked couscous bowl to cool completely to room temperature.
- Storing: Transfer it to an airtight container. Store in the refrigerator for up to 3 days.
- Reheating: Reheat gently on the stovetop over low heat, stirring occasionally, or in the microwave in 30-second intervals, stirring in between, until warmed through. Add a splash of water or a little olive oil if it seems dry. Avoid reheating more than once.
Avoiding Common Pitfalls
- Soggy Couscous: Ensure you cook the couscous with the right amount of liquid and let it steam properly. Don’t over-stir after adding the vegetables.
- Overcooked Vegetables: Blanch asparagus just until crisp-tender and add peas towards the end of cooking to prevent them from becoming mushy.
- Lack of Flavor: Don’t underestimate the power of lemon zest and fresh herbs. Taste and season carefully.
- Couscous Clumping: Fluffing is crucial! Use a fork, not a spoon, to separate the grains.
Your Spring Vegetable Couscous Bowl FAQs
- Q: Can I use regular couscous instead of gluten-free? Yes, if you don’t need it to be gluten-free. Regular couscous cooks similarly.
- Q: Can I make this ahead of time? Yes, the components (cooked couscous, blanched asparagus, cooked tomatoes) can be stored separately. Assemble just before serving for the best texture.
- Q: What if I don’t have fresh herbs? Use dried herbs (1/2 teaspoon dried parsley and 1/4 teaspoon dried mint) in the couscous cooking liquid, but add them at the end with the fresh herbs for the best flavor.
- Q: Is this dish vegan? Yes, it is naturally vegan. Ensure your vegetable broth is vegan if needed.
- Q: Can I use other grains instead of couscous? Absolutely! Quinoa, bulgur wheat (ensure it’s gluten-free if needed), or orzo pasta work well. Adjust cooking times accordingly.
- Q: How can I make it more substantial? Add a protein source like chickpeas, lentils, or grilled chicken. A sprinkle of nuts or seeds adds crunch and healthy fats.
- Q: Can I freeze this? It’s not recommended. The vegetables can become mushy upon thawing, and the couscous texture changes.
The Final Touch: A Celebration of Spring on a Plate
There’s something deeply satisfying about a bowl of food that feels like a celebration. This Fresh Spring Vegetable Couscous Bowl embodies that feeling perfectly. It’s a vibrant, healthy, and incredibly easy way to embrace the season’s freshest offerings. The combination of tender asparagus, sweet peas, juicy tomatoes, and fragrant lemon-herbed couscous creates a symphony of flavors and textures that is both comforting and uplifting. It’s a testament to the simple joy of good food made with care and seasonal ingredients. So, gather your spring bounty, follow these steps, and enjoy the delicious, colorful result. It’s more than just a meal; it’s a taste of spring itself. Enjoy every vibrant bite!
")


