Contents
- 1 Why These Cookies Are So Irresistible
- 2 Ingredients You’ll Need
- 3 Choosing the Right Nuts
- 4 Step-by-Step Instructions
- 5 Incorporating the Nuts and Chocolate
- 6 Shaping the Cookies
- 7 Baking Instructions
- 8 Texture and Flavor Experience
- 9 Tips for Perfect Results
- 10 Creative Variations
- 11 Serving Suggestions
- 12 Storage and Shelf Life
- 13 Common Mistakes to Avoid
- 14 Perfect Occasions for These Cookies
- 15 Building Your Baking Skills
- 16 Frequently Asked Questions
- 17 Final Thoughts
There’s something deeply satisfying about a dessert that combines rich chocolate with a bit of crunch. These brownie mix cookies with nuts and chocolate deliver exactly that experience—soft, fudgy centers packed with melted chocolate and complemented by the crisp texture of nuts in every bite. The contrast between smooth and crunchy creates a balanced cookie that feels both indulgent and comforting.
This recipe is perfect for anyone who loves texture in their desserts. Using a brownie mix as the base keeps things simple, while the addition of nuts and extra chocolate elevates the flavor and gives these cookies a more refined, bakery-style finish. Whether you’re baking for guests, family, or just yourself, these cookies are guaranteed to impress.
The beauty of this recipe lies in the combination of textures and flavors.
Rich Chocolate Base
The brownie mix provides a deep cocoa flavor that forms the foundation of the cookies.
Crunchy Nut Texture
Nuts add a satisfying crunch that contrasts perfectly with the soft cookie interior.
Melted Chocolate Pieces
Extra chocolate throughout the dough creates gooey pockets that enhance every bite.
Balanced Sweetness
The slight bitterness of nuts helps balance the sweetness of the chocolate, making the cookies more enjoyable and less overwhelming.
Ingredients You’ll Need
These cookies require simple ingredients, but each one plays an important role.
Main Ingredients
- 1 box brownie mix (standard size)
- 2 large eggs
- 1/3 cup vegetable oil
- 1/2 cup all-purpose flour
- 1 teaspoon vanilla extract (optional)
Add-Ins
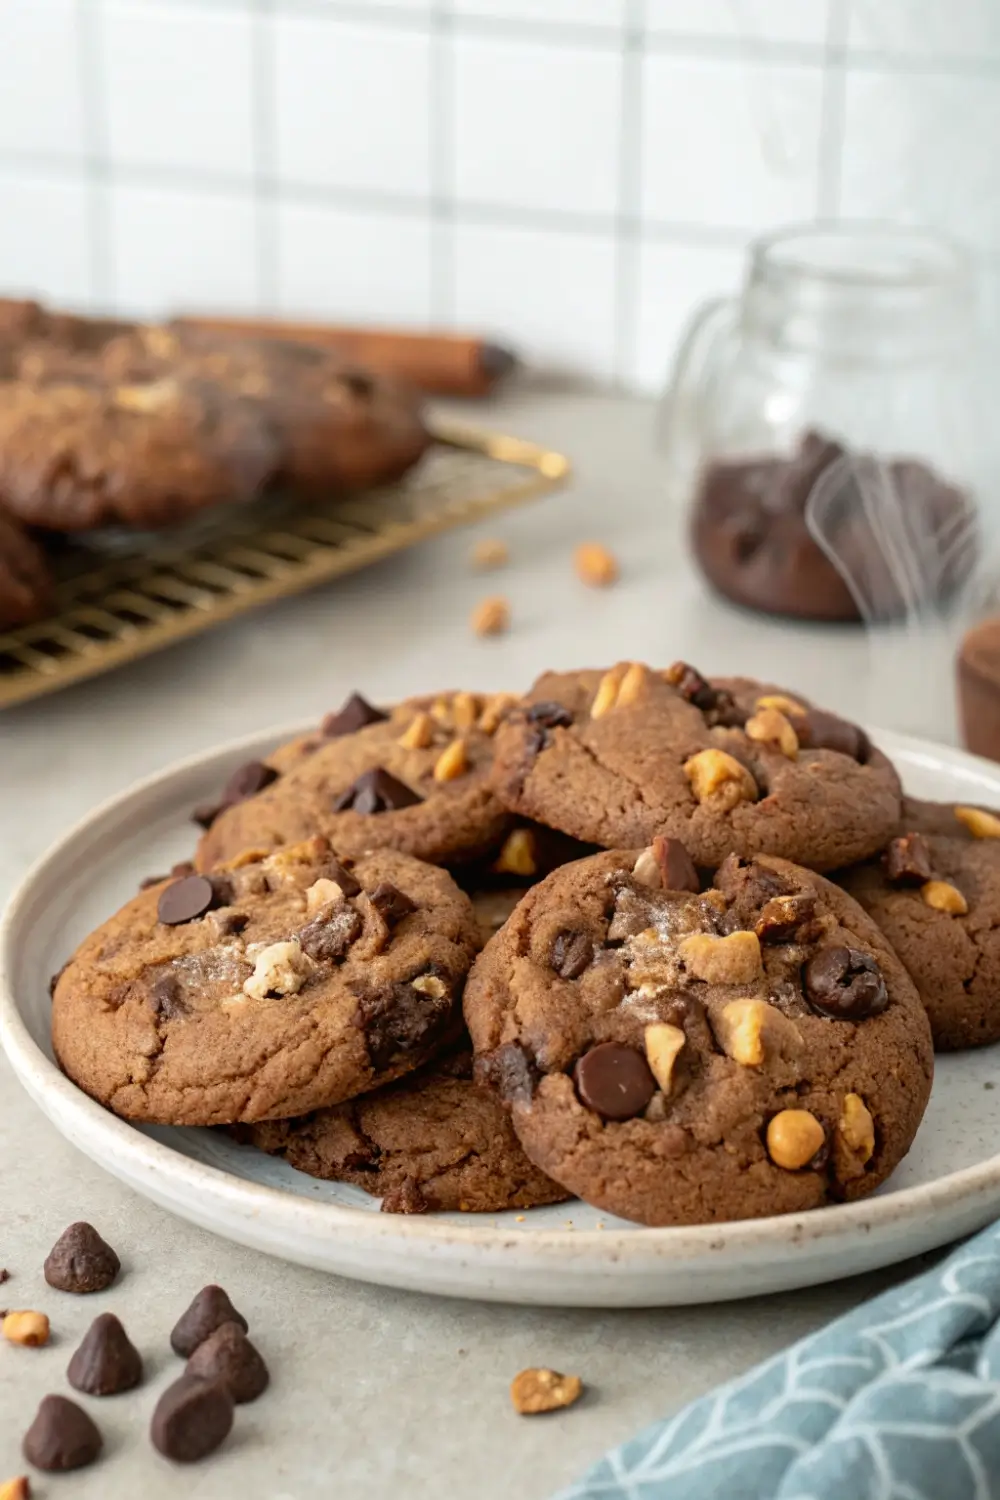
- 1/2 cup chocolate chips or chopped chocolate
- 1/2 cup chopped nuts (such as almonds, walnuts, or hazelnuts)
Choosing the Right Nuts
The type of nuts you use can slightly change the flavor profile of your cookies.
Almonds
Provide a mild flavor and a firm crunch.
Walnuts
Offer a softer crunch with a slightly earthy taste.
Hazelnuts
Add a rich, nutty sweetness that pairs beautifully with chocolate.
You can use one type or mix several for a more complex flavor.
Step-by-Step Instructions
Follow these simple steps to create cookies that are soft, chewy, and full of texture.
Prepare Your Baking Setup
Preheat your oven to 350°F (175°C). Line a baking sheet with parchment paper.
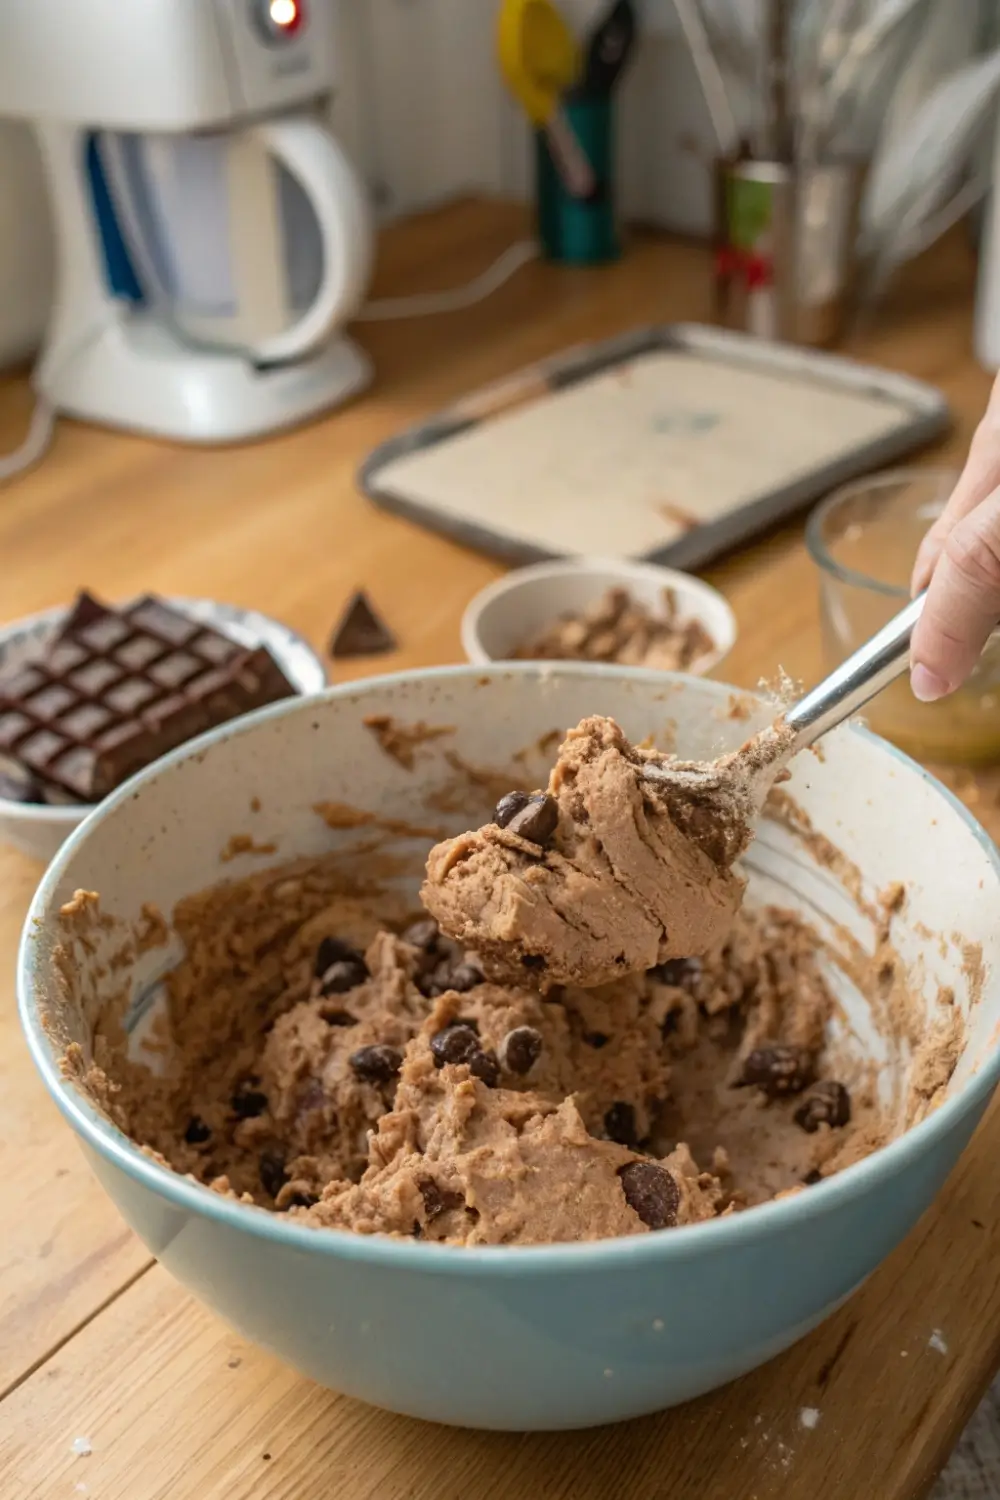
Mix the Dough
In a large bowl:
- Combine the brownie mix, eggs, and vegetable oil.
- Stir until smooth and fully blended.
Add the flour and vanilla extract, then mix until a thick dough forms.
Incorporating the Nuts and Chocolate
Even Distribution
Add the chopped nuts and chocolate pieces to the dough.
Gentle Mixing
Fold them in gently to ensure they are evenly spread without overmixing the dough.
Scoop the Dough
Use a spoon or cookie scoop to portion out the dough.
Form into Balls
Roll gently into balls for a uniform shape.
Add Toppings
Press a few extra chocolate pieces or nuts on top for a decorative finish.
Space Properly
Place cookies about 2 inches apart on the baking sheet.
Baking Instructions
Bake Time
Bake for 9–11 minutes.
Visual Cues
- Edges should be set
- Centers should still look soft
- Tops may have slight cracks
Cooling
Allow cookies to cool on the baking sheet for 5–10 minutes before transferring to a rack.
Texture and Flavor Experience
These cookies are designed to provide a multi-layered eating experience.
Soft and Fudgy Interior
The inside remains moist and chewy, similar to a brownie.
Crunchy Nut Bites
The nuts provide a satisfying crunch in contrast to the soft cookie.
Gooey Chocolate Pockets
Melted chocolate adds richness and enhances the overall flavor.
Tips for Perfect Results
Toast the Nuts (Optional)
Lightly toasting the nuts before adding them can enhance their flavor.
Don’t Overmix
Mix just enough to combine ingredients to keep the cookies soft.
Watch the Oven Closely
Overbaking can make the cookies dry instead of fudgy.
Use Fresh Ingredients
Fresh nuts and good-quality chocolate make a noticeable difference.
Creative Variations
Once you’ve mastered the base recipe, try these ideas to customize your cookies.
Mixed Nut Cookies
Use a combination of different nuts for varied texture.
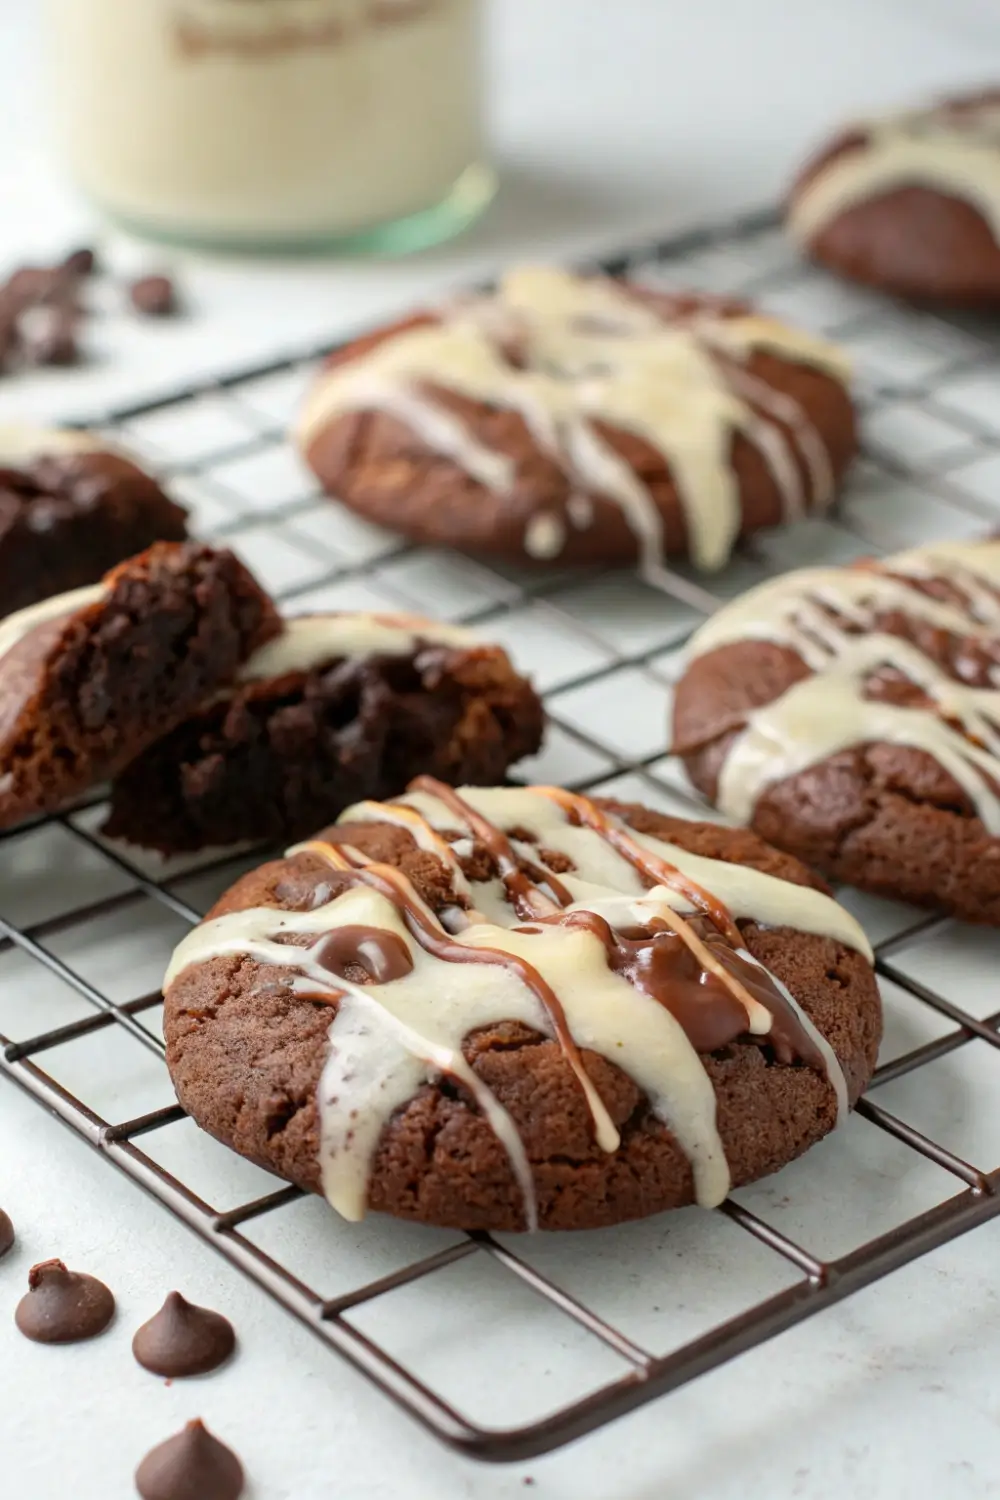
Dark Chocolate Version
Use dark chocolate pieces for a deeper, less sweet flavor.
White Chocolate Twist
Add white chocolate chips for contrast in flavor and appearance.
Nut-Free Option
Simply omit the nuts if needed and add more chocolate instead.
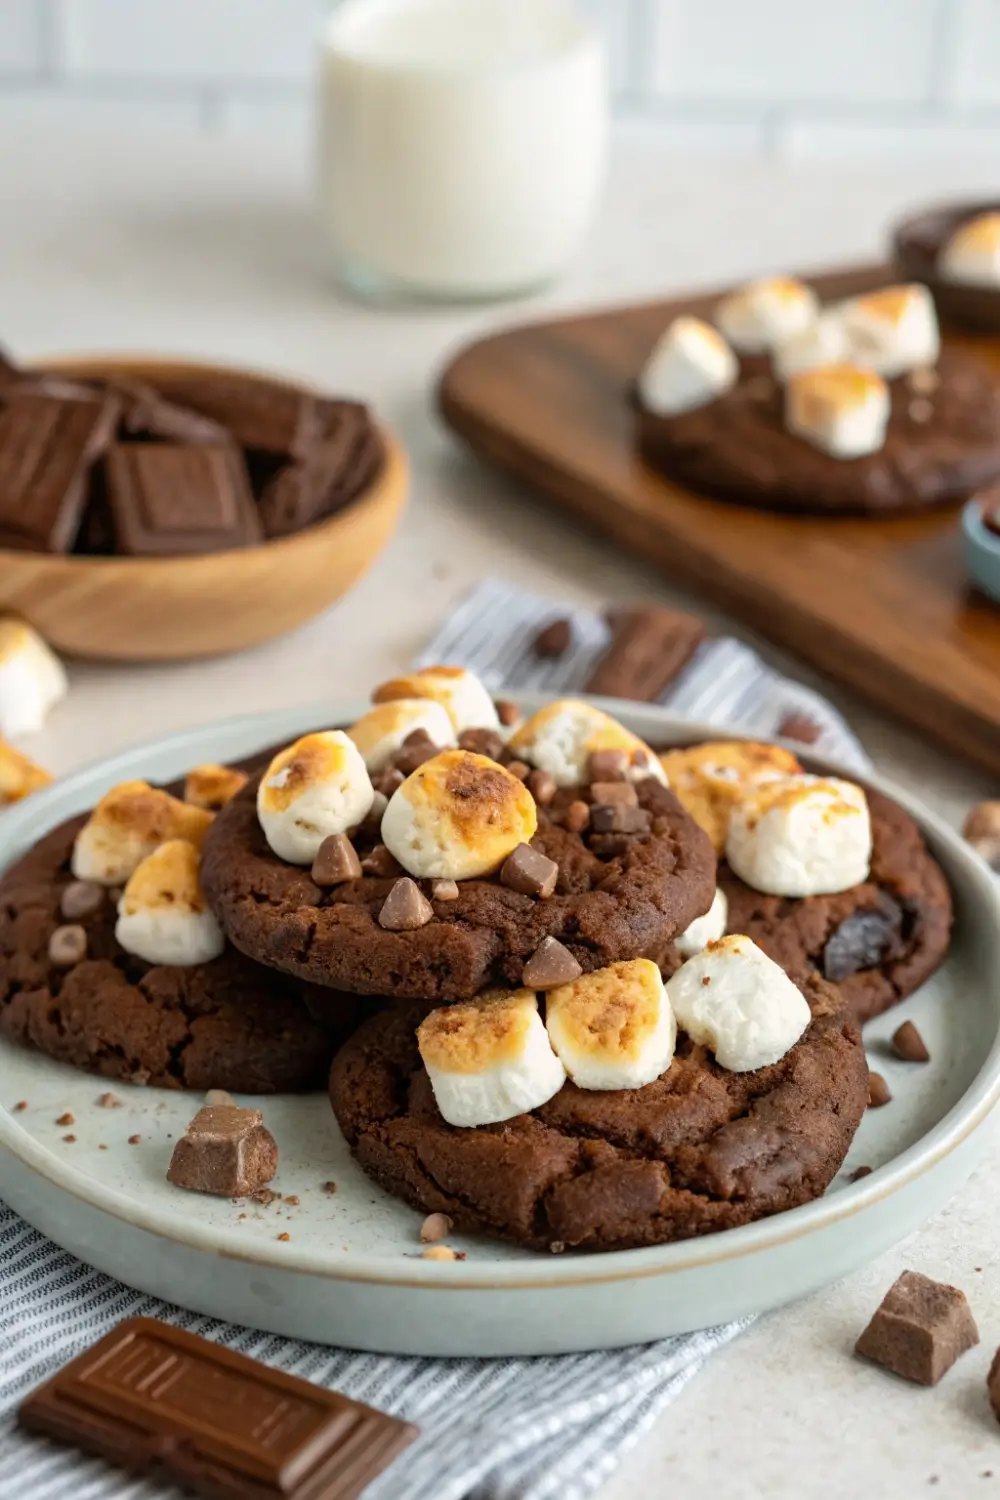
Serving Suggestions
These cookies are versatile and can be enjoyed in many ways.
With Hot Drinks
Pair with coffee, tea, or hot chocolate for a comforting treat.
Dessert Platters
Add them to a tray with other desserts for variety.
Warm and Fresh
Serve slightly warm to enjoy the melted chocolate at its best.
As Gifts
Package in decorative boxes or bags for sharing.
Storage and Shelf Life
Room Temperature
Store in an airtight container for up to 5 days.
Refrigeration
Optional, but can extend freshness.
Freezing
- Freeze baked cookies for up to 2 months
- Freeze dough for future baking
Common Mistakes to Avoid
Using Too Many Nuts
Too many nuts can overpower the chocolate flavor and affect texture.
Overbaking
This is the most common mistake—remove cookies while centers are still soft.
Skipping Parchment Paper
Can lead to sticking and uneven baking.
Uneven Mixing
Ensure nuts and chocolate are distributed evenly.
Family Gatherings
A great dessert for sharing with loved ones.
Celebrations
Their texture and flavor make them stand out on dessert tables.
Everyday Treats
Simple enough to enjoy anytime.
Building Your Baking Skills
This recipe helps you develop useful baking techniques.
Understanding Texture Balance
Learning how soft and crunchy elements work together.
Ingredient Customization
Experimenting with different nuts and chocolate types.
Baking Timing
Recognizing when cookies are perfectly baked.
Frequently Asked Questions
Can I use salted nuts?
Yes, but it will add a slight salty flavor that can enhance the sweetness.
Do I need to toast the nuts?
No, but toasting adds extra flavor and crunch.
Can I make these cookies gluten-free?
Yes, by using a gluten-free brownie mix and flour substitute.
Why are my cookies too hard?
They were likely overbaked. Try reducing the baking time.
Can I make smaller cookies?
Yes, just adjust the baking time accordingly.
Can I prepare the dough in advance?
Yes, refrigerate it for up to 24 hours before baking.
Are these cookies beginner-friendly?
Yes, they are simple to make and very forgiving.
Final Thoughts
Brownie mix cookies with nuts and chocolate are the perfect combination of rich flavor and satisfying texture. They bring together the softness of brownies, the structure of cookies, and the crunch of nuts into one delicious treat.
Easy to prepare and endlessly customizable, these cookies are ideal for both beginners and experienced bakers. Whether you’re baking for a special occasion or simply craving something sweet, this recipe delivers every time.
With their fudgy centers, crunchy bites, and melted chocolate throughout, these cookies are more than just a dessert—they’re a comforting, indulgent experience that’s hard to resist.
")