Contents
Preserve the taste of summer and reduce food waste with these dehydrated zucchini chips—a clean, crunchy, and oil-free snack that’s as nutritious as it is satisfying. Whether you’re dealing with an abundance of garden zucchini or looking for a healthy snack to prep ahead, this recipe is your new go-to for long shelf-life veggie chips.
Unlike traditional chips, these zucchini crisps contain no oil, no artificial additives, and can be seasoned any way you like. They’re lightweight, nutrient-dense, and perfect for everything from hiking trips to school lunches to emergency food storage.
🌿 Why You’ll Love Dehydrated Zucchini Chips
-
Oil-Free and Naturally Low-Calorie
-
Great for Preserving a Garden Harvest
-
Long Shelf Life When Stored Properly
-
Customizable Flavors – from simple sea salt to spicy or cheesy
-
Perfect for Meal Prep and Clean Eating
-
Keto-, Vegan-, and Gluten-Free-Friendly
With minimal effort and a dehydrator or low-temperature oven, you can enjoy zucchini chips all year round — crunchy, flavorful, and guilt-free.
🧾 Ingredients for Basic Dehydrated Zucchini Chips
This basic version keeps it simple and clean:
-
2–3 medium zucchinis, sliced into uniform thin rounds (about 1/8 inch)
-
1 teaspoon sea salt, for drawing out moisture
-
Optional seasonings:
-
Garlic powder
-
Onion powder
-
Dried dill or oregano
-
Smoked paprika
-
Nutritional yeast (for a cheesy flavor)
-
🧂 No oil needed! Dehydration naturally removes moisture and intensifies flavor without added fat.
🔧 Equipment You’ll Need
-
Sharp knife or mandoline slicer
-
Paper towels or clean kitchen towel
-
Food dehydrator (preferred) or oven
-
Airtight containers or mason jars for storage
-
Parchment paper or silicone liner (for oven method)
👩🍳 How to Make Dehydrated Zucchini Chips
Step 1: Wash and Slice Zucchini
Wash the zucchini thoroughly and trim the ends. Use a mandoline slicer or very sharp knife to cut into thin, even slices (1/8 inch or thinner). Uniform slices help the chips dehydrate evenly.
Step 2: Salt and Sweat
Spread the zucchini slices on a clean towel or paper towel. Sprinkle with sea salt and let them sit for 10–15 minutes. This helps draw out excess moisture.
After resting, blot the slices gently with a second towel to remove released moisture.
Step 3: Season (Optional)
If you’d like flavored chips, toss the slices gently with your choice of dry seasonings. Keep it light—too much powder can slow the drying process.
🧀 Try nutritional yeast + garlic powder for a dairy-free, cheesy flavor, or paprika + black pepper for a smoky snack.
Step 4: Dehydrate
Using a Dehydrator:
-
Lay slices in a single layer on dehydrator trays.
-
Set to 125°F (52°C).
-
Dry for 8 to 12 hours, flipping halfway if needed.
-
Chips are done when they’re dry, crispy, and snap when bent.
Using an Oven:
-
Preheat to lowest setting (usually 170–200°F or 75–95°C).
-
Line a baking sheet with parchment paper.
-
Place slices in a single layer and leave the oven door slightly ajar to allow moisture to escape.
-
Bake for 3 to 5 hours, flipping occasionally, until completely dry and crisp.
Step 5: Cool and Store
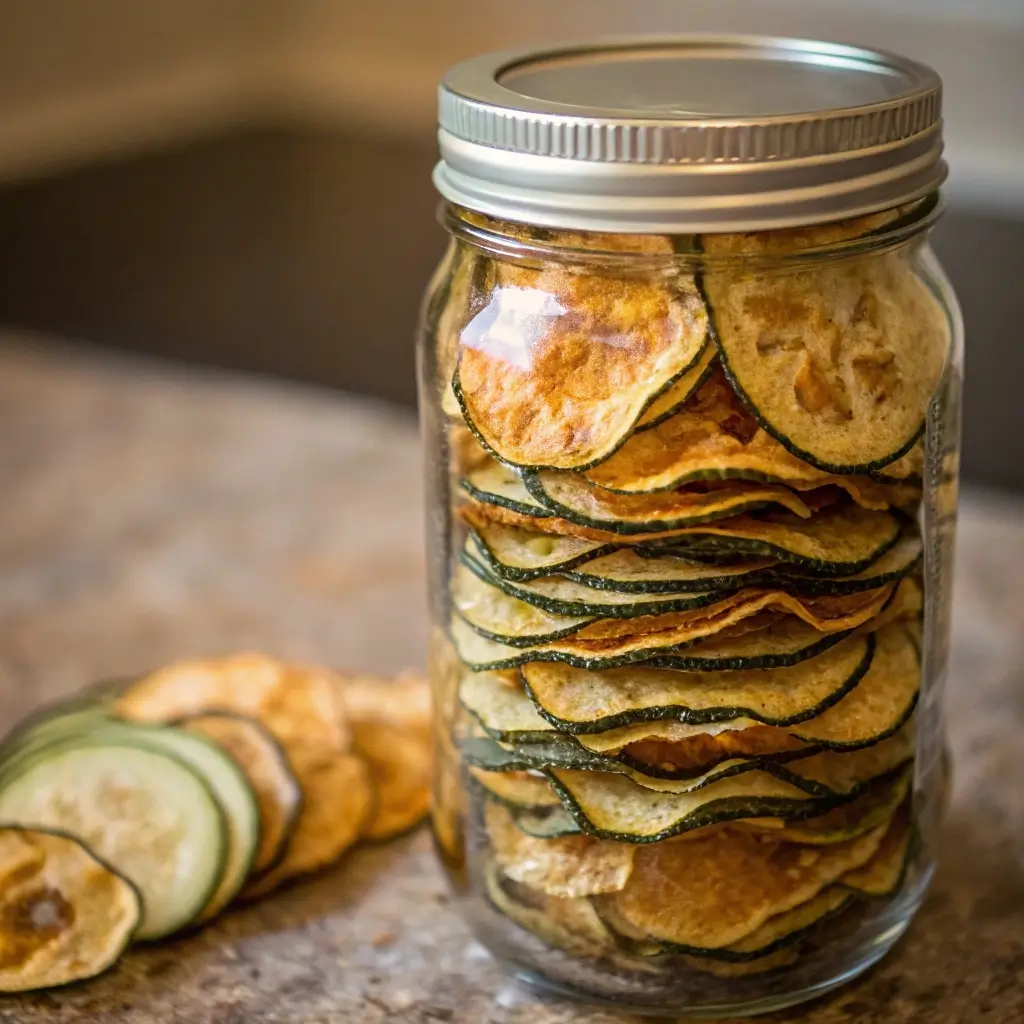
Let the chips cool completely before storing to avoid trapped moisture (which can cause mold).
Transfer to:
-
Airtight containers
-
Glass mason jars
-
Vacuum-sealed bags (for long-term storage)
🧊 Store in a cool, dry, dark place for up to 3–6 months, or longer if vacuum-sealed.
🧂 Flavor Variations
Want to mix things up? Try one of these fun flavor combinations:
-
Herb Garden: Dried basil, oregano, rosemary
-
Cheesy Vegan: Nutritional yeast, garlic powder, onion powder
-
Smoky BBQ: Paprika, cumin, chili powder
-
Lemon Pepper: Dried lemon zest + cracked black pepper
-
Spicy Chili: Cayenne, sea salt, smoked paprika
🥗 How to Use Dehydrated Zucchini Chips
These aren’t just for snacking! Here’s how to enjoy them:
-
Eat as a clean, crunchy snack right out of the jar
-
Crumble over soups or salads for texture
-
Pack in lunchboxes, hiking bags, or road trip snacks
-
Add to homemade trail mixes
-
Keep in your pantry as emergency shelf-stable veggies
📦 Storage Tips
🟢 Short-Term:
-
Keep in a sealed jar or container for up to 3 months
-
Store in a cool, dry place away from sunlight
🔵 Long-Term:
-
Use vacuum-sealed bags for 6–12 months of shelf life
-
Add an oxygen absorber packet for even longer storage
❌ Do not store warm chips—they’ll develop condensation and spoil.
🧠 Frequently Asked Questions (FAQs)
❓Do I need a dehydrator?
No! While a dehydrator is most efficient, you can use a low-temperature oven with great results. Just make sure to allow air circulation (crack the door slightly).
❓Can I make these oil-free?
Yes—this recipe is naturally oil-free. That’s what makes it great for clean eating and long-term storage.
❓Are dehydrated zucchini chips keto-friendly?
Absolutely. Zucchini is low in carbs and calories. These chips make a perfect keto or diabetic-friendly snack.
❓How do I know when they’re fully dehydrated?
They should be:
-
Dry and crisp
-
No longer flexible or chewy
-
Snap when broken in half
If they’re still soft in the center, they need more time.
❓Can I freeze them?
Freezing isn’t recommended. It introduces moisture. Instead, store in airtight jars or vacuum-sealed bags for best results.
✍️ Final Thoughts
Dehydrated Zucchini Chips are a smart, simple, and sustainable way to snack better and reduce waste. Whether you’re prepping for the week or preserving a summer garden bounty, these chips offer a crunchy, guilt-free solution with minimal ingredients and maximum shelf life.
So grab those zucchinis while they’re fresh, slice them thin, and let your dehydrator (or oven) do the work. You’ll be rewarded with a stash of oil-free, gluten-free, nutrient-dense chips you’ll reach for again and again.
")