EasyCinnamon Rolls with Soft Center Texture: Gooey, Fluffy, and Irresistible
Imagine waking up to the heavenly aroma of cinnamon and sugar, the promise of warm, tender rolls melting in your mouth. Forget complicated recipes or hours of kneading – we’re bringing you the ultimate shortcut to bakery-style cinnamon rolls right in your own kitchen. These Easy Cinnamon Rolls boast a uniquely soft center texture that stays delightfully gooey, paired with a perfectly crisp exterior and a luscious vanilla glaze. They’re the perfect weekend treat, a special breakfast, or an unexpected dessert that will have everyone asking for the recipe. Let’s dive into creating these fluffy, cinnamon-sugar dreams.
Why These Cinnamon Rolls Stand Out
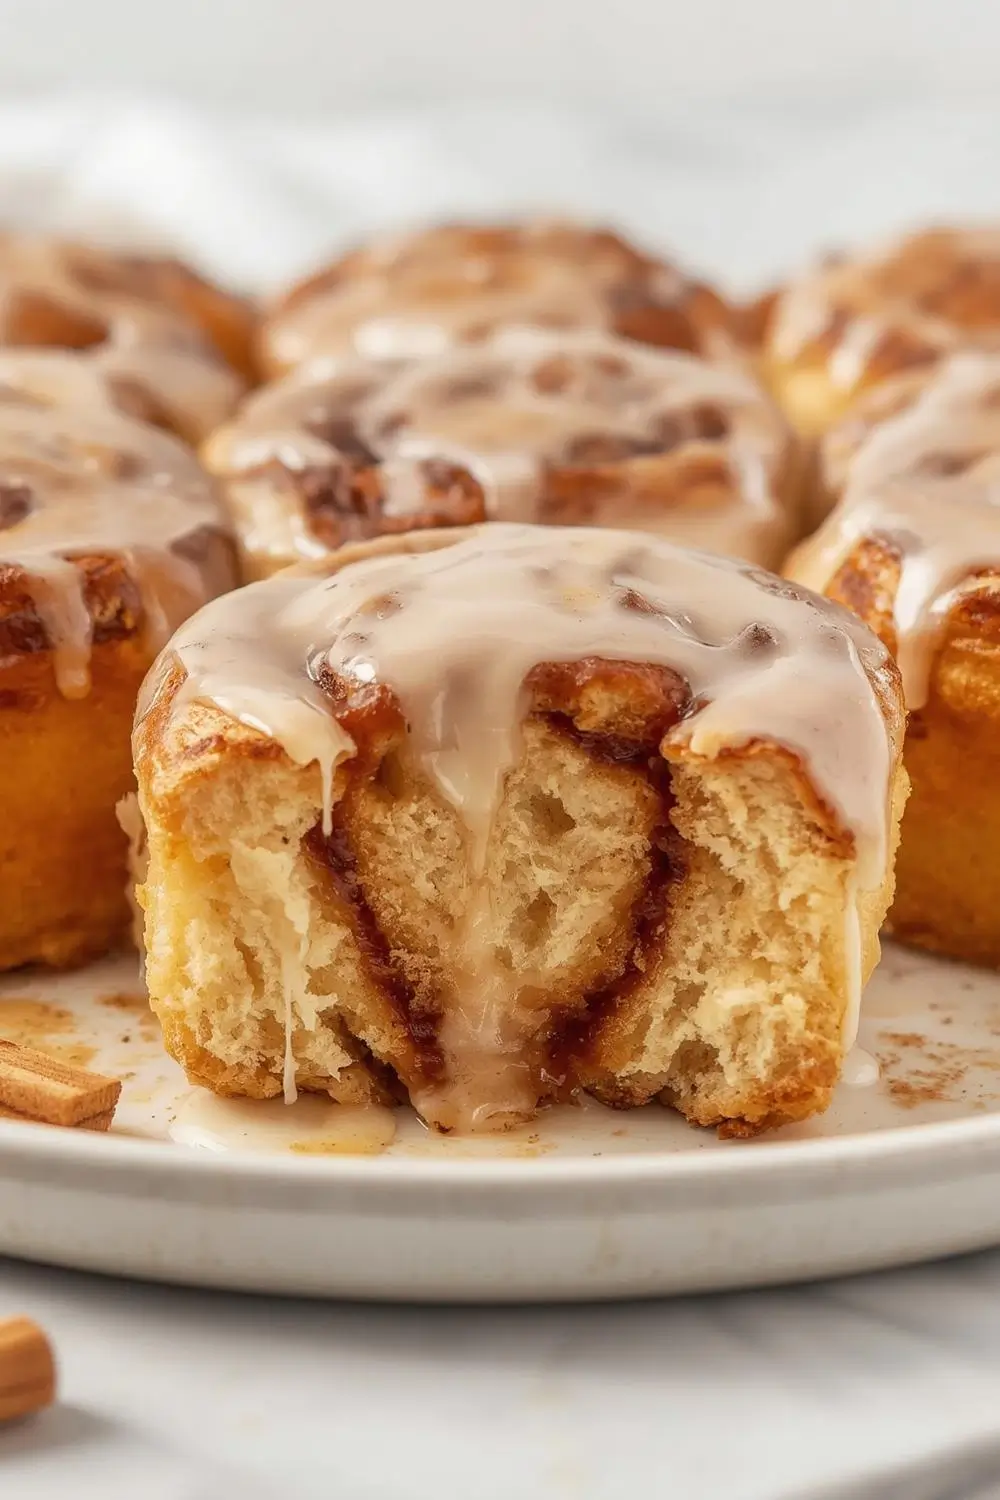
What sets these rolls apart? It’s all about the texture. Traditional cinnamon rolls can sometimes be dense or dry, but our secret lies in the dough composition and a specific baking technique. We use a combination of all-purpose flour and a touch of cornstarch to create an incredibly soft, tender crumb that stays moist even after baking. The filling is generously packed with cinnamon and brown sugar, ensuring every bite bursts with flavor. The key to the soft center? Baking them in a slightly cooler oven for a longer time allows the interior to cook gently without drying out, while the exterior develops just the right amount of chew. Topped with a simple, silky vanilla glaze, these rolls are pure comfort in every bite.
Gathering Your Ingredients: The Foundation of Flavor
Before you begin, ensure you have everything ready. This recipe uses common pantry staples, making it accessible for any home baker. Here’s what you’ll need:
- For the Dough:
* 2 ¼ teaspoons (1 standard packet) Active Dry Yeast – The leavening agent that makes the dough rise.
* ½ cup (120ml) Warm Milk (110-115°F / 43-46°C) – Warm but not hot, to activate the yeast without killing it.
* ¼ cup (50g) Granulated Sugar – Sweetens the dough and feeds the yeast.
* ¼ cup (57g) Unsalted Butter, melted and slightly cooled – Adds richness and tenderness.
* 1 large Egg, at room temperature – Provides structure and richness.
* 1 teaspoon Vanilla Extract – Enhances the overall flavor profile.
* 3 ½ to 4 cups (440-500g) All-Purpose Flour – The main structure. Start with 3 ½ cups and add more as needed.
* 1 teaspoon Salt – Balances the sweetness and enhances flavor.
- For the Cinnamon Sugar Filling:
* ½ cup (100g) Brown Sugar, packed – Adds moisture and deep caramel notes.
* 2 tablespoons Ground Cinnamon – The star flavor.
* ¼ cup (57g) Unsalted Butter, softened – Creates a spreadable, flavorful layer.
- For the Vanilla Glaze:
* 1 cup (120g) Powdered Sugar (Confectioners’ Sugar) – Creates the smooth glaze.
* 2-3 tablespoons Milk or Heavy Cream – Adjusts consistency.
* ½ teaspoon Vanilla Extract – Reinforces the vanilla flavor.
* Pinch of Salt – Enhances the sweetness.
Step-by-Step Instructions: From Bowl to Beautiful Rolls
Now, let’s transform these ingredients into golden, gooey rolls. This process is surprisingly straightforward, even for beginners.
1. Activate the Yeast (The Magical Start):
* In a large mixing bowl, combine the warm milk, granulated sugar, and active dry yeast. Stir gently and let it sit for 5-10 minutes. You’ll see it become foamy on top – this means your yeast is alive and active! If it doesn’t foam, your yeast might be expired, and you’ll need to start over.
2. Mix the Wet Ingredients:
* Add the melted butter, room-temperature egg, and vanilla extract to the yeast mixture. Whisk everything together until well combined and smooth.
3. Combine Dry Ingredients & Form the Dough:
* In a separate bowl, whisk together 3 ½ cups of flour and the salt. Gradually add this flour mixture to the wet ingredients, mixing with a wooden spoon or sturdy spatula until a shaggy dough forms. It will be sticky.
4. Knead the Dough (Gentle is Key):
* Turn the dough out onto a lightly floured surface. Using floured hands, gently knead the dough for about 5-7 minutes. The goal is to incorporate the remaining flour (up to ½ cup more if needed) until the dough becomes smooth, elastic, and slightly tacky but not sticky. Avoid over-kneading, which can make the rolls tough. The dough should pass the “windowpane test” – stretch a small piece thin enough to see light through without tearing.
5. First Rise (Patience is a Virtue):
* Lightly grease a large bowl with oil. Place the dough ball in the bowl, turning it once to coat. Cover the bowl tightly with plastic wrap or a damp kitchen towel. Let the dough rise in a warm, draft-free spot for 1 to 1.5 hours, or until it has doubled in size. It should look puffy and feel light.
6. Prepare the Filling & Pan:
* While the dough rises, make the cinnamon sugar filling by whisking together the brown sugar and cinnamon in a small bowl. In another small bowl, soften the ¼ cup of butter for the filling. Lightly grease a 9-inch round or square baking pan.
7. Roll Out the Dough:
* Once risen, punch down the dough gently to release air bubbles. Turn it out onto a lightly floured surface. Roll the dough into a 12×18 inch rectangle, about ¼ inch thick. Aim for an even thickness.
8. Spread the Butter & Sprinkle the Filling:
* Spread the softened butter evenly over the entire surface of the dough, leaving a ½ inch border along one long edge. Sprinkle the cinnamon sugar mixture evenly over the buttered dough, pressing it gently so it adheres.
9. Roll Up & Cut:
* Starting from the long edge covered in filling, carefully roll the dough up tightly into a log. Pinch the seam closed along the edge. Using a sharp knife or dental floss, cut the log into 9 equal pieces (about 1.5 inches thick each). Place the rolls cut-side up in the prepared baking pan, leaving a little space between them for expansion.
10. Second Rise (The Final Proof):
* Cover the pan loosely with plastic wrap or a towel. Let the rolls rise again in a warm place for 30-45 minutes, or until they look puffy and have nearly doubled in size. They should look much fuller than after the first rise.
11. Bake to Golden Perfection:
* Preheat your oven to 350°F (175°C). Bake the rolls for 25-30 minutes, or until the tops are a deep golden brown and the rolls are cooked through. The internal temperature should reach about 190°F (88°C) if you have a thermometer. They should sound hollow when tapped on the bottom.
12. Make the Glaze & Finish:
* While the rolls bake, whisk together the powdered sugar, milk (or cream), vanilla extract, and a pinch of salt for the glaze until smooth. If it’s too thick, add a tiny bit more milk; if too thin, add a touch more powdered sugar.
* As soon as the rolls come out of the oven, drizzle the warm glaze evenly over the tops. The heat helps the glaze melt slightly and seep into the rolls, enhancing the soft center texture. Let them cool in the pan for 10-15 minutes before serving. The glaze will set slightly as it cools.
Variations & Substitutions: Making it Your Own
- Flavored Glaze: Swap the vanilla extract in the glaze for almond extract, lemon zest, or orange zest for a different twist.
- Add-Ins: Fold in chopped pecans, walnuts, or raisins into the cinnamon sugar filling for extra texture and flavor.
- Different Sugars: Use light brown sugar instead of dark brown sugar for a milder caramel note. Granulated sugar can be used, but brown sugar adds moisture and flavor.
- Flour Swap: For a slightly denser, more flavorful roll, substitute up to 1 cup of the all-purpose flour with whole wheat flour. The texture will be heartier.
- Milk Alternatives: Lactose-free milk, almond milk, or oat milk can be used in place of dairy milk. Ensure it’s warmed to the correct temperature.
- Butter Substitute: For a dairy-free option, use a solid coconut oil or a vegan butter substitute. The texture might be slightly different.
- Glaze Thickness: Adjust the milk amount in the glaze to achieve your desired consistency – thicker for drizzling, thinner for soaking in.
Storage & Reheating: Keeping the Magic Alive
- Room Temperature: Store leftover rolls in an airtight container at room temperature for up to 2 days. The soft center texture is best enjoyed fresh, but they remain quite good.
- Refrigeration: For longer storage (up to 4 days), refrigerate the rolls in an airtight container. They may firm up slightly.
- Reheating: To restore the gooey center and warm the rolls, reheat individually in the microwave for 15-20 seconds. For a crispier exterior, reheat in a preheated 350°F (175°C) oven for 5-7 minutes. Avoid overheating, as this can dry them out.
Freezing: You can freeze the baked rolls (without glaze) for up to 1 month. Wrap them tightly in plastic wrap and then foil. Thaw overnight at room temperature and reheat as above. You can also freeze the dough after the first rise but before* shaping and baking. Place the shaped rolls in the pan, cover tightly, and freeze. Thaw in the refrigerator overnight, then let rise until puffy before baking and glazing.
Common Mistakes to Avoid: Ensuring Success Every Time
- Killing the Yeast: Using milk that’s too hot (above 115°F / 46°C) will kill the yeast. Ensure it’s warm, not hot.
- Over-Kneading: This develops too much gluten, leading to tough, chewy rolls instead of soft and tender. Knead just until the dough is smooth and elastic.
- Under-Kneading: Insufficient kneading can result in a dough that doesn’t rise well or has a dense texture. The dough should pass the windowpane test.
- Rushing the Rise: Yeast needs time to work. Don’t skip the first or second rise; it’s crucial for flavor and texture development.
- Over-Baking: Baking too long dries out the rolls. They should be golden brown but still soft in the center. Use a timer and check for doneness.
- Glaze Too Thick/Thin: Adjust the milk or powdered sugar to get the perfect drizzling consistency. It should be pourable but not runny.
- Not Letting Rolls Cool: Glazing hot rolls right out of the oven allows the glaze to melt into the rolls beautifully. Letting them cool too long before glazing can make the glaze sit on top.
Frequently Asked Questions: Your Cinnamon Roll Queries Answered
- Q: Can I make these rolls ahead of time?
A: Absolutely! You can shape the rolls, place them in the pan, cover, and refrigerate them overnight. Let them come to room temperature and rise for about an hour before baking. You can also freeze the shaped rolls (without glaze) for up to a month.
- Q: Why are my rolls dense and not fluffy?
A: This is often due to under-kneading (not enough gluten development) or under-proofing (not enough rise time). Ensure you knead sufficiently and give the dough ample time to rise in a warm spot.
- Q: How do I know when the dough has risen enough?
A: The dough should look noticeably puffy and have doubled in size. It should spring back slowly when you gently press your finger into it, leaving a slight indentation that fills in slowly.
- Q: Can I use instant yeast instead of active dry yeast?
A: Yes! You can use instant yeast (also called rapid-rise or bread machine yeast) in the same amount. You don’t need to activate it with warm milk first; just add it directly to the dry ingredients with the flour and salt.
- Q: Why is my glaze too thick?
A: Add a tiny bit more milk or cream, a teaspoon at a time, until you reach the desired consistency. It should drizzle easily but not run off the spoon.
- Q: Can I make these rolls without a mixer?
A: Yes! You can mix and knead the dough entirely by hand using a sturdy wooden spoon and your hands. It just takes a bit more elbow grease.
- Q: How do I prevent the rolls from sticking to the pan?
A: Generously grease the pan with butter or non-stick spray. You can also line the bottom with parchment paper for easy removal.
- Q: Can I use a different pan size?
A: Yes, but the baking time will change. A smaller pan (like 8×8 inch) will make taller, slightly denser rolls that might need 5-10 minutes less baking time. A larger pan (like 9×13 inch) will make flatter rolls that might need 5-10 minutes more baking time. Adjust accordingly.
- Q: What’s the best way to store leftover rolls?
A: Store them in an airtight container at room temperature for up to 2 days, or refrigerate for up to 4 days. Reheat gently to restore the soft center texture.
The Perfect Finish: A Warm Welcome
There’s something deeply satisfying about pulling these Easy Cinnamon Rolls from the oven. The aroma fills your home, promising a moment of pure indulgence. The soft, gooey center is a revelation, a texture you won’t find in many other cinnamon rolls. The balance of sweet cinnamon and sugar, the tender crumb, and the silky vanilla glaze create a symphony of flavors and textures that are simply irresistible. Whether enjoyed for a leisurely weekend breakfast, a special occasion, or a cozy afternoon treat, these rolls are guaranteed to become a beloved staple in your baking repertoire. Gather your ingredients, follow the steps, and prepare to delight everyone with the magic of homemade cinnamon rolls that melt in your mouth. Enjoy every gooey, fluffy bite!
")