TheUltimate Sourdough Discard Honey Oat Breakfast Loaf: Sweet, Tangy, and Perfect for Mornings
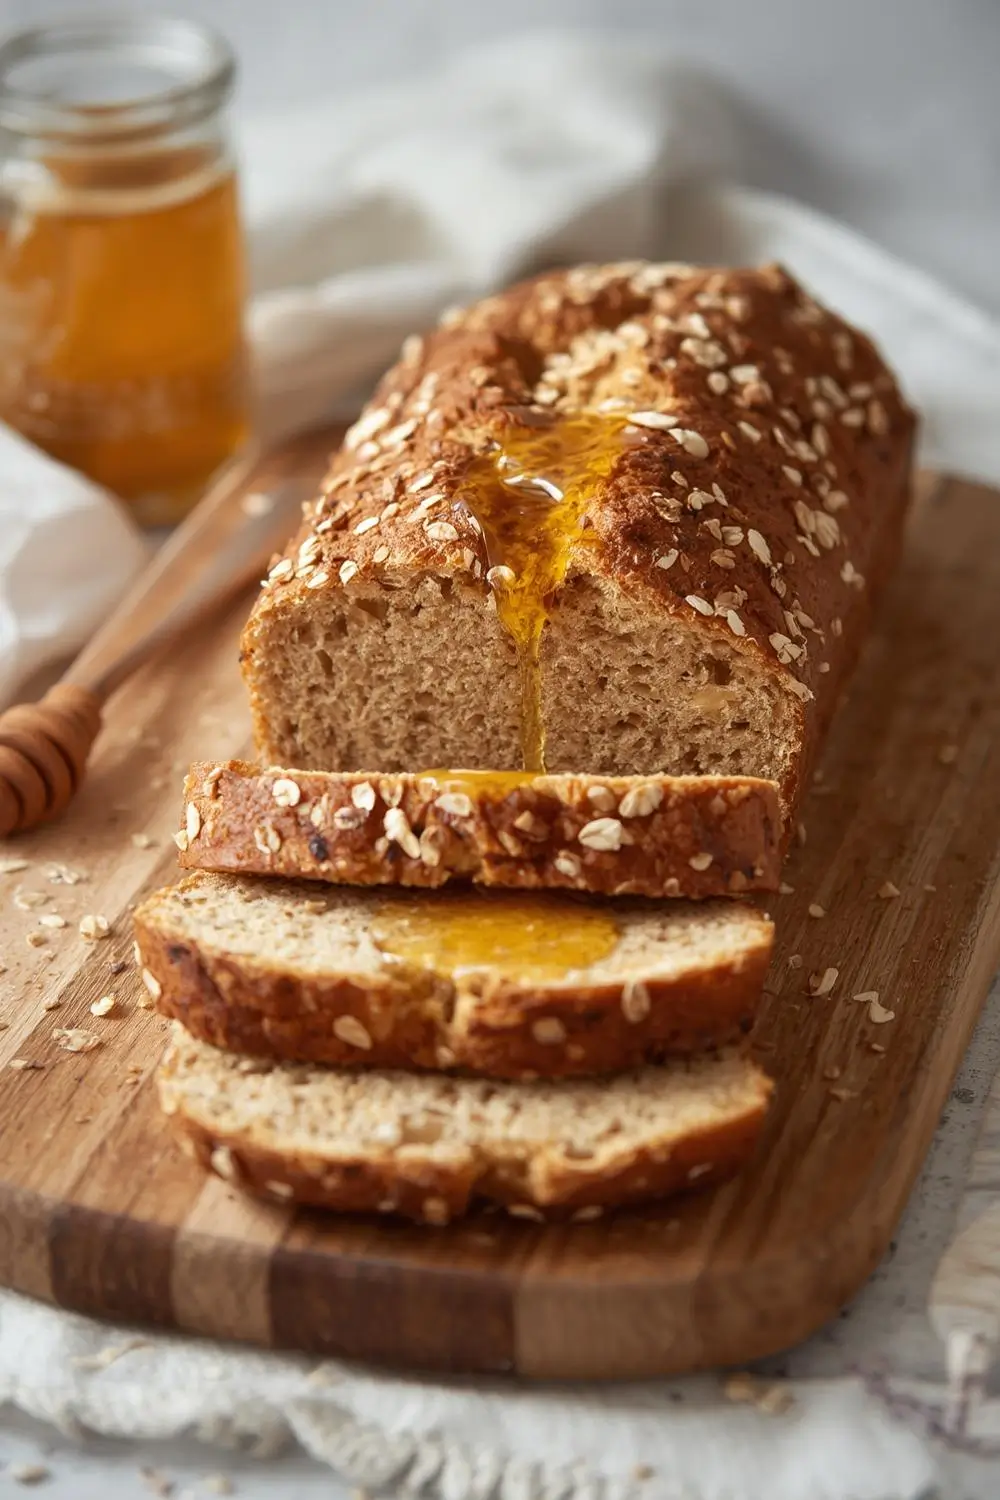
Imagine waking up to the comforting aroma of sourdough mingling with the gentle sweetness of honey and the hearty crunch of oats. This isn’t just bread; it’s a celebration of your sourdough starter’s discarded potential, transformed into a moist, flavorful loaf that’s perfect for toasting, slicing, or simply enjoying with a pat of butter. Forget complicated recipes – this Easy Sourdough Discard Honey Oat Breakfast Loaf is a revelation, turning kitchen scraps into breakfast gold. Let’s dive into creating this tangy, sweet, and utterly satisfying treat.
Why Sourdough Discard is a Gift
If you bake sourdough bread, you know the constant battle with discard. It piles up, and while freezing is an option, why not put it to delicious use? This loaf harnesses the natural tang and complexity of your discard, giving it new life. The honey isn’t just sweetness; it adds moisture, tenderness, and a subtle depth that complements the sourdough beautifully. Oats bring texture, fiber, and a comforting earthiness. Together, they create a breakfast loaf that’s far more interesting than plain white bread.
Your Pantry Staples, Your Flavor Canvas
Before we get baking, let’s gather what you’ll need. This recipe relies on simplicity and quality ingredients:
Sourdough Discard: The star! Use about 1 cup (240g) of discard that’s been fed recently (within 1-2 days). It should be thick and active. Tip: If your discard is very wet, add a tablespoon or two more flour to the dry ingredients.*
- All-Purpose Flour: Provides structure. You’ll need 2 cups (240g) plus extra for dusting.
Rolled Oats (Old-Fashioned): For texture and flavor. Use 1 cup (100g) of plain rolled oats. Avoid instant oats.*
- Honey: The natural sweetener. Use 1/3 cup (120g) of good quality honey. It adds moisture and a lovely golden hue.
- Baking Powder: A gentle lift. 1 1/2 teaspoons.
- Salt: Essential for flavor balance. 1 teaspoon.
- Eggs: For richness and structure. 2 large eggs.
- Milk (or Buttermilk): Adds tenderness. Use 3/4 cup (180ml) of whole milk, buttermilk, or even a dairy-free alternative like almond milk.
- Melted Butter (or Neutral Oil): For richness and moisture. 1/4 cup (57g) melted unsalted butter or a mild oil like canola or vegetable.
- Vanilla Extract: A touch of warmth. 1 teaspoon.
- Optional Add-ins: Feel free to stir in 1/2 cup (60g) of chopped nuts (walnuts, pecans), seeds (chia, flax, pumpkin), or dried fruit (raisins, cranberries) for extra texture and flavor.
The Magic Begins: Mixing Your Loaf
1. Prep Your Pan: Lightly grease a standard 9×5 inch loaf pan. You can line it with parchment paper for easy removal, leaving an overhang on the long sides.
2. Combine Dry Ingredients: In a large bowl, whisk together the 2 cups flour, rolled oats, baking powder, and salt. Give it a good stir to ensure even distribution.
3. Combine Wet Ingredients: In a separate medium bowl, whisk together the sourdough discard, honey, eggs, milk, melted butter, and vanilla extract until smooth. If using add-ins, fold them in now.
4. The Gentle Merge: Pour the wet ingredients into the dry ingredients. Using a spatula or wooden spoon, stir just until combined. The batter will be thick and slightly lumpy – do not overmix! Overmixing develops gluten, leading to a tough loaf. A few streaks of flour are perfectly fine.
5. Transfer to Pan: Scrape the thick batter into your prepared loaf pan. Use the spatula to gently smooth the top. It will be quite dense.
Baking: Patience and Perfect Heat
1. Preheat: Place your oven rack in the center position and preheat to 350°F (175°C). This ensures even baking.
2. The Bake: Place the loaf pan in the preheated oven. Bake for approximately 50-65 minutes. This is the crucial part – baking time varies greatly! Start checking at 50 minutes.
* The Test: Insert a wooden skewer or toothpick into the center of the loaf. It should come out clean or with just a few moist crumbs clinging to it. If it’s wet or doughy, bake for another 5-10 minutes and test again. The top should be a deep golden brown, and the edges should pull slightly away from the sides of the pan.
3. Cool Completely: This is non-negotiable! Remove the loaf from the oven and let it cool in the pan for at least 15-20 minutes. Then, carefully lift it out using the parchment paper overhang (if used) and transfer it to a wire rack. Allow it to cool completely, ideally for at least 1-2 hours, before slicing. Cutting into it too soon releases steam and makes it gummy.
Why Cooling is Key
The temptation to slice into a freshly baked loaf is real, but rushing this step is a common mistake. As the loaf cools, the internal structure sets properly. Slicing too early means a dense, gummy texture. Be patient – the wait is worth it for that perfect, clean slice.
Variations to Keep it Interesting
Once you master the base recipe, the possibilities are endless:
- Nutty Delight: Add 1/2 cup chopped walnuts or pecans with the oats.
- Seedy Boost: Stir in 1/2 cup chia seeds, flax seeds, or pumpkin seeds.
- Fruitful Twist: Fold in 1/2 cup dried cranberries, blueberries, or chopped apples (dried or fresh, but pat fresh ones dry first).
- Spiced Up: Add 1 teaspoon ground cinnamon or nutmeg to the dry ingredients.
- Chocolate Lover’s Dream: Stir in 1/2 cup chocolate chips (ensure they’re dairy-free if needed).
- Savory Option: Reduce honey to 2 tablespoons, add 1/2 teaspoon garlic powder, and stir in 1/2 cup grated Parmesan or sharp cheddar cheese.
Storage & Reheating: Keeping it Fresh
Room Temperature: Once completely cooled, wrap the loaf tightly in plastic wrap or store it in an airtight container at room temperature. It will stay fresh for 2-3 days. Tip: Place a slice of bread or a paper towel in the container with the loaf to absorb excess moisture.*
- Refrigeration: For longer storage (up to 5-7 days), wrap the loaf tightly in plastic wrap and then place it in a resealable freezer bag. Refrigeration can dry it out slightly faster than room temperature.
Freezing: For maximum freshness, wrap the cooled* loaf tightly in plastic wrap, then place it in a freezer-safe resealable bag or wrap it again in foil. Freeze for up to 3 months. Thaw at room temperature or gently warm slices in the toaster or oven.
- Reheating: For the best texture, reheat slices in a toaster, toaster oven, or a dry skillet over medium heat until warmed through and slightly crisp. You can also wrap slices in foil and warm them in a 300°F (150°C) oven for 10-15 minutes. Avoid the microwave, as it can make the loaf gummy.
Common Mistakes to Avoid
1. Overmixing: This is the #1 culprit for a tough loaf. Mix just until the dry ingredients are incorporated. Lumps are okay!
2. Using Wet Discard: If your discard is very runny, add a tablespoon or two more flour to the dry ingredients. A thick, pancake-batter consistency is ideal.
3. Incorrect Baking Time: Every oven is different! Start checking at 50 minutes. Underbaking leads to a gummy center; overbaking dries it out. Use the skewer test!
4. Cutting Too Soon: Resist the urge! Cooling completely is essential for the perfect texture.
5. Skipping the Honey: While you could omit it, honey adds crucial moisture and a subtle depth that defines this loaf. Don’t skip it.
6. Using Instant Oats: They break down too much and make the loaf gummy. Stick with rolled oats.
Your Sourdough Discard Honey Oat Breakfast Loaf FAQs
- Q: What if I don’t have sourdough discard? You can make a simple starter using 1 cup flour and 1 cup water, feeding it daily for 5-7 days until active and bubbly. Use 1 cup of this active starter in place of discard. It won’t have the same tang, but it will work.
- Q: Can I use whole wheat flour? Yes! Substitute up to half of the all-purpose flour with whole wheat flour for a nuttier flavor and denser texture. You might need a splash more milk.
- Q: Why is my loaf dense? Likely overmixing or underbaking. Check your baking time and ensure you’re not overmixing. Using instant oats can also contribute to density.
- Q: Can I make this dairy-free? Absolutely! Use your favorite dairy-free milk (almond, soy, oat) and a dairy-free butter or oil. Ensure your honey is vegan if needed.
- Q: How do I know if my sourdough discard is active enough? It should be thick, bubbly, and smell pleasantly sour, not alcoholic or overly vinegary. If it’s very thin or smells off, feed it and wait a day or two.
- Q: Can I add nuts or seeds? Yes! Fold in 1/2 cup chopped nuts, seeds, or a mix into the batter before baking. They add great texture and flavor.
- Q: Why did my loaf collapse in the middle? This can happen if the oven temperature is too low, the loaf wasn’t fully baked, or the batter was overmixed. Ensure your oven is preheated and use the skewer test. Don’t overmix!
- Q: Can I use honey instead of sugar? Yes, honey is a direct substitute. Use 1/3 cup honey for every cup of sugar called for. It adds moisture and flavor.
- Q: How do I store it long-term? For the longest shelf life, wrap the cooled, completely cooled loaf tightly in plastic wrap, then place it in a resealable freezer bag. Freeze for up to 3 months. Thaw at room temperature or gently warm slices.
The Final Slice: A Loaf to Savor
There you have it – your journey to creating the ultimate Sourdough Discard Honey Oat Breakfast Loaf. It’s a testament to resourcefulness, transforming what might be considered waste into something truly special. The tangy depth of the sourdough, the comforting sweetness of honey, and the wholesome crunch of oats combine to create a breakfast experience that’s both nourishing and deeply satisfying. Whether you enjoy it toasted with butter, slathered with jam, or simply plain, this loaf is a delicious way to start your day or fuel your afternoon. Remember the key steps: gentle mixing, patient cooling, and trusting your skewer test. Now, go forth, bake, and enjoy the incredible flavor of your sourdough’s discarded potential! Share your creations and variations – I’d love to hear how your loaf turned out. Happy baking!
")