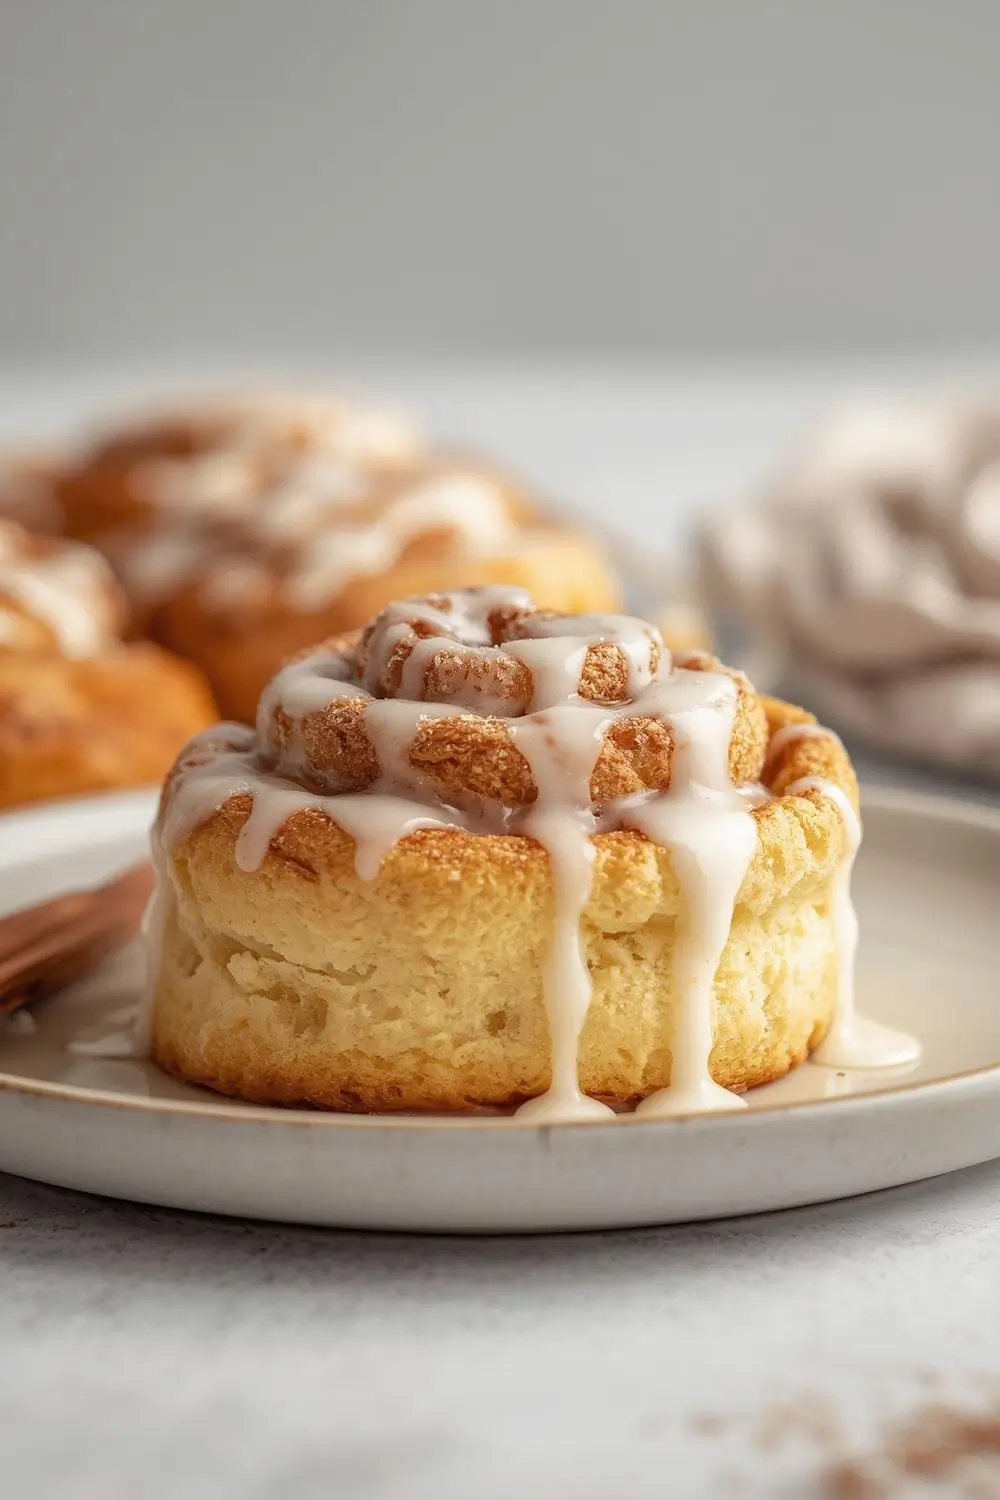
The Ultimate Fluffy Cinnamon Rolls: A Weekend Breakfast Dream
There’s something undeniably magical about the scent of cinnamon rolls baking in the oven. It transforms a simple morning into a celebration. These aren’t just any cinnamon rolls; they are the pinnacle of fluffiness, achieved through a few key techniques that guarantee light, airy layers that practically melt in your mouth. The secret lies in the dough, a carefully balanced blend of ingredients that creates incredible lift without the heaviness. Topped with a whisper of sweetness, this light glaze drizzle is the perfect counterpoint to the rich, spiced filling, creating a harmony of flavors that will have everyone asking for seconds. Forget the dense, store-bought versions – this recipe delivers bakery-quality results right in your own kitchen, perfect for a special weekend treat or a cozy Sunday brunch.
The Heart of the Matter: Understanding the Dough
The magic starts with the dough. It’s a simple yeast dough, but the key to its incredible fluffiness is in the hydration and the mixing method. Using warm milk (not hot!) activates the yeast gently, and the inclusion of a small amount of oil contributes to tenderness. The flour is measured correctly – spooned into the cup and leveled off – to avoid adding too much, which can make the rolls tough. Kneading develops the gluten just enough for structure without overworking it, which would make the rolls chewy instead of tender. The dough needs a warm, draft-free spot to rise, doubling in size as the yeast works its magic, creating countless tiny air pockets that make the rolls so light.
Gathering Your Ingredients: Simplicity is Key
Here’s what you’ll need to create these fluffy wonders:
- For the Dough:
* 3 ¾ cups (about 470g) all-purpose flour (plus extra for dusting)
* ¼ cup (50g) granulated sugar
* 1 ¼ teaspoons salt
* 1 cup (240ml) warm whole milk (110-115°F / 43-46°C)
* ¼ cup (60ml) water (110-115°F / 43-46°C)
* 2 ¼ teaspoons (1 standard packet) active dry yeast
* ¼ cup (60ml) vegetable oil or melted unsalted butter
* 1 large egg, at room temperature
- For the Filling:
* ½ cup (100g) packed light brown sugar
* 2 tablespoons ground cinnamon
* ¼ cup (50g) unsalted butter, softened to room temperature
- For the Light Glaze Drizzle:
* 1 cup (120g) powdered sugar (confectioners’ sugar)
* 2-3 tablespoons milk or heavy cream (adjust for desired consistency)
* ½ teaspoon pure vanilla extract (optional, but recommended)
The Process: From Bowl to Golden Perfection
1. Activating the Yeast: In a large bowl or the bowl of your stand mixer, combine the warm milk, warm water, and granulated sugar. Stir gently to dissolve the sugar. Sprinkle the yeast evenly over the top. Let it sit undisturbed for about 5-10 minutes, until it becomes foamy and fragrant. This proves the yeast is active.
2. Combining Dry Ingredients: While the yeast proofs, whisk together the 3 ¾ cups flour and salt in a separate medium bowl.
3. Mixing the Dough: Add the oil and room-temperature egg to the yeast mixture. Stir until just combined. Gradually add the flour mixture to the wet ingredients, mixing on low speed with the dough hook attachment (or stirring vigorously with a sturdy spoon or spatula) until a shaggy dough forms and most of the flour is incorporated. The dough will be sticky.
4. Kneading for Tenderness: Turn the dough out onto a lightly floured surface. Knead for about 8-10 minutes, adding small amounts of flour only as needed to prevent sticking (about 1-2 tablespoons total). The dough should become smooth, elastic, and slightly tacky but not sticky. It should pass the “windowpane test” – stretching thin enough to see light through without tearing easily. Alternatively, knead in the stand mixer on medium-low speed for 5-7 minutes.
5. First Rise: Lightly grease a large bowl with oil. Place the kneaded dough ball in the bowl, turning it once to coat lightly with oil. Cover the bowl tightly with plastic wrap or a damp kitchen towel. Let it rise in a warm, draft-free spot until doubled in size, about 1 to 1.5 hours.
6. Preparing the Filling: While the dough rises, make the filling. In a small bowl, whisk together the brown sugar and cinnamon. Set aside. Soften the butter by leaving it at room temperature for 30-60 minutes, or gently warm it in the microwave for 10-15 seconds until just soft and spreadable (not melted).
7. Rolling Out the Dough: Once the dough has doubled, punch it down gently to release air bubbles. Turn it out onto a lightly floured surface. Roll the dough into a large rectangle, roughly 16 inches by 24 inches and about ¼ inch thick. Aim for even thickness.
8. Adding the Filling: Spread the softened butter evenly over the entire surface of the dough, leaving a ½-inch border around the edges. Sprinkle the cinnamon sugar mixture evenly over the butter.
9. Rolling and Cutting: Starting from the long edge farthest from you, carefully roll the dough up tightly into a log. Pinch the seam gently to seal. Using a sharp knife or dental floss, cut the log into 12 equal pieces (about 1.5-2 inches thick). Place the rolls cut-side up in a lightly greased 9×13 inch baking pan, leaving a little space between them for expansion.
10. Second Rise: Cover the pan loosely with plastic wrap or a damp towel. Let the rolls rise again in a warm spot until they look puffy and have nearly doubled in size, about 30-45 minutes. They should look much fuller than after the first rise.
11. Baking to Golden Perfection: Preheat your oven to 375°F (190°C). Bake the rolls for 18-22 minutes, or until they are deeply golden brown on top and the edges look set. The internal temperature should reach about 190°F (88°C) when measured with a thermometer inserted into the center of a roll. They should sound hollow when tapped on the bottom.
12. Making the Light Glaze: While the rolls bake, whisk together the powdered sugar, milk (or cream), and vanilla extract in a small bowl. Start with 2 tablespoons of milk and add more 1 teaspoon at a time until you reach a thick but drizzle-able consistency. The glaze should be pourable but not runny.
13. Drizzling the Glaze: As soon as the rolls come out of the oven, drizzle the glaze evenly over the hot rolls. The heat from the rolls will help the glaze melt slightly and seep into the crevices, creating beautiful, glossy tops. Let them cool in the pan for at least 10 minutes before serving. This allows the glaze to set slightly and makes them easier to handle.
Variations and Substitutions: Making it Your Own
- Add-Ins: Fold in ½ cup of chopped pecans, walnuts, or raisins into the filling before rolling. For a chocolate twist, add ½ cup of chocolate chips along with the cinnamon sugar.
- Different Glazes: Swap the light glaze for a classic cream cheese glaze (beat 4 oz softened cream cheese with 1 cup powdered sugar, 2-3 tbsp milk, and 1 tsp vanilla until smooth). A simple vanilla glaze (powdered sugar + milk + vanilla) is also delicious. For a citrus kick, add 1-2 tsp lemon or orange zest to the glaze.
- Milk Substitute: Use whole milk, 2% milk, or a dairy-free milk alternative (like oat or almond milk) for the dough. Avoid skim milk as it can make the dough drier.
- Butter Substitute: Use a neutral oil (like vegetable or canola) instead of butter in the dough. For the filling, use a dairy-free spread or oil.
- Egg Substitute: For an egg-free version, replace the egg with ¼ cup unsweetened applesauce or ¼ cup mashed banana. The texture may be slightly less rich.
- Higher Rise: For even fluffier rolls, let the shaped rolls rise in the refrigerator overnight (covered). This slow rise develops more flavor and results in a lighter texture. Bake as directed in the morning.
Storage and Reheating: Keeping the Magic Alive
- Cooling: Allow rolls to cool completely in the pan on a wire rack before storing.
- Room Temperature: Store leftover rolls in an airtight container at room temperature for up to 2 days. They are best enjoyed fresh but will still be good.
- Refrigeration: For longer storage (up to 4 days), wrap individual rolls tightly in plastic wrap or place them in a resealable freezer bag. Refrigerate.
- Reheating: To reheat, place a roll on a microwave-safe plate and heat for 15-20 seconds. For a softer texture, wrap the roll in a damp paper towel before microwaving. Alternatively, reheat at 300°F (150°C) for 5-8 minutes in a preheated oven. This gently warms them without drying them out.
Common Mistakes to Avoid: Ensuring Perfect Fluffiness
1. Hot Milk: Using milk that’s too hot (above 115°F / 46°C) can kill the yeast, preventing the dough from rising.
2. Over-Kneading: Overworking the dough develops too much gluten, resulting in tough, chewy rolls instead of tender, fluffy ones. Knead just until smooth and elastic.
3. Under-Kneading: Under-kneaded dough lacks structure and won’t rise properly, leading to dense rolls.
4. Incorrect Rising Temperature: Rising in a cold spot or near a draft will slow or stop the yeast. Find a consistently warm (not hot!) place.
5. Over-Baking: Baking too long or at too high a temperature can dry out the rolls and make the centers dense. Watch for the golden color and internal temperature.
6. Skipping the Second Rise: The second rise is crucial for developing flavor and achieving maximum fluffiness. Don’t skip it!
7. Glaze Too Thin: If the glaze is too runny, it won’t coat the rolls properly. Add powdered sugar 1 tablespoon at a time until it reaches the desired drizzle consistency.
8. Glaze Too Thick: If the glaze is too thick, add a tiny bit more milk or cream, 1 teaspoon at a time.
Frequently Asked Questions: Your Cinnamon Roll Queries Answered
1. Can I make these rolls ahead of time? Absolutely! You can prepare the dough through the first rise, shape the rolls, and let them rise in the pan overnight in the refrigerator. Bake them in the morning as directed. You can also bake them, cool completely, wrap tightly, and freeze for up to 1 month. Thaw overnight in the fridge and reheat gently.
2. Why are my rolls dense? Dense rolls usually result from under-kneading (not enough gluten development), over-kneading (too much gluten), using milk that was too hot (killing the yeast), or skipping the second rise. Ensure you knead just until smooth, use warm but not hot milk, and let them rise twice.
3. Can I use instant yeast instead of active dry yeast? Yes! You can use instant yeast (also called rapid-rise or bread machine yeast) in place of active dry yeast. You don’t need to dissolve it in warm water first; just add it directly to the dry ingredients with the flour and salt. The rising times are generally the same.
4. My glaze is too runny. How can I fix it? Gradually whisk in more powdered sugar, 1 tablespoon at a time, until it reaches a thick but drizzle-able consistency. Avoid adding more liquid.
5. My glaze is too thick. What can I do? Add a tiny bit more milk or cream, 1 teaspoon at a time, whisking well after each addition, until you reach the desired consistency.
6. Can I freeze the baked rolls? Yes! Let the baked rolls cool completely, then wrap each one tightly in plastic wrap or place them in a freezer bag. Freeze for up to 1 month. To reheat, thaw overnight in the fridge and then warm gently in the microwave or oven as described above.
The Final Touch: A Warm Welcome
There’s a profound satisfaction in pulling these golden, fragrant rolls from the oven, their centers still warm and yielding. The contrast between the tender, pillowy crumb and the crisp, caramelized edges is pure bliss. The light glaze, melting into every crevice, adds a subtle sweetness that doesn’t overpower the star of the show: the incredible cinnamon flavor woven throughout the layers. This recipe is more than just food; it’s an invitation to slow down, savor the process, and create a moment of pure comfort. Whether enjoyed fresh from the oven with a cup of coffee on a quiet Sunday morning or shared with loved ones as a special treat, these fluffy cinnamon rolls are guaranteed to become a cherished tradition. So, gather your ingredients, find your warmest spot, and let the magic of baking begin. Your kitchen – and your taste buds – will thank you.
")