Contents
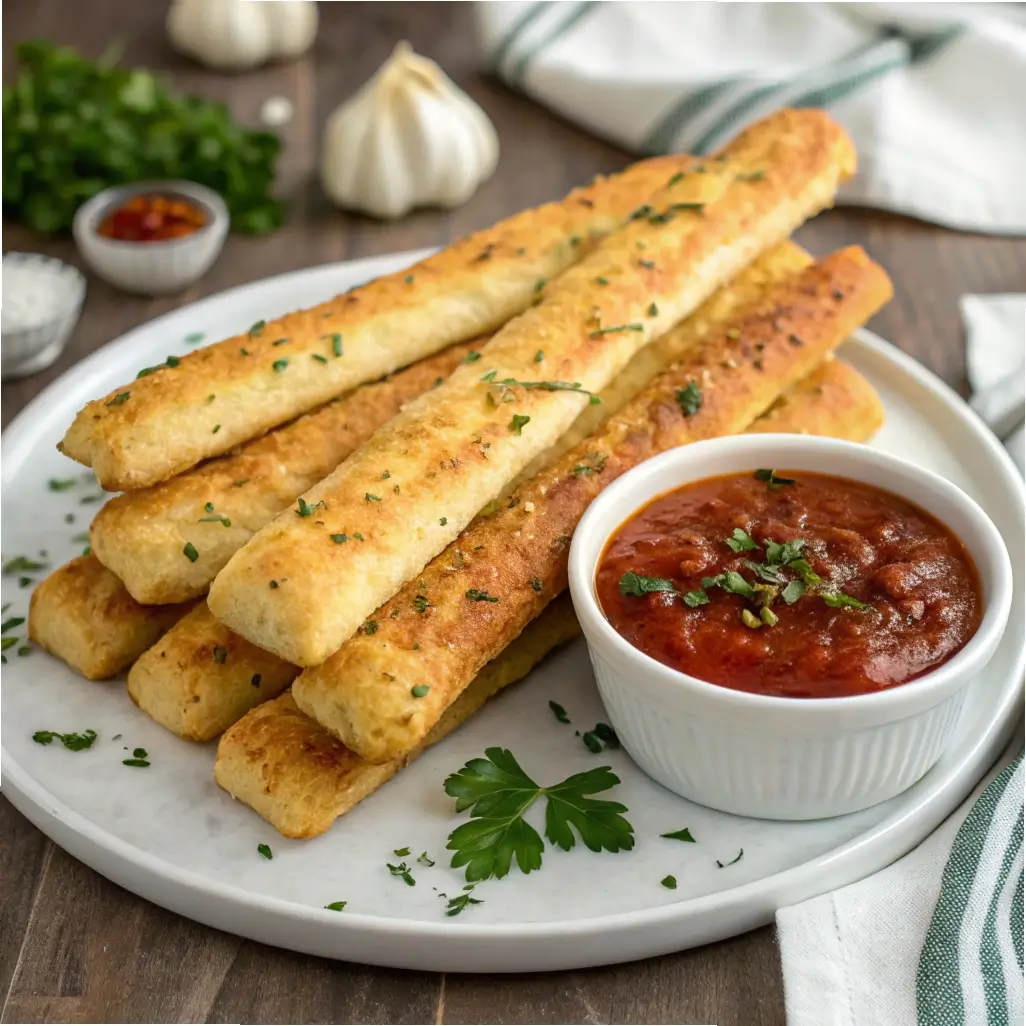
There’s something irresistibly satisfying about warm, garlicky breadsticks—crispy on the outside, soft inside, with rich aroma and flavor that pairs beautifully with pasta, soups, stews, or simply with a dipping sauce. Now, imagine making those same breadsticks using your extra sourdough discard. You get the tangy depth, the soft chew, and an extra special twist that conventional breadsticks lack.
In this guide you’ll find everything you need to bake Garlic Sourdough Discard Breadsticks: a complete recipe, variations (cheesy, herb, stuffed), pro tips, serving ideas, storage advice, and answers to common questions. Whether for a cozy family meal, dinner party, or game day snack, these breadsticks promise to delight.
Why Use Sourdough Discard in Breadsticks?
-
Reduces waste: Every baker has discard to use—it’s a creative way to utilize it.
-
Adds moisture & texture: Discard helps produce a softer crumb without drying out.
-
Depth of flavor: The mild tang from the discard enhances garlic and cheese notes.
-
Easy adaptation: You can blend discard into many yeast doughs with minimal fuss.
Ingredients & Notes
Below is a recipe that yields about 12–16 breadsticks (depending on length and thickness).
| Ingredient | Quantity | Purpose & Notes |
|---|---|---|
| Sourdough discard (unfed) | ½ cup (≈ 120 g) | Adds moisture and flavor — don’t feed first |
| Warm water | ⅓ to ½ cup (80–120 ml) | Hydrates dough; adjust depending on discard consistency |
| Olive oil | 2 tablespoons | Enriches dough and helps with crisp exterior |
| Instant yeast | 1 teaspoon | Ensures reliable rise for breadsticks |
| Granulated sugar | 1 teaspoon | Feeds yeast and balances flavor |
| All‑purpose flour | ~2 cups (≈ 240 g) | Base for dough structure |
| Salt | ½ teaspoon | Balances and enhances flavor |
| Garlic powder | ½ to 1 teaspoon | Garlic flavor base |
| Fresh minced garlic or roasted garlic | 1–2 cloves, optional | Adds pungent fresh garlic note |
| Butter (melted) | 2 tablespoons | For brushing tops of sticks |
| Fresh herbs (parsley, chives) | 1 tablespoon, chopped | Garnish and aromatic boost |
| Grated cheese (Parmesan, mozzarella, or cheddar) | ¼ to ½ cup | Optional cheesy topping or inclusion |
Notes & Tips on Ingredients
-
The discard should be “unused” (unfed) and not freshly fed—the idea is to use what you’d otherwise discard.
-
Because discard varies in hydration, start with lower water and increase as needed.
-
Olive oil is preferred for flavor, but neutral oil can work.
-
Fresh garlic adds punch; garlic powder is more controlled in intensity.
-
Cheese is optional, but adds richness and appeal, especially for kids or crowds.
Equipment Needed
-
Mixing bowl
-
Measuring cups & spoons
-
Dough scraper or spatula
-
Clean work surface
-
Baking sheet or parchment‑lined tray
-
Pastry brush
-
Sharp knife or pizza cutter
-
Oven capable of moderate to high heat
Step‑by‑Step Instructions
1. Activate and Mix the Dough
-
In a bowl, whisk together warm water, sugar, and instant yeast. Let rest about 5 minutes until foamy.
-
Add sourdough discard, olive oil, and garlic powder (plus fresh garlic if using). Stir to combine.
-
Add flour and salt gradually, mixing until a shaggy dough forms. It should be slightly sticky but manageably so.
2. Knead the Dough
-
Transfer to a lightly floured surface and knead 5–7 minutes until the dough is smooth, elastic, and no longer sticky (add small amounts of flour as needed).
-
Form into a ball and place into a lightly oiled bowl. Cover with a damp cloth or plastic wrap.
3. First Rise
-
Let the dough rise in a warm spot for 45–60 minutes, or until roughly doubled in size. The discard and yeast combination works well, giving a reliable rise.
4. Shape Breadsticks
-
Once risen, punch down gently to deflate.
-
Divide dough into 12–16 equal portions.
-
Roll each portion into a stick shape (length and thickness to your preference, e.g. 6–8 inches long, ~½ inch thick). Place breadsticks spaced apart on a parchment-lined baking sheet.
5. Final Rise & Topping
-
Cover lightly and let rest for 15–20 minutes until slightly puffed.
-
While they rest, preheat oven to 400 °F (200 °C).
-
Brush each stick with melted butter or olive oil.
-
Sprinkle with chopped herbs and grated cheese if desired.
6. Bake
-
Bake in preheated oven for 12–18 minutes, or until golden brown and crisp on edges.
-
Rotate tray halfway through for even baking if your oven has hot spots.
7. Serve Warm
-
Let the breadsticks cool marginally (just enough to handle). Serve with marinara sauce, garlic butter dip, or alongside pasta or soup.
Pro Tips and Techniques
-
Thickness matters: Thinner sticks crisp more; thicker ones stay soft inside. Find your favorite dimension.
-
High heat for crispiness: Baking at ~400 °F gives good golden crust.
-
Brush generously: Butter or olive oil plus herbs makes the tops flavorful and helps browning.
-
Add textures: Use sesame seeds, poppy seeds, or coarse salt on top for extra bite.
-
Herb infusions: Mix finely chopped rosemary, thyme, or chives into the butter or oil before brushing.
-
Cheese inside: For stuffed sticks, roll a thin layer of cheese inside before shaping, then seal edges.
-
Use a parchment overhang: Makes removing breadsticks easier.
Variations
-
Cheesy garlic breadsticks: Use a mix of mozzarella and Parmesan on top, with a garlic butter brush.
-
Herbed breadsticks: Use basil, oregano, or Italian seasoning in both dough and topping.
-
Spinach‑garlic breadsticks: Chop cooked spinach finely and mix into dough for color and nutrition.
-
Stuffed breadsticks: Fill with cheese or even pesto strips, then wrap and bake.
-
Spicy garlic: Add a pinch of chili flakes or cayenne to dough or topping.
Serving Suggestions
-
Serve with marinara sauce, garlic butter, or olive oil herb dip.
-
Pair with soups (tomato, minestrone, vegetable) or salads (Caesar, mixed greens).
-
Use as a side for pasta dishes or baked entrees.
-
Serve at game-day buffets, parties, or appetizer spreads.
-
Present on a wooden board with a small bowl of sauce or dip for visual appeal.
Storage, Reheating & Make‑Ahead
-
Once cooled completely, store breadsticks in an airtight container or sealed bag at room temperature for 2–3 days.
-
To extend life, freeze breadsticks (wrapped) for up to 2 months.
-
Reheat in oven (350 °F / 175 °C) for 5–8 minutes or until warmed and crisp. For softer interior, cover loosely with foil for part of reheating.
-
You can partially bake them (say 70%) and finish baking later for fresh texture at serving time.
Troubleshooting & Common Issues
| Problem | Likely Cause | Suggested Fix |
|---|---|---|
| Breadsticks dense, not airy | Under-proofed, too much flour | Allow full rise, measure flour accurately |
| Tops burn before inside is done | Oven too hot or sticks too thick | Lower temp slightly, watch bake time, rotate tray |
| Topping doesn’t stick | Butter/oil insufficient or baked too dry | Brush generously, apply toppings just prior to baking |
| Breadsticks soggy | Undercooked or too much moisture | Bake longer, ensure dough is well-kneaded and shaped |
| Uneven bake | Hot spots or poor heat distribution | Use middle rack, rotate halfway, use baking stone or insulated tray |
Frequently Asked Questions
Will these breadsticks taste sour?
No — the sourdough discard gives a depth of flavor, but the garlic, herbs, and butter/cheese flavor dominate. The tang is subtle.
Can I omit the yeast?
You could attempt to rely solely on the natural yeast in the discard, but the rise will be slower and results less predictable. The small amount of instant yeast ensures consistent texture.
Can I make these gluten-free?
Yes — use a gluten-free all-purpose blend with binders (like xanthan gum), but expect a difference in texture. Roll thinner, and be gentle.
Do I need to knead much?
A modest knead is useful to develop structure; over-kneading can tighten the texture. Aim for a smooth, elastic dough.
Why do my breadsticks get too soft later?
Because moisture is retained. Reheating in oven helps restore crispness. Store in dry containers to avoid sogginess.
Can I make the dough ahead of time?
Yes — you may prepare the dough, refrigerate after first rise, and shape & bake later (just allow dough to warm slightly before shaping).
Final Thoughts
These Garlic Sourdough Discard Breadsticks are a wonderfully flavorful and fun way to transform leftover starter into a gourmet side that’s perfect for pasta night, parties, or cozy dinners. They combine the best of soft bread and crunchy exterior with garlic, herbs, and optional cheese flavors that appeal to all ages.
Enjoy experimenting with the variations, serving them alongside soups or sauces, and delighting friends and family with breadsticks that taste far better than store-bought.
")