Pie crusts are often viewed as one of the foundational elements of any great pie. Whether it’s a buttery apple pie, a rich pumpkin pie, or a savory chicken pot pie, the crust makes all the difference. For many of us, there’s a secret recipe passed down through generations—one that brings comfort and nostalgia. Today, we’re unveiling my grandmother’s pie crust recipe, which includes a twist: cream of tartar.
She always said that cream of tartar was her secret ingredient for a perfectly flaky, melt-in-your-mouth crust. As a child, I couldn’t understand why, but now, after years of perfecting it myself, I can truly appreciate the science behind it. The cream of tartar helps stabilize the dough, making it light and tender, ensuring that each bite is as perfect as the last. If you’ve been struggling to get your pie crust just right, keep reading. This recipe is for you.
Grandmother’s Pie Crust Recipe: A Step Back in Time
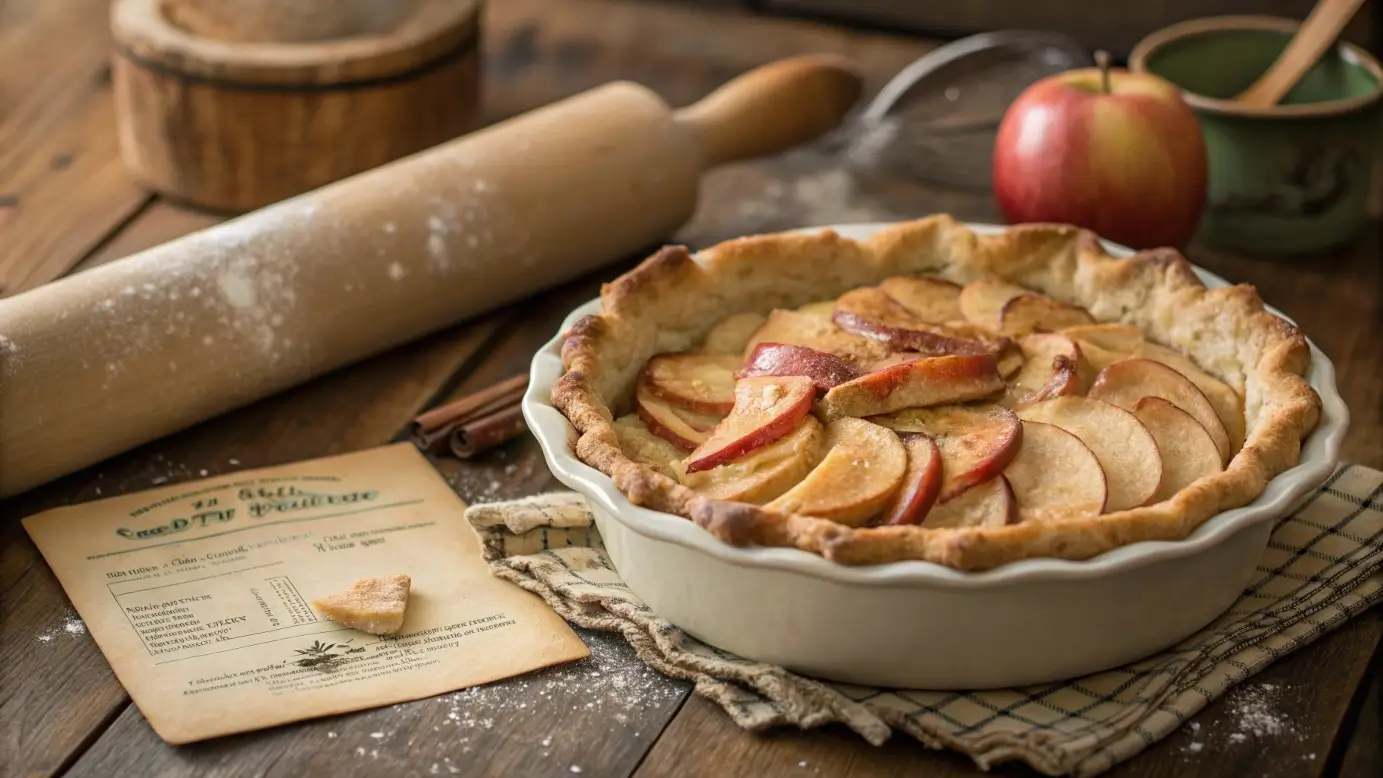
Pie-making was an art in my grandmother’s kitchen. From the moment you walked into her warm, inviting home, the smell of freshly baked pies would fill the air, comforting you like a big hug. Her pies were always made from scratch, and her pie crust was legendary. Every holiday, gathering, or special occasion, her pies were the centerpiece of the table. The secret, she claimed, was in the crust, and more specifically, the addition of cream of tartar.
So, what makes this recipe different from the others you’ve tried? It’s all in the ingredients and the technique. The combination of Crisco (vegetable shortening), cold water, and cream of tartar creates a dough that’s incredibly flaky and smooth. Plus, by adding an egg and a little vinegar to the cold water, you’ll notice an even better texture in your crust.
Ingredients for Grandmother’s Pie Crust Recipe:
Before we dive into the steps, let’s go over the ingredients. The beauty of this recipe lies in its simplicity—just a few basic pantry ingredients can create the perfect pie crust. Here’s what you’ll need:
-
3 cups all-purpose flour – The base of any good pie crust. All-purpose flour provides the right balance of structure and tenderness.
-
1/4 tsp cream of tartar – This is the secret ingredient that helps the crust maintain its flakiness. It also helps to stabilize the dough and improve its texture.
-
1 tsp salt – A pinch of salt enhances the flavor of the crust and balances the richness of the shortening.
-
1 1/2 cups Crisco – Vegetable shortening creates a tender and flaky texture. You can use butter, but Crisco is what makes this recipe special.
-
4 to 8 tablespoons very cold water – Cold water helps the dough stay cool, preventing the shortening from melting too early. The colder, the better!
-
1 well-beaten egg – The egg helps bind the dough and adds richness.
-
1 tablespoon vinegar – The vinegar works with the cream of tartar to create a more tender crust and prevent gluten from forming too much.
Instructions for Making Grandmother’s Pie Crust:
-
Combine Dry Ingredients:
In a large mixing bowl, combine the 3 cups of flour, 1/4 tsp of cream of tartar, and 1 tsp of salt. Mix thoroughly to ensure the dry ingredients are evenly distributed. -
Cut in the Crisco:
Add the 1 1/2 cups of Crisco to the flour mixture. Using a pastry cutter, fork, or your hands, cut the Crisco into the flour until the mixture resembles coarse crumbs with pea-sized bits of shortening. This step is crucial for achieving a flaky texture in your pie crust. -
Prepare Wet Ingredients:
In a separate small bowl, beat the egg and add the tablespoon of vinegar. Then, gradually add 4 to 8 tablespoons of cold water to the egg-vinegar mixture. The cold water is vital for keeping the dough firm and flaky. Start with 4 tablespoons of water, adding more if needed to bring the dough together. -
Combine Wet and Dry Ingredients:
Slowly add the wet ingredients to the flour-Crisco mixture. Stir gently with a spoon or your hands, just until the dough begins to come together. Be careful not to overwork the dough, as this can cause it to become tough. -
Chill the Dough:
Divide the dough in half and form each portion into a disk. Wrap each disk tightly in plastic wrap and refrigerate for at least 30 minutes. Chilling the dough allows the gluten to relax, making the dough easier to roll out. -
Roll Out the Dough:
After chilling, lightly flour your work surface and rolling pin. Take one of the dough disks and roll it out into a circle about 12 inches in diameter. If the dough is too sticky, dust it with a little flour, but try not to add too much, as this could make the crust tough. -
Fit the Dough Into Your Pie Pan:
Carefully transfer the rolled-out dough to a pie pan, gently pressing it into the edges. If the dough tears, simply patch it with extra dough. Once the crust is in place, trim any excess dough from the edges, leaving about an inch around the rim. -
Bake the Pie Crust:
If you’re making a baked pie (like a custard or fruit pie), bake the crust according to the recipe’s instructions. If you’re using the crust for a no-bake pie, simply follow the pie recipe’s directions.
Tips for Perfecting Your Pie Crust:
-
Keep Everything Cold:
One of the keys to a perfect pie crust is to keep everything—flour, Crisco, and water—cold. The colder the ingredients, the flakier your crust will be. If you live in a warm climate, you may even want to chill your mixing bowl and utensils. -
Don’t Overwork the Dough:
Overworking pie dough is a common mistake. While it’s important to bring the dough together, you should avoid kneading it too much. This can cause the crust to be tough instead of flaky. -
Add More Water If Needed:
If the dough seems too dry and crumbly, add a tablespoon of cold water at a time until it comes together. However, avoid adding too much water, as this can make the dough sticky and difficult to work with. -
Use a Light Touch When Rolling:
When rolling out the dough, don’t press down too hard. Apply light, even pressure with the rolling pin, and rotate the dough as you go to keep it even. -
Chill the Dough Longer If Possible:
Chilling the dough is one of the most important steps in creating a tender and flaky pie crust. If you have time, let the dough chill for a few hours or even overnight.
Frequently Asked Questions (FAQs):
1. Can I use butter instead of Crisco?
Yes, you can use butter instead of Crisco, but the texture will be slightly different. Crisco helps to create a flakier crust because of its higher fat content and solid consistency at room temperature. Butter, on the other hand, adds a richer flavor but can make the crust a bit more fragile. For the best of both worlds, you can use half butter and half Crisco.
2. Can I make this pie crust gluten-free?
Yes, you can make a gluten-free version of this pie crust. Simply substitute the all-purpose flour with a gluten-free flour blend that is designed for baking. Be sure to check that your Crisco or shortening is gluten-free, as some brands may contain traces of gluten.
3. How do I store leftover pie crust?
If you have leftover pie crust dough, you can wrap it tightly in plastic wrap and store it in the refrigerator for up to 3 days. If you want to store it for a longer period, freeze the dough for up to 3 months. To use frozen dough, thaw it in the refrigerator overnight before rolling it out.
4. Can I use this recipe for savory pies, like chicken pot pie?
Absolutely! This pie crust recipe is versatile and works well for both sweet and savory pies. The flakiness and richness of the dough make it the perfect base for hearty, savory fillings like chicken pot pie, quiche, or meat pies.
5. Why does my pie crust shrink when baking?
Pie crust shrinkage can happen when the dough is rolled out too thin or not chilled enough before baking. Be sure to roll the dough to an even thickness and let it chill thoroughly before baking. You can also try blind-baking the crust with pie weights to prevent shrinking.
For a deeper dive into the science behind perfect pie crusts and other baking tips, check out this article from King Arthur Baking on pie crust techniques. It’s full of helpful tips and insights to elevate your baking skills.
Conclusion:
Grandmother’s pie crust recipe is more than just a method—it’s a legacy passed down through generations. With the unique addition of cream of tartar, this crust turns out tender, flaky, and full of character every single time. Whether you’re baking a sweet apple pie or a savory quiche, this dough will be your new go-to.
And if you’re looking for another family-favorite breakfast idea that’s just as comforting, try these Sausage, Egg, and Cheese Breakfast Roll-Ups — quick to make and packed with flavor, they pair perfectly with any homemade meal.
Print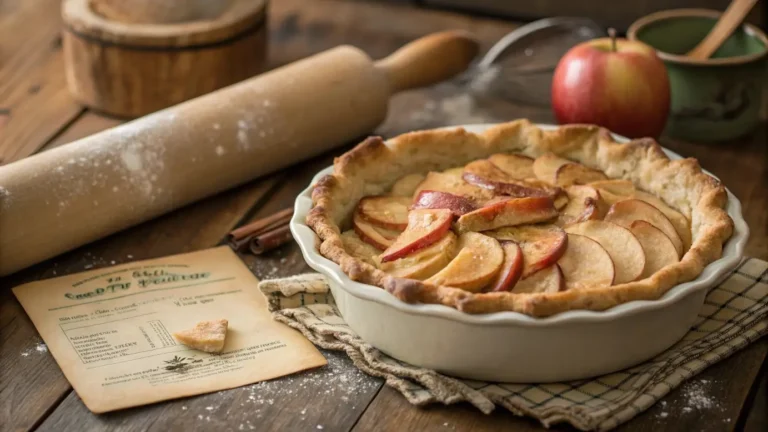
Grandmother’s Pie Crust Recipe
This old-fashioned pie crust recipe, passed down through generations, uses cream of tartar for a flaky, tender texture. Perfect for sweet or savory pies.
- Total Time: 1 hour
- Yield: 2 pie crusts 1x
Ingredients
- 3 cups all-purpose flour
- 1/4 tsp cream of tartar
- 1 tsp salt
- 1 1/2 cups Crisco (vegetable shortening)
- 4 to 8 tablespoons very cold water
- 1 tablespoon vinegar
- 1 large egg, well beaten
Instructions
- In a large bowl, mix flour, cream of tartar, and salt.
- Cut in Crisco until the mixture resembles coarse crumbs.
- In a small bowl, beat the egg. Add vinegar and cold water (start with 4 tablespoons).
- Gradually add the wet mixture to the dry ingredients, mixing gently until the dough forms. Add more water if needed.
- Divide dough into two disks, wrap in plastic, and chill for at least 30 minutes.
- Roll out on a floured surface to desired thickness and use as needed for pie recipes.
- Bake according to your specific pie recipe’s directions.
Notes
- Keep ingredients cold for a flakier crust.
- Do not overmix the dough to avoid a tough texture.
- Can be stored in the fridge for 3 days or frozen for up to 3 months.
- Works for both sweet and savory pies.
- Substitute Crisco with half butter for a richer flavor if desired.
- Prep Time: 15 minutes
- Cook Time: 45 minutes
- Category: Dessert
- Method: Baking
- Cuisine: American
- Diet: Vegetarian
Nutrition
- Serving Size: 1 pie crust (1/8 of a double crust pie)
- Calories: 280 kcal
- Sugar: 0.5 g
- Sodium: 180mg
- Fat: 22 g
- Saturated Fat: 7g
- Unsaturated Fat: 12g
- Trans Fat: 0g
- Carbohydrates: 18 g
- Fiber: 0.5 g
- Protein: 2.5 g
- Cholesterol: 20 mg
Keywords: flaky pie crust, homemade pie dough, traditional pie crust, pie crust with cream of tartar, family pie crust recipe, tender pie crust
")