Contents
- 1 Why Knowing How to Pit Cherries Without a Pitter Is Essential
- 2 What You’ll Need: Common Household Tools for Pitting Cherries
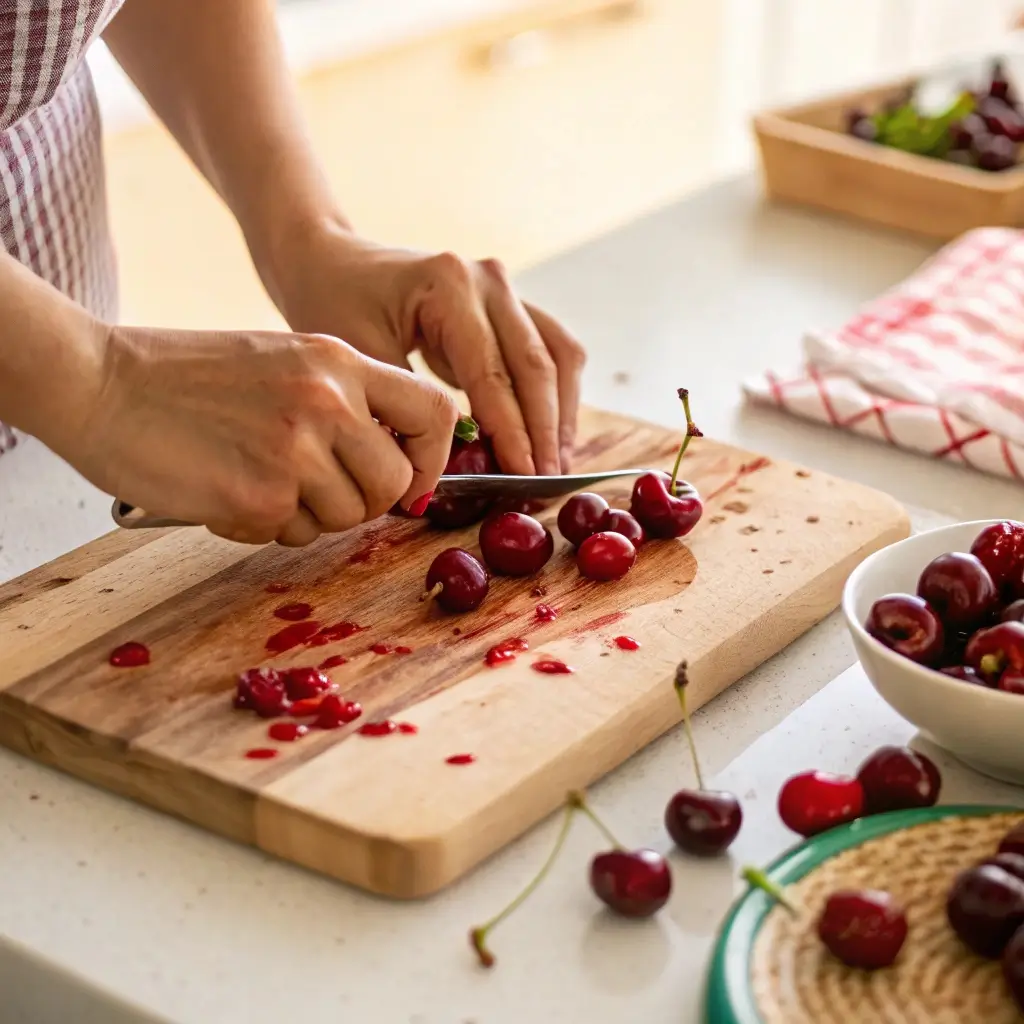
- 3 Method 1: The Knife Slice and Twist
- 4 Method 2: The Straw or Chopstick Push-Through
- 5 Method 3: The Bottle Neck Method (Fun and Effective)
- 6 Helpful Tips to Make Pitting Easier
- 7 Frequently Asked Questions (FAQs)
- 8 Why Avoiding Cherry Pitters Can Be a Good Thing
- 9 Conclusion: Master Pitting Cherries Anytime, Anywhere
Cherries are one of the sweetest treats of the season—but that tiny pit inside can be a real hassle. What if you don’t have a cherry pitter handy? Don’t worry! Whether you’re preparing a pie, smoothie, or snacking fresh, you can pit cherries quickly and efficiently with everyday kitchen tools.
In this guide, we’ll show you three genius methods to remove cherry pits in seconds—no special equipment needed. Say goodbye to plastic gadgets and hello to simple hacks that save time and frustration.
Why Knowing How to Pit Cherries Without a Pitter Is Essential
Cherry pitters are handy, but not everyone owns one—and they aren’t always within arm’s reach when the craving hits. Fresh cherries spoil fast, so waiting to buy a specialized tool can mean missing out on their peak flavor.
Learning these methods means you’ll never have to skip a recipe or treat just because you lack the “right” tool. Plus, these hacks are kid-friendly, budget-friendly, and can be done with items you already have in your kitchen drawer.
What You’ll Need: Common Household Tools for Pitting Cherries
Before jumping in, gather your gear. Each method requires minimal equipment.
-
Fresh cherries (washed and stems removed if desired)
-
A sturdy cutting board
-
A paring knife or small sharp knife
-
A metal straw, chopstick, or wooden skewer
-
A clean glass bottle with a narrow neck (optional)
-
Paper towels or a bowl to catch juice and pits
Method 1: The Knife Slice and Twist
This classic technique is straightforward and effective.
Step-by-Step:
-
Place a cherry on the cutting board.
-
Using a small sharp knife, carefully slice around the cherry’s middle—cutting just deep enough to reach the pit but not cutting the cherry in half.
-
Hold the cherry halves and gently twist in opposite directions. The pit should release from one half.
-
Remove the pit with your fingers or the tip of the knife.
Tips for Success:
-
Use a gentle sawing motion to avoid squashing the cherry.
-
This method works well for recipes that call for halved cherries, like salads or toppings.
Method 2: The Straw or Chopstick Push-Through
This is one of the quickest ways to pit cherries without slicing.
What You Need:
-
A metal or sturdy plastic straw (about 5-6 mm diameter works best)
-
Or a chopstick or skewer for sturdier cherries
How to Do It:
-
Hold the cherry firmly on top of a bowl or plate to catch the pit.
-
Align the straw or chopstick at the stem end of the cherry.
-
Push the straw straight through the cherry, forcing the pit out the other side.
-
The pit should pop out with minimal juice loss.
Why It Works:
-
The hole left behind is minimal and often unnoticeable in recipes.
-
It’s fast and perfect for large batches or kids who want to help pit cherries.
Method 3: The Bottle Neck Method (Fun and Effective)
A fun trick especially for kids to get involved with!
What You Need:
-
A clean glass bottle with a narrow neck (a beer or soda bottle works well)
-
A chopstick or wooden skewer
Instructions:
-
Place the cherry stem side down inside the bottle neck.
-
Using the chopstick, press firmly down on the cherry’s pit, pushing it through into the bottle.
-
The pit will drop into the bottle, and the pitted cherry stays on top.
-
Remove the cherry and enjoy.
Pro Tips:
-
Make sure the bottle neck is narrow enough to hold the cherry securely.
-
This method is excellent for pitting many cherries in a short time.
Helpful Tips to Make Pitting Easier
-
Chill the cherries first: Cold cherries are firmer and less likely to squish when pitting.
-
Work over a bowl or plate: Cherry juice can stain, so keep your workspace protected.
-
Remove stems first: Easier access and cleaner pushing.
-
Use fresh cherries: Overripe cherries are mushy and harder to pit cleanly.
Frequently Asked Questions (FAQs)
Q: Can I pit frozen cherries using these methods?
A: Frozen cherries are much softer and more delicate. Thaw them slightly before pitting and be extra gentle to avoid crushing.
Q: What if the cherry pit doesn’t come out easily?
A: Try rotating the cherry and pushing again or use the knife slice method if the push-through isn’t working.
Q: Will these methods damage the cherry flesh?
A: Minimal damage occurs, especially with the straw method. For delicate recipes, slicing and twisting is gentler.
Q: How do I avoid staining my hands and clothes?
A: Wearing disposable gloves or using paper towels to hold the cherries helps reduce staining.
Why Avoiding Cherry Pitters Can Be a Good Thing
While cherry pitters are convenient, these simple DIY methods are more versatile and often quicker once you get the hang of them. They reduce clutter, save money, and allow you to pit cherries anywhere—even outdoors or while camping.
Conclusion: Master Pitting Cherries Anytime, Anywhere
No cherry pitter? No problem! These three easy methods let you enjoy fresh cherries for snacking, baking, and cooking—without any special tools. Whether you prefer slicing, pushing, or a quirky bottle trick, there’s a technique here for every home cook.
Give these hacks a try the next time you’re craving cherries, and impress friends with your no-tool-needed skills.


