Contents
- 1 A Stress-Free Classic Designed for Effortless Hosting
- 2 Why No-Bake Dishes Matter for Entertaining
- 3 What Makes a No-Bake 7 Layer Dip Truly Successful
- 4 Ingredient Philosophy for No-Bake Layered Dips
- 5 Full Ingredient List
- 6 Choosing the Right Dish for a No-Bake Dip
- 7 Preparing Ingredients Without Turning on the Stove
- 8 Step-by-Step No-Bake Assembly
- 9 Chill Time and Serving Tips
- 10 Why This No-Bake Dip Is Ideal for Warm Days
- 11 Flavor Profile That Feels Complete Without Cooking
- 12 Make-Ahead Convenience for Busy Hosts
- 13 Storage and Leftover Tips
- 14 Customizing Without Adding Work
- 15 Best Dippers for No-Bake Serving
- 16 Entertaining Tips for Effortless Serving
- 17 Frequently Asked Questions
- 18 Why This No-Bake 7 Layer Dip Deserves a Spot in Your Recipe Rotation
A Stress-Free Classic Designed for Effortless Hosting
Easy entertaining isn’t about elaborate menus or hours spent in the kitchen. It’s about choosing dishes that work with your schedule, your space, and your energy — especially when guests are arriving soon or the weather makes cooking feel like too much.
That’s where this no-bake 7 layer dip truly shines.
With zero cooking required, this dip is built for simplicity. There’s no stove to turn on, no oven to preheat, and no last-minute timing to manage. Everything comes together with simple layering, a short chill time, and a presentation that looks far more impressive than the effort involved.
Perfect for warm days, busy weeks, spontaneous get-togethers, and relaxed entertaining, this recipe delivers bold flavor, creamy texture, and crowd-pleasing familiarity without the stress. It’s the kind of dish that makes hosting feel easy again.
Why No-Bake Dishes Matter for Entertaining
Entertaining often comes with invisible pressure — preparing food while cleaning, greeting guests, and managing the flow of the gathering. No-bake dishes remove a huge part of that pressure.
This no-bake 7 layer dip allows you to:
-
Prepare everything ahead of time
-
Avoid heat on warm days
-
Keep the kitchen clean and calm
-
Focus on guests instead of cooking
-
Serve something that looks intentional and polished
When the goal is ease, this dip delivers exactly what it promises.
What Makes a No-Bake 7 Layer Dip Truly Successful
Not all no-bake dips are created equal. Without cooking, every ingredient must be carefully chosen and prepared so the final dish feels complete, satisfying, and well-balanced.
A successful no-bake 7 layer dip should:
-
Hold its structure without melting
-
Stay fresh while chilled
-
Be easy to scoop
-
Offer contrast in texture and flavor
-
Look appealing straight from the refrigerator
This recipe is designed with all of that in mind.
Ingredient Philosophy for No-Bake Layered Dips
Texture Is the Foundation
Since there’s no cooking to bind ingredients together, texture becomes essential. Each layer must be thick enough to stay in place but smooth enough to spread easily.
Moisture Control Is Critical
Watery ingredients can ruin a no-bake dip. Everything used here is either naturally thick or carefully drained to keep layers clean and defined.
Familiar Flavors Win
No-bake entertaining works best with flavors people recognize and enjoy. This dip keeps things approachable while still feeling thoughtful and complete.
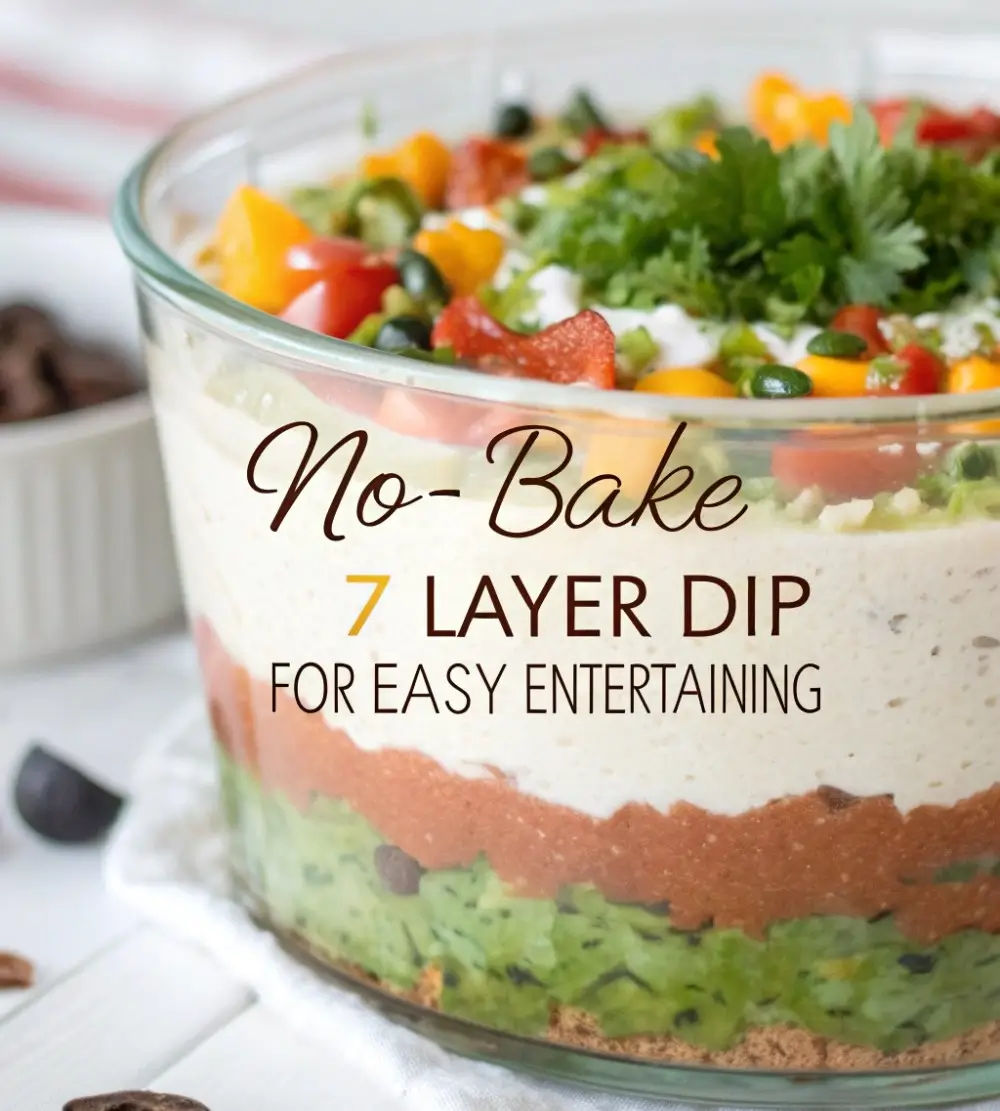
Full Ingredient List
-
2 cups refried beans, smooth and thick
-
8 ounces cream cheese, fully softened
-
1 cup sour cream
-
1 teaspoon ground cumin
-
1 teaspoon garlic powder
-
Salt to taste
-
1 ½ cups chunky salsa or finely diced tomatoes, very well-drained
-
2 cups shredded cheese (cheddar, Monterey Jack, or a blend)
-
½ cup chopped green onions
-
½ cup sliced black olives, patted dry
-
Optional garnish: chopped fresh cilantro or diced avocado added just before serving
Choosing the Right Dish for a No-Bake Dip
The serving dish plays a big role in both presentation and practicality.
Best Dish Options
-
Clear glass baking dishes
-
Shallow glass or ceramic serving bowls
-
Trifle-style dishes for dramatic layering
Clear dishes showcase the layers beautifully and make the dip feel more impressive with no extra work.
Size and Shape Tips
A shallow, wide dish is ideal. It ensures every scoop reaches all seven layers and prevents guests from digging too deeply in one spot.
Preparing Ingredients Without Turning on the Stove
Refried Beans
If the beans are too stiff, let them sit at room temperature briefly so they spread easily. If they’re too loose, refrigerate them for a short time to firm up.
Creamy Layer Preparation
Allow the cream cheese to soften completely before mixing. This ensures a smooth texture and prevents tearing lower layers during spreading.
Salsa or Tomatoes
Drain thoroughly using a fine strainer. This step is essential for keeping the dip from becoming watery.
Toppings
Chop everything evenly and keep pieces small so each scoop feels balanced.
Step-by-Step No-Bake Assembly
Layer One: Bean Base
Spread the refried beans evenly across the bottom of the dish. Smooth the surface completely to create a strong foundation for the layers above.
Layer Two: Creamy Seasoned Spread
In a bowl, mix cream cheese, sour cream, cumin, garlic powder, and salt until fully smooth. Gently spread this mixture over the beans, working slowly to maintain clean separation.
Layer Three: Salsa or Tomato Layer
Evenly spoon the drained salsa or tomatoes across the creamy layer. Avoid pressing down, letting the layer rest naturally.
Layer Four: Shredded Cheese
Sprinkle the shredded cheese evenly over the salsa layer. This adds richness and helps stabilize the toppings that follow.
Layer Five: Green Onions
Scatter the chopped green onions across the cheese for freshness and a mild bite.
Layer Six: Black Olives
Add the sliced black olives, spacing them evenly for balanced flavor and visual contrast.
Layer Seven: Fresh Finish
If using cilantro or avocado, add just before serving to preserve color and texture.
Chill Time and Serving Tips
After assembly, cover the dish tightly and refrigerate for at least 30 minutes. This allows the layers to settle and makes the dip easier to scoop.
Serve chilled or slightly cool. Avoid letting it sit in direct heat for extended periods.
Why This No-Bake Dip Is Ideal for Warm Days
On hot days, turning on the oven or stove can feel overwhelming. This recipe avoids heat entirely while still delivering a satisfying, hearty dish.
It’s perfect for:
-
Summer gatherings
-
Outdoor entertaining
-
Potlucks
-
Last-minute hosting
-
Busy schedules
Everything stays fresh, cool, and comfortable.
Flavor Profile That Feels Complete Without Cooking
Creamy and Savory
Beans, cream cheese, sour cream, and cheese create richness and depth.
Fresh and Bright
Salsa, green onions, and optional herbs add acidity and freshness that keep the dip from feeling heavy.
Balanced and Familiar
Black olives and seasoning add just enough salt and complexity to keep each bite interesting.
Make-Ahead Convenience for Busy Hosts
This dip can be assembled up to 24 hours in advance.
Best practices:
-
Cover tightly with plastic wrap
-
Store on a flat refrigerator shelf
-
Add avocado or herbs just before serving
The flavors meld beautifully while the layers stay intact.
Storage and Leftover Tips
Leftovers can be stored in the refrigerator for up to two days. Keep the dip tightly covered to maintain freshness.
The texture remains best on the first day, especially if avocado is not included.
Freezing is not recommended, as creamy layers do not thaw well.
Customizing Without Adding Work
Extra Creamy Version
Increase the cream cheese slightly and reduce the salsa layer.
Mild and Family-Friendly
Use plain diced tomatoes instead of salsa and reduce seasoning.
Fresh and Light Twist
Add finely diced bell peppers or extra green onions.
Visually Elevated Look
Finish with a light sprinkle of chopped herbs just before serving.
Each option keeps the recipe no-bake and stress-free.
Best Dippers for No-Bake Serving
-
Thick tortilla chips
-
Scoop-style chips
-
Baked corn chips
-
Firm vegetable sticks like bell peppers
Avoid thin chips that break under layered weight.
Entertaining Tips for Effortless Serving
-
Serve on a tray with napkins nearby
-
Offer multiple chip bowls to reduce crowding
-
Keep the dip chilled until guests arrive
-
Use a serving spoon for neat scooping if desired
Small details make no-bake entertaining even easier.
Frequently Asked Questions
Can I make this dip the night before?
Yes. It can be assembled up to 24 hours ahead and stored covered in the refrigerator.
How do I keep the dip from becoming watery?
Drain salsa or tomatoes thoroughly and avoid overly juicy toppings.
Is this dip served cold or room temperature?
It’s best served chilled or slightly cool for structure and flavor.
Does this recipe require any cooking at all?
No. This is a completely no-bake recipe.
Can this sit out during a gathering?
It can sit out for about two hours in a cool environment. Refrigerate again if needed.
Is this recipe vegetarian?
Yes. It contains no pork, bacon, or alcohol of any kind.
Can I double the recipe?
Yes. Use a larger dish and keep layers evenly distributed.
What makes this dip good for easy entertaining?
No cooking, simple ingredients, make-ahead convenience, and easy serving.
Why This No-Bake 7 Layer Dip Deserves a Spot in Your Recipe Rotation
This dip proves that entertaining doesn’t need to be complicated to feel special. With no cooking, minimal prep, and familiar flavors, it fits seamlessly into real life.
It’s the kind of recipe you turn to when time is short, energy is limited, or the weather is warm — and still want something that looks thoughtful and satisfying on the table.
Layer by layer, it delivers comfort, convenience, and confidence for hosts who want ease without sacrificing quality.
")


