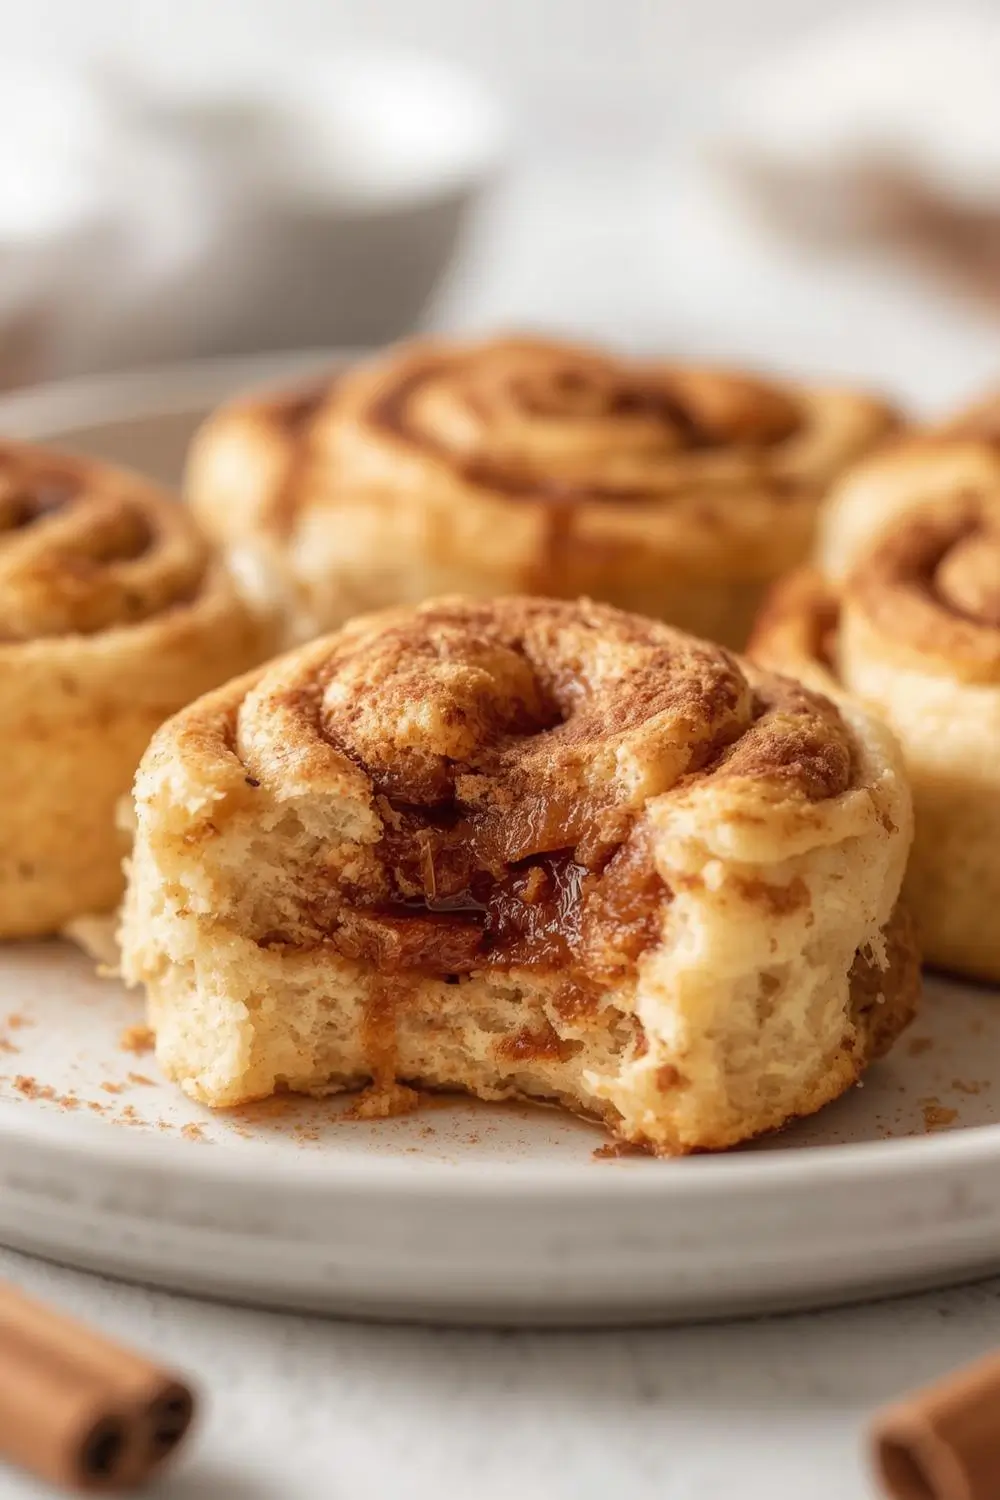
The UltimateGuide to Silky Soft Cinnamon Rolls: No Mixer Needed!
There’s something undeniably magical about the scent of cinnamon rolls baking. That warm, inviting aroma promises comfort and indulgence, a perfect reward for any effort. But what if you could capture that magic without needing a fancy stand mixer or hours of complicated steps? Imagine pulling warm, pillowy cinnamon rolls from your oven, their surfaces glistening with a sweet, buttery glaze, and knowing you crafted every single one with your own hands. This isn’t just a recipe; it’s your invitation to experience the pure joy of homemade cinnamon rolls, effortlessly achievable and utterly irresistible.
Why This Recipe is a Game-Changer
Forget the intimidating recipes requiring specialized equipment and precise kneading machines. This method harnesses the power of simple ingredients and your own hands to create cinnamon rolls that are soft, fluffy, and packed with that signature cinnamon-sugar warmth. No need to wait for dough to rise in a warm spot – this recipe works beautifully in most kitchens. The result? Rolls so tender and delicious, they’ll quickly become your family’s absolute favorite weekend breakfast or a special treat for any occasion. Let’s dive in and transform your kitchen into a cinnamon roll haven.
Gathering Your Ingredients: Simplicity at Its Finest
The beauty of these rolls lies in their straightforward ingredient list. You likely have most of these staples right in your pantry. Here’s what you’ll need:
- All-Purpose Flour: The foundation of your dough. Provides the perfect structure and chew.
- Warm Milk: Essential for activating the yeast. Use whole milk for the richest flavor, but 2% or even skim will work. Ensure it’s warm (about 110°F / 43°C) – not hot, or it will kill the yeast.
- Active Dry Yeast: The leavening agent that makes your dough rise. Check the expiration date!
- Granulated Sugar: Used in two ways: a pinch in the milk mixture to activate the yeast, and the main sweetener in the filling.
- Salt: Crucial for balancing the sweetness and enhancing all the flavors.
- Large Eggs: Adds richness, structure, and helps the rolls rise beautifully.
- Unsalted Butter: Melted and cooled slightly for the dough, and softened for the filling. Provides incredible flavor and tenderness.
- Brown Sugar: Packed light or dark brown sugar adds a deeper, caramel-like sweetness and moisture to the filling compared to just granulated sugar.
- Ground Cinnamon: The star of the show! Use high-quality cinnamon for the best flavor.
- Cream Cheese: For the ultimate, silky-smooth glaze. Full-fat cream cheese is key.
- Powdered Sugar: Sweetens the glaze and gives it that perfect, smooth consistency.
- Vanilla Extract: Enhances the overall flavor profile of the glaze.
- Salt (for glaze): A tiny pinch balances the sweetness.
The Dough: Where Magic Begins
Creating the dough is surprisingly simple and doesn’t require a mixer. It’s all about gentle mixing and patience.
1. Activate the Yeast: In a large mixing bowl, combine the warm milk, 1 teaspoon of granulated sugar, and the active dry yeast. Stir gently and let it sit for about 5-10 minutes. You’ll see it become foamy on top – this means your yeast is alive and ready to work its magic!
2. Combine Wet Ingredients: Add the melted, cooled butter, the remaining granulated sugar, and the large eggs to the yeast mixture. Whisk these together until well combined.
3. Incorporate Dry Ingredients: Add the salt and 3 ½ cups of the all-purpose flour to the wet mixture. Using a sturdy wooden spoon or a rubber spatula, stir until a shaggy dough begins to form. Don’t worry if it looks a bit sticky at this stage.
4. Knead by Hand: Turn the dough out onto a lightly floured surface. This is where the kneading happens! Gently fold the dough over itself, pushing it away from you with the heel of your hand. Rotate the dough a quarter turn and repeat. Continue kneading for about 8-10 minutes. The dough should become smooth, elastic, and slightly tacky but not sticky. If it’s too sticky, add a tablespoon of flour at a time. If it’s too dry, add a teaspoon of milk. The goal is a dough that springs back when you gently poke it.
5. First Rise: Lightly grease a large bowl with a little oil or butter. Place the kneaded dough ball into the bowl, turning it once to coat it lightly with oil. Cover the bowl tightly with plastic wrap or a clean kitchen towel. Let the dough rise in a warm, draft-free spot until it has doubled in size. This usually takes 1 to 1.5 hours, but timing can vary slightly depending on your kitchen temperature. Don’t rush this step – it’s crucial for light, fluffy rolls.
Rolling Out Perfection: Filling and Shaping
Once your dough has risen, it’s time to transform it into cinnamon rolls. This step is where you get to be creative!
1. Prepare the Filling: In a small bowl, combine the packed brown sugar, ground cinnamon, and a pinch of salt. Mix until well blended. Set aside.
2. Roll the Dough: Punch down the risen dough gently to release any air bubbles. Turn it out onto a lightly floured surface. Using a rolling pin, roll the dough into a large rectangle, roughly 12 inches by 18 inches. Aim for an even thickness, about ¼ to ½ inch thick. The edges don’t have to be perfectly straight.
3. Add the Butter: Spread the softened unsalted butter evenly over the entire surface of the rolled dough, leaving a small border around the edges.
4. Sprinkle the Filling: Generously sprinkle the cinnamon-sugar mixture evenly over the buttered dough, again leaving a small border.
5. Roll it Up: Starting from one of the longer edges, carefully roll the dough up tightly into a log. Pinch the seam gently to seal it. You should have a long, tight roll.
6. Cut the Rolls: Using a sharp knife or dental floss (for a cleaner cut), slice the log into 12 equal pieces. Place each piece cut-side up into a lightly greased 9-inch round or square baking pan. They should fit snugly but not be crammed together. Cover the pan loosely with plastic wrap or a towel and let them rise again for another 30-45 minutes, or until they look puffy and have expanded slightly.
Baking: The Golden Moment
The anticipation builds as your rolls rise for the second time. Now, it’s time to bake them to golden perfection.
1. Preheat: About 20 minutes before baking, preheat your oven to 350°F (175°C).
2. Bake: Uncover the rolls and place them in the preheated oven. Bake for 25-35 minutes, or until the rolls are deeply golden brown on top and the edges look set. The internal temperature should reach around 190°F (88°C) if you have a thermometer. They should sound hollow when tapped on the bottom.
3. Cool Slightly: Remove the pan from the oven and let the rolls cool in the pan for at least 10-15 minutes. This allows them to set slightly and makes them easier to handle when glazing.
The Glaze: Silky Sweetness
The final touch is the cream cheese glaze, which transforms these rolls from delicious to divine.
1. Make the Glaze: In a medium bowl, beat the softened cream cheese until smooth. Add the powdered sugar, vanilla extract, and a pinch of salt. Beat on medium speed until completely smooth and creamy. If it’s too thick, add a teaspoon of milk or cream. If it’s too thin, add a tablespoon of powdered sugar.
2. Apply the Glaze: Once the rolls have cooled slightly (but are still warm), drizzle or spread the glaze generously over the top of the rolls. The warmth helps the glaze melt slightly and seep into the rolls, creating an extra layer of flavor. Let the glaze set for about 10 minutes before serving.
Variations and Substitutions: Making it Your Own
One of the joys of baking is adapting recipes to your taste or what you have on hand. Here are some ideas:
- Different Sugars: Use light brown sugar for a milder caramel flavor, or dark brown sugar for a deeper, richer taste. You could even mix in a tablespoon of ground nutmeg or cardamom with the cinnamon.
- Add-Ins: Fold in ½ cup of chopped pecans, walnuts, or raisins into the filling before rolling. For a chocolate twist, add ½ cup of chocolate chips.
- Flavored Butters: Instead of plain melted butter in the filling, try using browned butter (cook it in a saucepan until golden brown and nutty-smelling) for an incredible depth of flavor. You could also mix in a teaspoon of vanilla extract or a pinch of cinnamon to the softened butter.
- Flavored Glazes: Replace the vanilla extract in the glaze with almond extract, orange zest, or lemon zest for a different twist. Add a tablespoon of maple syrup or bourbon (if allowed) to the glaze for extra complexity.
- Flour Options: While all-purpose flour is ideal, you can try a blend (like 2 cups AP + 1 cup bread flour) for a slightly chewier texture. Avoid using whole wheat flour as a direct substitute, as it can make the rolls dense.
- Make Ahead: Prepare the rolls up to the point of their second rise (after cutting and before baking). Cover the pan tightly and refrigerate overnight. In the morning, let them come to room temperature for about 30-45 minutes before baking as directed. They might need a few extra minutes in the oven.
Storage and Reheating: Keeping the Magic Alive
You’ll likely have leftovers (or maybe you just baked a double batch!). Here’s how to keep them fresh:
- Room Temperature: Store any leftover rolls in an airtight container at room temperature for up to 2 days. They’re best enjoyed slightly warm.
- Refrigeration: For longer storage (up to 4 days), wrap individual rolls tightly in plastic wrap or place them in a resealable bag. Let them come to room temperature before reheating.
- Freezing: For the longest storage (up to 1 month), wrap the cooled rolls tightly in plastic wrap, then place them in a freezer-safe bag or container. Thaw overnight in the refrigerator, then reheat gently in a low oven (300°F / 150°C) for 10-15 minutes or until warmed through. You can also reheat individual rolls in the microwave for 15-20 seconds.
Common Mistakes to Avoid: Baking Wisdom
Even experienced bakers can run into hiccups. Here’s how to sidestep them:
- Killing the Yeast: Using milk that’s too hot (above 110°F / 43°C) is the most common mistake. Test the milk temperature with your finger or a thermometer – it should feel comfortably warm, like bathwater.
- Over-Kneading: While kneading is important, over-kneading can make the dough tough. Stop when it’s smooth and elastic. The windowpane test (stretching a small piece thin enough to see light through) is a good indicator.
- Under-Proofing: If your rolls don’t rise enough before baking, they’ll be dense. Be patient! Find a consistently warm spot for rising. If your kitchen is cool, place the covered bowl near a warm oven (with the light on) or in a turned-off oven with a bowl of hot water inside.
- Over-Baking: Cinnamon rolls are done when they’re golden brown and sound hollow. Over-baking makes them dry. Start checking them at the 25-minute mark.
- Glaze Too Thick/Thin: If your glaze is too thick, add a teaspoon of milk. If it’s too thin, add a tablespoon of powdered sugar. The warmth of the rolls helps the glaze set perfectly.
- Cutting Messy: Use a sharp knife and a gentle sawing motion. Dental floss works wonders for a clean cut through the dough.
Your Frequently Asked Questions (FAQs)
- Q: Can I use instant yeast instead of active dry yeast?
A: Yes! You can use instant yeast (also called rapid-rise or bread machine yeast) in the same amount. You don’t need to activate it in warm milk first; just add it directly to the dry ingredients with the flour and salt. The rising times might be slightly shorter, but the results should be similar.
- Q: Why are my rolls dense and not fluffy?
A: This is often due to under-proofing (not rising long enough) or over-kneading the dough. Ensure your yeast is active and your rising environment is warm enough. Also, avoid over-kneading – the dough should be smooth and elastic, not tough.
- Q: Can I make these rolls the night before?
A: Absolutely! Prepare the dough, let it rise once, then shape and cut the rolls. Place them in the pan, cover tightly, and refrigerate overnight. In the morning, let them come to room temperature for 30-45 minutes before baking as directed. They might need an extra 5-10 minutes in the oven.
- Q: What if my kitchen is cold and the dough isn’t rising?
A: Find a warmer spot! Turn on your oven to its lowest setting (around 150°F / 65°C), then turn it off. Place the covered bowl inside with the oven light on. A sunny windowsill works well too. You can also place the bowl over a bowl of warm water on the counter.
- Q: How do I know when the rolls are done baking?
A: They should be a deep golden brown on top and the edges should look set. A good indicator is that they sound hollow when you tap the bottom. An internal temperature of 190°F (88°C) is ideal.
- Q: Can I freeze the baked rolls?
A: Yes! Let the rolls cool completely, then wrap each one tightly in plastic wrap. Place them in a freezer-safe bag or container. Freeze for up to 1 month. Thaw overnight in the refrigerator and reheat gently in a low oven (300°F / 150°C) for 10-15 minutes or until warmed through. You can also reheat individual rolls in the microwave for 15-20 seconds.
- Q: Why is my glaze runny?
A: If your glaze is too thin, simply beat in more powdered sugar, a tablespoon at a time, until it reaches a thick, pourable consistency. The warmth of the rolls helps it set perfectly.
- Q: Can I use a different type of milk?
A: Yes! While whole milk is best for richness, 2% or even skim milk will work. You can also use unsweetened almond milk or oat milk, but the flavor and richness will be slightly different. Ensure it’s warmed to the correct temperature.
- Q: How long do the rolls stay fresh?
A: Stored in an airtight container at room temperature, they are best enjoyed within 2 days. For longer storage (up to 4 days), refrigerate them. They freeze beautifully for up to 1 month.
- Q: Can I add nuts or dried fruit?
A: Definitely! Fold ½ cup of chopped pecans, walnuts, or raisins into the filling before rolling. You can also sprinkle some on top of the glaze before it sets.
The Final Touch: A Warm Embrace
There’s a profound satisfaction in creating something as beloved as cinnamon rolls from scratch. These rolls, born from simple ingredients and your own hands, embody the essence of homemade comfort. They’re soft, they’re sweet, they’re utterly irresistible, and they require no fancy equipment – just your time, patience, and a little love. Whether you’re treating yourself on a quiet weekend morning or surprising loved ones with a special breakfast, these cinnamon rolls are guaranteed to bring smiles and warm hearts. So, gather your ingredients, roll up your sleeves, and let the magic of cinnamon and dough fill your kitchen. Enjoy every single, melt-in-your-mouth bite!
")