Contents
- 1 Why Add Sourdough Discard to Pita Dough
- 2 Ingredients & Notes
- 3 Equipment You’ll Need
- 4 Step‑by‑Step Instructions
- 5 Tips for Ensuring Puffy Pita Pockets
- 6 Variations & Flavor Ideas
- 7 Serving Suggestions & Pairings
- 8 Storage, Freezing & Reheating
- 9 Troubleshooting & Common Issues
- 10 Frequently Asked Questions
- 11 Final Thoughts
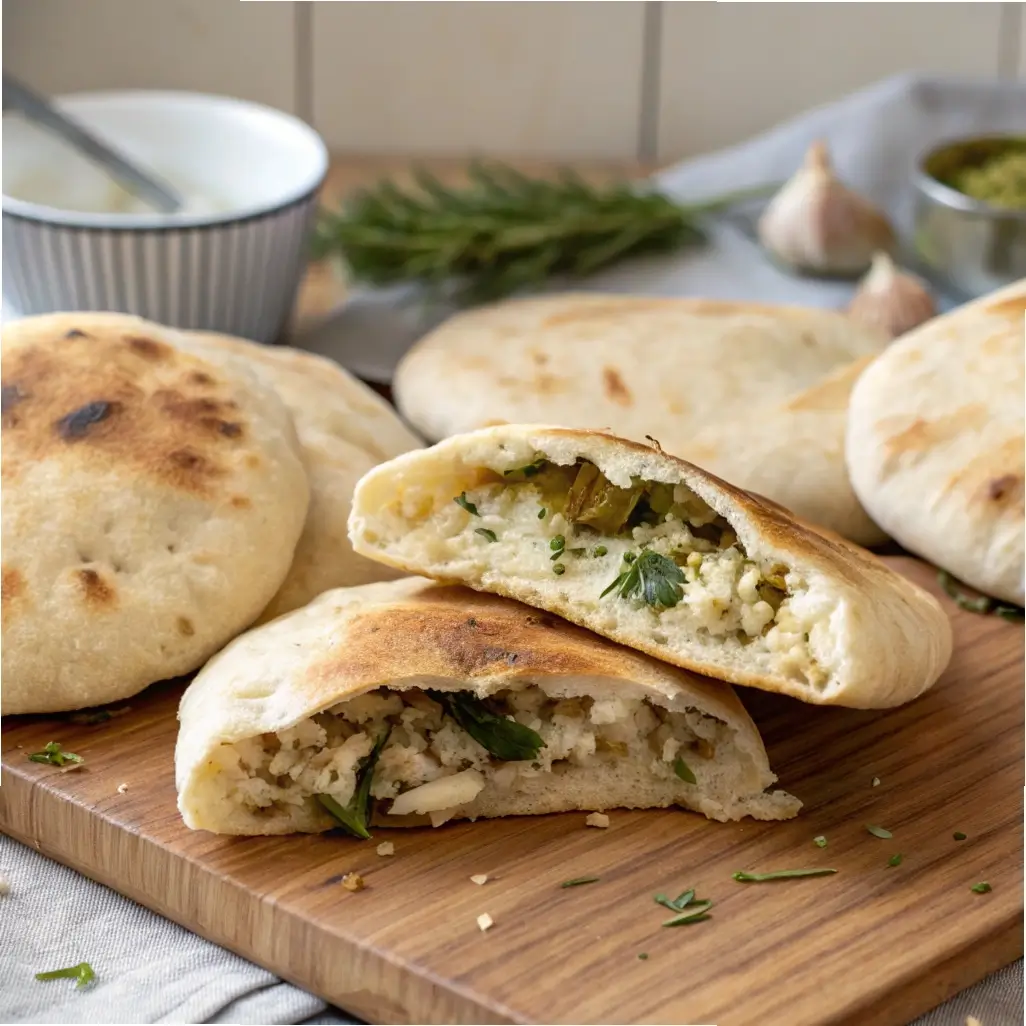
There’s something magical about biting into warm pita bread that opens into a perfect little pocket. You can stuff it with falafel, veggies, dips, meats, or use it as a scoop. Making your own pita at home brings freshness, control over ingredients, and the satisfaction of creating something from scratch. And when you use sourdough discard in the dough, you add depth, moisture, and waste less starter.
These sourdough discard pita breads are surprisingly easy to make, requiring no complicated fermentation schedule. With just simple ingredients and a bit of technique, you’ll get soft, chewy pitas that puff up beautifully. In this article you’ll find everything you need: ingredients, step-by-step instructions, tips to ensure good pockets, variations, serving ideas, storage, troubleshooting, and FAQs.
Why Add Sourdough Discard to Pita Dough
-
Moisture & soft crumb: Discard helps keep interior tender
-
Flavor complexity: Mild tang gives pita extra character without overpowering
-
Economy & waste reduction: Use up discard that might otherwise go unused
-
Compatibility with yeast: The recipe uses yeast plus discard for reliable rise and pocket formation
Because discard hydration can vary, it’s helpful to treat it as part of the liquid input and adjust water/flour accordingly. The yeast ensures consistent rise and pocketing.
Ingredients & Notes
For about 8 medium pitas (depending on size), here’s a reliable ingredient list:
| Ingredient | Amount | Purpose / Notes |
|---|---|---|
| Sourdough discard (unfed) | ½ cup (≈ 120 g) | Adds moisture and mild tang |
| Warm water | ¼ to ⅓ cup (60–80 ml) | Hydrates dough, adjust as needed |
| Olive oil | 1–2 tablespoons | Adds tenderness and flexibility |
| Sugar or honey | 1 teaspoon | Helps yeast and browning |
| Instant yeast | 1 teaspoon | Supports rise and pocket formation |
| Salt | ½ teaspoon | Flavor balance |
| Bread flour or strong all-purpose | ~1 to 1¼ cups (≈ 135–160 g) | Structure and chew |
| Optional: whole wheat flour | Up to ¼ cup substitution | For added fiber and flavor |
Notes & Tips
-
Because discard hydration can differ, begin with the lower water amount and add more if dough seems too stiff.
-
Use flour with decent protein (bread flour) to help the structure of pockets.
-
Olive oil softens the dough, making rolling and shaping easier.
-
If using whole wheat or multigrain flour, you may need slightly more water.
Equipment You’ll Need
-
Mixing bowl
-
Measuring cups & spoons
-
Wooden spoon or spatula
-
Clean work surface for kneading
-
Kitchen towel or plastic wrap
-
Baking sheet or pizza stone
-
Rolling pin
-
Oven capable of high heat (~475–500 °F / 245–260 °C)
-
Parchment paper or silicone baking mat
Step‑by‑Step Instructions
1. Mix Dough
-
In a bowl, combine warm water, sugar (or honey), and yeast. Let stand ~5 minutes until foamy (if using).
-
Stir in sourdough discard and olive oil.
-
Add salt.
-
Gradually add flour, mixing until a soft dough forms. It should be slightly tacky but manageable.
2. Knead & First Rise
-
Turn dough onto lightly floured surface and knead 5–7 minutes until smooth and elastic.
-
Shape into a ball, place in an oiled bowl, turn to coat, and cover. Let rise until approximately doubled — about 45 minutes to 1 hour.
3. Portion & Rest
-
After rise, gently punch down.
-
Divide into 8 equal pieces (or more for smaller pitas).
-
Shape each piece into a ball and let rest, covered, for 10 minutes (this relaxes the gluten, making rolling easier).
4. Roll Discs
-
On lightly floured surface (or between parchment), roll each ball into a circle roughly 6–7 inches across, thickness ~2 mm (thin enough to puff).
-
Try to get even thickness across the disc.
5. Preheat Oven & Baking Surface
-
Place a baking stone or inverted baking sheet in oven. Preheat to 475–500 °F (245–260 °C). Let it become very hot for at least 20 minutes.
6. Bake Pitas
-
Slide rolled discs (on parchment or with peel) onto the hot stone or sheet, a few at a time (don’t crowd).
-
Bake 2–4 minutes — you’ll see puffing or pockets forming. Rotate if needed.
-
Flip the pitas and bake 1–2 more minutes toach both sides. They should have some golden spots but remain soft.
-
Remove and cover in towel to retain softness.
7. Cool & Serve
-
Let pitas rest in a towel-lined container or basket (stacked).
-
Serve warm or allow pockets to open and fill with ingredients.
Tips for Ensuring Puffy Pita Pockets
-
Thin, even rolling: Thickness around ~2 mm helps pocket formation.
-
High heat is critical: A very hot surface is needed for steam to create pockets quickly.
-
Use a hot baking stone or inverted baking tray: Provides direct, even heat from below.
-
Don’t overproof: Slight rise is fine, but overproofing can dull puffing.
-
Bake in small batches: Avoid crowding to maintain surface heat.
-
Cover pitas post-bake: Retains moisture and softness.
Variations & Flavor Ideas
-
Whole wheat or multigrain pita: Substitute part of flour for whole wheat or whole grain blend (e.g. ¼ cup).
-
Garlic herb pita: Mix garlic powder, dried herbs (oregano, basil) into dough or brush melted butter + herbs after baking.
-
Cinnamon sugar pita: For sweet version: omit salt, add a bit of sugar and cinnamon to dough; after baking brush with butter and sprinkle cinnamon sugar.
-
Cheese pita: Sprinkle grated cheese on one side before baking or mix cheese bits into dough (watch moisture).
-
Spicy pita: Add a pinch of chili powder or smoked paprika to dough.
-
Seeded edges: Press sesame, flax, or poppy seeds around edges or on top before baking.
Serving Suggestions & Pairings
-
Use as pita pockets: Fill with falafel, grilled veggies, salads, meats, or spreads.
-
Serve with dips: hummus, baba ghanoush, tzatziki, muhammara.
-
Cut into strips and toast as flatbread chips.
-
Use for shawarma wraps, gyro, or wrap sandwiches.
-
Warm slightly and serve with olive oil + za’atar or butter + herbs.
-
Add to a mezze platter with olives, roasted vegetables, spreads.
Storage, Freezing & Reheating
-
Short-term storage: Keep stacked and wrapped in cloth or airtight container for up to 1 day.
-
Freezing: Cool completely, layer with parchment, freeze in sealed bag for up to 2 months.
-
Reheating: Warm in oven (300–350 °F / 150–175 °C) for 5–8 minutes, or in skillet over medium heat.
-
You can also steam briefly or microwave under damp cloth, then crisp in skillet for best texture.
Troubleshooting & Common Issues
| Problem | Likely Cause | Fix or Prevention |
|---|---|---|
| Pitas don’t puff / no pocket | Oven not hot enough, dough too thick, overproofed | Raise oven temperature, roll thinner, bake quickly |
| Outer crust too hard | Overbake or too hot | Reduce bake time or slightly lower temperature |
| Dough tears while rolling | Dough too tight or overworked | Let rest longer, relax gluten, roll gently |
| Dense or doughy interior | Underbaked, too much flour | Bake until done, reduce flour, test interior |
| Crust browns before interior cooked | Heat too high or roll too thin | Adjust oven or thickness, rotate pans |
Frequently Asked Questions
Will these pita breads taste sour because of discard?
Only subtly. In the context of savory flatbreads, the mild tang enhances flavor without being noticeable as sour.
Do I need to feed the starter before using the discard?
No — this recipe is built to use unfed discard, so you don’t have to feed just for this purpose.
Can I make these gluten-free?
You may try a gluten-free flour blend with binders, but puffing and texture will be different. You will need to experiment with hydration and structure.
Is yeast required?
Yes — a small amount of yeast helps with rise and structure. Relying solely on discard may work partially but is less reliable and more dependent on discard strength.
How to know when pita is done?
The pita should have puffed or pocketed and have golden brown spots. The interior should be set, not doughy.
Can I scale this recipe?
Yes — multiply ingredients proportionally and bake in batches. Watch that your oven doesn’t overcrowd, which reduces heat.
Final Thoughts
These Fluffy Sourdough Discard Pita Breads bring homemade, healthy, flavorful flatbread into your kitchen with minimal fuss. You get soft, chewy pitas that puff into pockets — perfect for stuffing, dipping, wrapping, or snacking.
Next time you have sourdough discard, try making these pitas. Tailor them with flavors or grains to your liking. They’re versatile, satisfying, and a great way to reduce waste and elevate everyday meals.
")