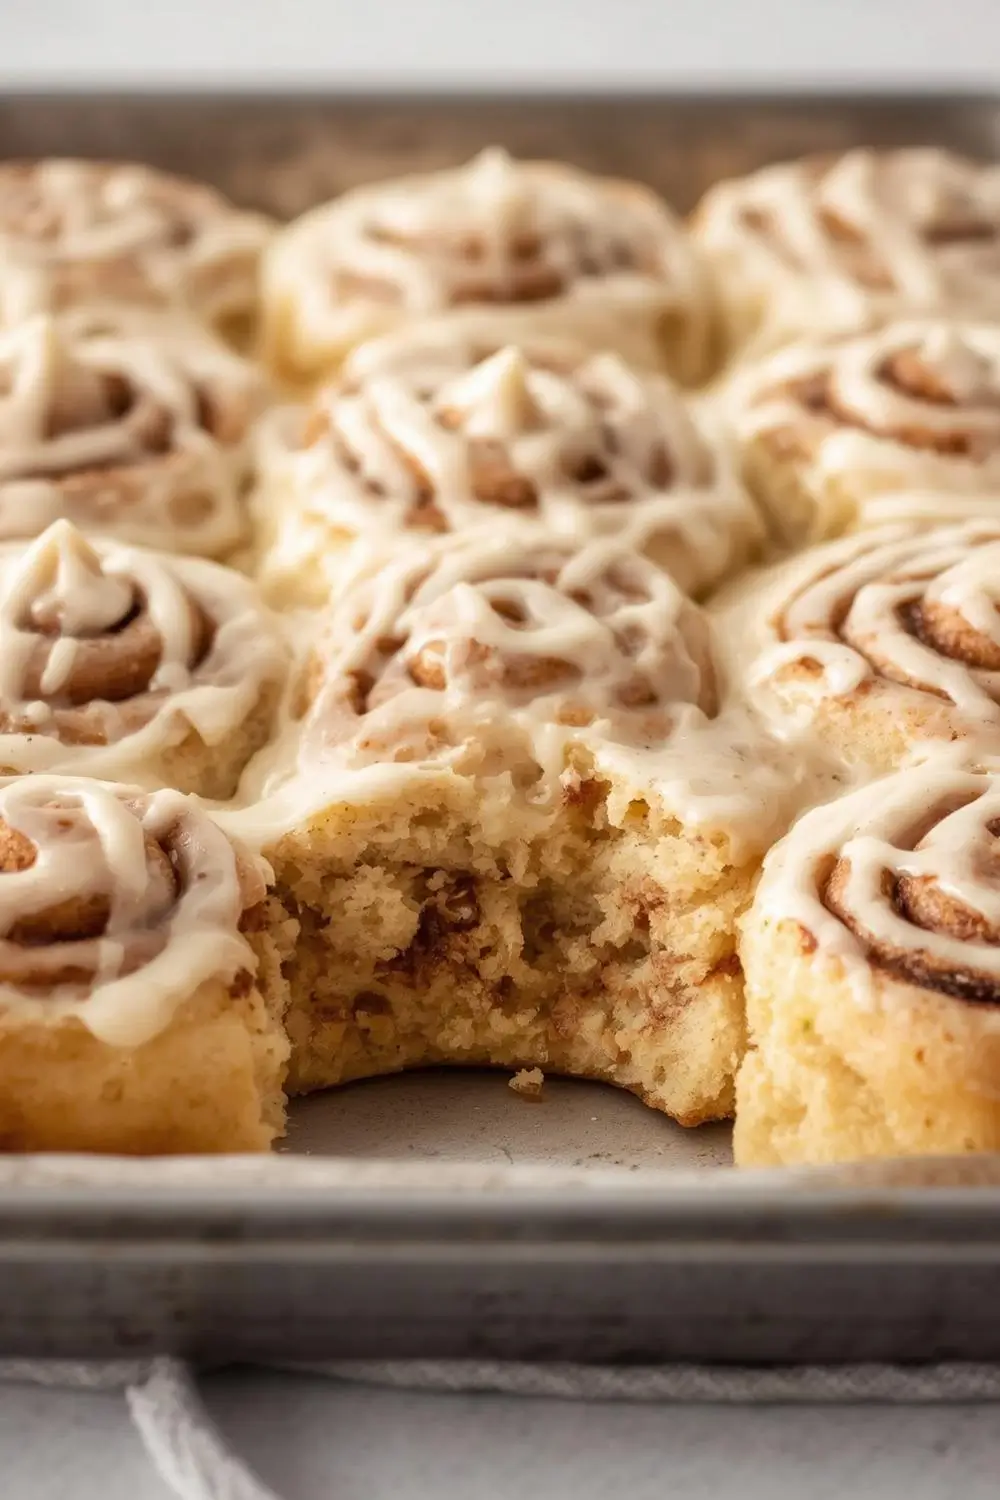
The kitchen fills with an intoxicatingaroma as golden-brown cinnamon rolls emerge from the oven, their surfaces glistening with a cloud-like cream cheese frosting. These aren’t just pastries; they’re edible hugs, the kind that wrap your family in warmth and sweetness. This Ultimate Family Cinnamon Roll recipe is more than just instructions; it’s a tradition waiting to happen, a recipe passed down through generations, perfected for your kitchen. Imagine the delight on your loved ones’ faces as they pull apart a roll, revealing the gooey cinnamon-sugar treasure within. This journey will guide you through creating these beloved treats from scratch, ensuring your first batch is a resounding success.
Ingredients: The Foundation of Flavor
- The Dough:
* 4 1/2 to 5 cups bread flour (all-purpose works, but bread flour gives superior chew and rise). Think of this as the sturdy backbone.
* 1 cup whole milk, warmed to about 110°F (43°C) – just warm enough to feel comfortably hot but not scalding. This activates the yeast gently.
* 1/2 cup granulated sugar, divided. Half sweetens the dough, half sweetens the filling.
* 2 1/4 teaspoons (1 standard packet) active dry yeast. The magical leavening agent.
* 1/2 cup unsalted butter, melted and slightly cooled. Adds richness and tenderness.
* 2 large eggs, at room temperature. Bind the dough and add structure.
* 1 1/2 teaspoons salt. Balances the sweetness and enhances flavor.
- The Cinnamon Sugar Filling:
* 1 cup brown sugar, packed. Provides deep molasses notes.
* 2 tablespoons ground cinnamon. The heart of the flavor.
* 1/2 cup unsalted butter, softened. Creates a spreadable, flavorful layer.
- The Cream Cheese Frosting:
* 8 ounces full-fat cream cheese, softened. The star of the topping.
* 1/2 cup unsalted butter, softened. Adds creaminess.
* 3 cups powdered sugar, sifted. Sweetness and structure.
* 1 teaspoon pure vanilla extract. Enhances all the flavors.
* 2-4 tablespoons whole milk or heavy cream, as needed. Adjusts consistency.
Step-by-Step: Bringing It All Together
1. Activating the Yeast: In a large mixing bowl, combine the warm milk, 2 tablespoons of the granulated sugar, and the yeast. Stir gently and let it sit for 5-10 minutes until it becomes foamy and fragrant. This proves the yeast is alive and ready to work its magic.
2. Mixing the Dough Base: Add the melted butter, eggs, and salt to the yeast mixture. Whisk until well combined.
3. Incorporating the Flour: Gradually add the bread flour, about 1/2 cup at a time, stirring with a wooden spoon or sturdy spatula after each addition. The dough will start to come together but will be quite sticky. Don’t be tempted to add all the flour at once.
4. Kneading: Turn the dough out onto a lightly floured surface. Knead for about 8-10 minutes. This develops the gluten, giving the rolls their light, airy texture. The dough is ready when it’s smooth, elastic, and springs back when gently poked. It should be slightly tacky but not sticky enough to cling excessively to your hands or the surface.
5. First Rise: Place the kneaded dough in a lightly oiled bowl, turning it once to coat. Cover the bowl tightly with plastic wrap or a damp kitchen towel. Let it rise in a warm, draft-free spot until doubled in size, about 1 to 1.5 hours. The warmth is crucial for this process.
6. Preparing the Filling: While the dough rises, mix the brown sugar and cinnamon in a small bowl. Soften the 1/2 cup of butter for the filling until it’s spreadable but not melted.
7. Rolling and Filling: Punch down the risen dough gently to release air bubbles. Turn it out onto a lightly floured surface. Roll it into a large rectangle, roughly 12×18 inches. Spread the softened butter evenly over the dough, leaving a small border around the edges. Sprinkle the cinnamon sugar mixture evenly over the butter.
8. Rolling Up: Starting from the long edge, carefully roll the dough up tightly into a log. Pinch the seam gently to seal. Trim the ends if they’re uneven.
9. Cutting the Rolls: Using a sharp knife or dental floss (for cleaner cuts), slice the log into 12 equal pieces, about 1.5 inches thick. Place the rolls cut-side up in a lightly greased 9×13 inch baking pan, leaving a little space between them for expansion.
10. Second Rise: Cover the pan loosely with plastic wrap or a towel and let the rolls rise again in a warm spot until puffy and nearly doubled, about 30-45 minutes. This second rise is vital for maximum fluffiness.
11. Baking: Preheat your oven to 375°F (190°C). Bake the rolls for 18-22 minutes, or until they are golden brown on top and sound hollow when tapped lightly on the bottom. The centers should be cooked through but still tender.
12. Making the Frosting: While the rolls bake, beat the softened cream cheese and butter together in a medium bowl until smooth and creamy. Gradually beat in the powdered sugar until combined. Add the vanilla and 2 tablespoons of milk/cream, beating until smooth. If the frosting is too thick, add more milk/cream, a teaspoon at a time. If it’s too thin, add a bit more powdered sugar.
13. Frosting and Serving: As soon as the rolls come out of the oven, spread or drizzle the frosting generously over the hot rolls. The warmth helps the frosting melt slightly and seep into the rolls, creating pure bliss. Serve immediately for the ultimate experience, or let them cool slightly on a wire rack.
Variations and Substitutions: Making it Your Own
- Flavor Twists: Add 1-2 teaspoons of vanilla extract to the dough. For a richer dough, substitute 1/4 cup of the milk with heavy cream. Stir in 1/2 cup of raisins, chopped pecans, or diced apples into the filling for added texture and flavor.
- Frosting Options: Swap the cream cheese frosting for a simple vanilla glaze (powdered sugar + milk + vanilla). For a tangier twist, use a lemon cream cheese frosting (add 1-2 tablespoons lemon juice and zest to the frosting). A maple glaze (powdered sugar + maple syrup + milk) pairs beautifully.
- Dough Alternatives: If you don’t have bread flour, all-purpose flour works fine, though the texture will be slightly different. For a dairy-free version, use almond milk and a dairy-free butter substitute in the dough and frosting. Ensure your cream cheese is dairy-free as well.
- Size Adjustments: For smaller rolls, cut the dough log into 16 pieces. For larger, more decadent rolls, cut into 10 pieces.
Storage and Reheating: Keeping the Magic Alive
- Room Temperature: Store cooled rolls in an airtight container at room temperature for up to 2 days. Reheat individually in the microwave for 15-20 seconds or in a warm oven (300°F/150°C) for 5-7 minutes.
- Refrigerator: For longer storage (up to 5 days), wrap cooled rolls tightly in plastic wrap and store in the fridge. Reheat as above.
Freezing: Freeze baked, unfrosted* rolls in a single layer on a baking sheet until solid (about 1 hour). Transfer to a freezer bag or airtight container. Freeze for up to 3 months. To reheat, thaw overnight in the fridge, then reheat as above. Frost after thawing and reheating.
Common Mistakes to Avoid: Ensuring Perfect Rolls
- Over-Kneading: This develops too much gluten, leading to tough rolls. Knead just until smooth and elastic.
- Cold Ingredients: Using cold milk or eggs can shock the yeast and prevent proper rising. Warm them gently.
- Over-Proofing: Letting the dough rise too long can cause it to collapse. It should look puffy, not deflated.
- Too Much Flour: Adding too much flour during kneading makes the dough dry and tough. Add flour gradually and stop when the dough is smooth and slightly tacky.
- Cutting Without Floss: Using a knife can crush the rolls. Dental floss or a very sharp serrated knife works best.
- Frosting Too Early: Frosting hot rolls can make the frosting melt and slide off. Frost immediately after baking, but let them cool slightly first if the frosting is very soft.
- Under-Baking: Rolls should be golden brown and sound hollow. Under-baked centers will be doughy.
FAQs: Your Cinnamon Roll Questions Answered
1. Why are my rolls dense and not fluffy? This usually happens from over-kneading (too much gluten), under-proofing (not enough rise), or using too much flour. Ensure proper kneading time, warm rising environment, and don’t add excessive flour.
2. Can I make the dough ahead of time? Absolutely! Prepare the dough through step 5 (first rise). After the first rise, punch it down, shape it into a ball, place it in an oiled bowl, cover, and refrigerate overnight. The cold rise develops flavor. Let it come to room temperature for about an hour before rolling.
3. My frosting is too thick. What can I do? Add milk or cream, a teaspoon at a time, while beating until you reach the desired spreading consistency.
4. Can I freeze the rolls unbaked? Yes! After cutting the rolls and placing them in the pan, cover them tightly with plastic wrap and freeze. When ready to bake, remove from the freezer, let them thaw in the refrigerator overnight, then let them rise until puffy (about 1-2 hours at room temperature), and bake as directed, adding a few extra minutes if needed.
5. What can I use if I don’t have bread flour? All-purpose flour works perfectly fine. The rolls will be slightly less chewy but still delicious.
6. How do I get the rolls to be gooey in the center? Ensure they are baked until golden brown and sound hollow when tapped. Don’t overbake. The filling should be hot and melty when served warm.
The Sweet Conclusion
Creating these Ultimate Family Cinnamon Rolls is an act of love, a celebration of tradition, and a gift to those you cherish. The process, from the initial rise to the final, frosted bite, is filled with warmth and anticipation. The aroma that fills your home is a promise of comfort and joy. Whether enjoyed for a lazy weekend brunch, a holiday gathering, or simply a special weekday treat, these rolls embody the simple pleasure of homemade goodness. They bring people together, one delicious, cinnamon-scented bite at a time. So, gather your ingredients, roll up your sleeves, and embark on this delicious journey. The perfect cinnamon roll awaits, ready to become a cherished part of your own family story. Enjoy every moment and every mouthful!
")