Contents
- 1 Why Water Bath Canning?
- 2 What is Water Bath Canning?
- 3 Essential Equipment for Water Bath Canning
- 4 Step-By-Step Water Bath Canning Process for Pickled Green Beans
- 5 How to Adjust Processing Times for Altitude
- 6 Tips for Successful Water Bath Canning
- 7 Common Water Bath Canning Mistakes to Avoid
- 8 Recipes You Can Preserve Using Water Bath Canning
- 9 Frequently Asked Questions (FAQs)
- 10 Nutritional Benefits of Pickled Green Beans
- 11 Final Thoughts
Why Water Bath Canning?
Water bath canning is one of the safest and most accessible methods for preserving high-acid foods such as pickles, jams, jellies, and certain pickled vegetables like green beans. This method uses boiling water to process jars, ensuring bacteria, yeasts, and molds are destroyed while creating an airtight seal.
If you have a bountiful garden harvest, learning water bath canning unlocks the ability to keep summer’s freshness well into winter. This guide focuses on pickled green beans—a popular, crunchy, tangy treat also called “dilly beans”—but the principles apply broadly.
What is Water Bath Canning?
Water bath canning involves submerging jars filled with food and a liquid (brine, syrup, etc.) into boiling water for a set amount of time. The heat kills harmful microorganisms and seals the jars by forcing air out during processing.
This method is ideal for acidic foods with a pH below 4.6, where acidity naturally inhibits harmful bacteria growth, making the process safe without pressure canning.
Essential Equipment for Water Bath Canning
Before diving in, ensure you have the proper equipment for safe, effective water bath canning:
-
Mason jars: Wide or regular mouth, made for canning
-
Two-piece lids: Flat lids with sealing compound and screw bands
-
Water bath canner: Large pot with lid and rack to hold jars
-
Jar lifter: Tool to safely lift hot jars in and out
-
Canning funnel: For neat filling of jars
-
Magnetic lid lifter: To safely place lids on jars
-
Clean towels: For wiping jar rims and cooling jars
-
Large saucepan: For preparing brine or preserving liquids
Step-By-Step Water Bath Canning Process for Pickled Green Beans
Step 1: Prepare Your Ingredients and Jars
-
Green Beans: Use fresh, firm beans, trimmed and washed thoroughly.
-
Brine: Combine vinegar, water, and pickling salt, heating until salt dissolves.
-
Jars: Wash jars, lids, and rings in hot soapy water. Sterilize jars by boiling or using the water bath canner.
Step 2: Pack Jars with Flavor
Place garlic cloves, fresh dill, mustard seeds, and optional spices like peppercorns or red pepper flakes into each jar. Pack green beans vertically, leaving about 1/2 inch of headspace.
Step 3: Add Hot Brine
Pour the boiling brine over green beans carefully, maintaining the 1/2 inch headspace to allow for expansion.
Step 4: Remove Air Bubbles
Use a non-metallic spatula to gently slide down the sides of the jar and release trapped air bubbles.
Step 5: Clean Jar Rims and Apply Lids
Wipe rims thoroughly with a damp cloth to remove residue that could interfere with sealing. Place lids on jars and screw bands fingertip tight.
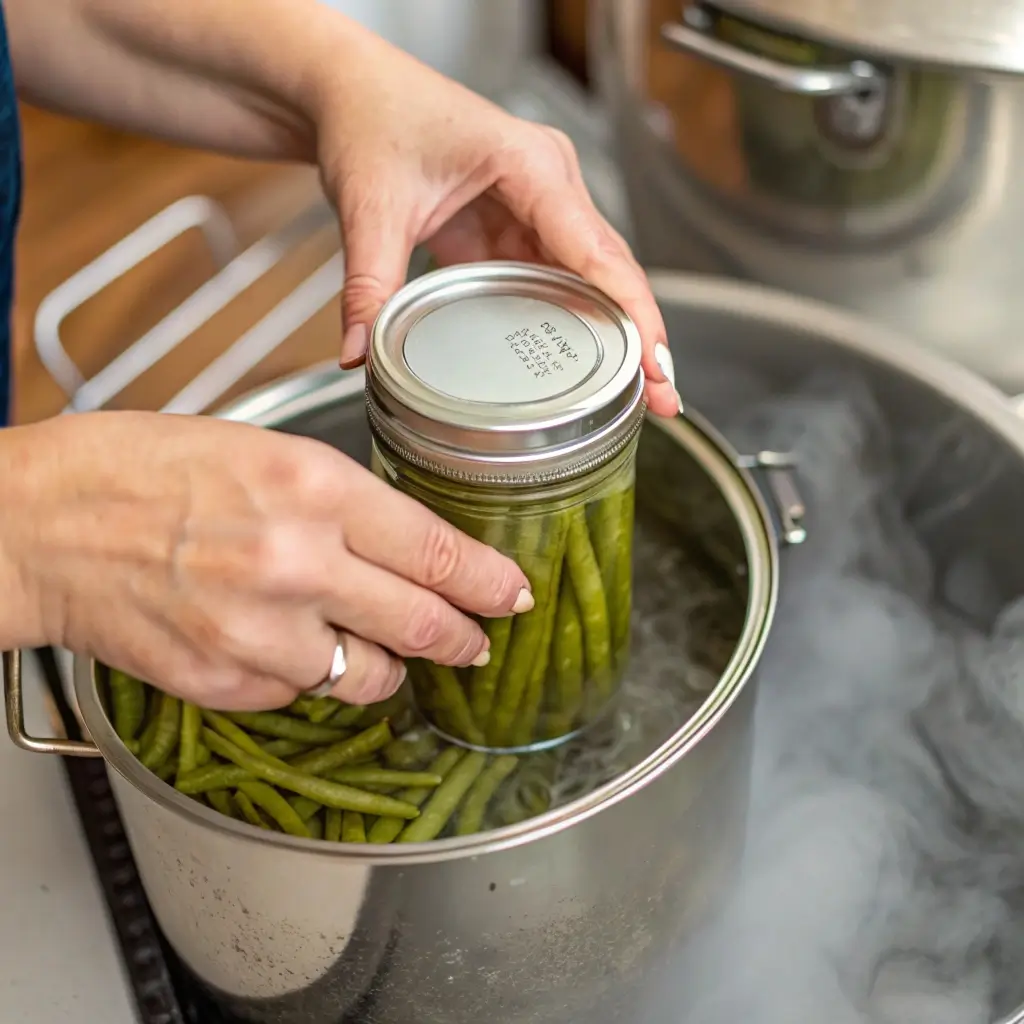
Step 6: Process in the Water Bath
Use the jar lifter to place jars on the rack inside the canner. Ensure jars are covered with at least 1-2 inches of water. Cover the canner and bring water to a rolling boil. Process jars for the recommended time (usually 10 minutes for pickled green beans at sea level; adjust for altitude).
Step 7: Cool and Store
Carefully remove jars and place them on a towel in a draft-free area. Let them cool undisturbed for 12-24 hours. Check seals by pressing lids; sealed jars should not flex or pop.
How to Adjust Processing Times for Altitude
Water boils at lower temperatures at higher elevations, so processing times must increase to ensure food safety:
| Elevation (ft) | Additional Processing Time |
|---|---|
| 1,001 – 3,000 | Add 5 minutes |
| 3,001 – 6,000 | Add 10 minutes |
| 6,001 – 8,000 | Add 15 minutes |
| Above 8,000 | Add 20 minutes |
Tips for Successful Water Bath Canning
-
Use fresh ingredients: Avoid bruised or overripe produce.
-
Maintain headspace: This ensures proper vacuum seal formation.
-
Don’t reuse lids: Always use new lids to guarantee sealing.
-
Avoid over-tightening: Rings should be snug but not overly tight during processing.
-
Check seals after cooling: Refrigerate any jars that fail to seal.
Common Water Bath Canning Mistakes to Avoid
-
Skipping sterilization of jars and lids.
-
Failing to remove air bubbles leading to spoilage.
-
Incorrect processing times or temperatures.
-
Overfilling jars or improper headspace.
-
Using the wrong vinegar acidity or homemade vinegar with unknown acidity.
Recipes You Can Preserve Using Water Bath Canning
-
Pickled Green Beans (Dilly Beans)
-
Classic cucumber pickles
-
Jams and jellies
-
Fruit preserves and pie fillings
-
Salsas (acidified properly)
-
Pickled carrots, beets, and peppers
Frequently Asked Questions (FAQs)
Q1: Can I water bath can low-acid foods?
A: No, low-acid foods like meats, most vegetables, and soups require pressure canning for safety.
Q2: How do I know if my jar sealed properly?
A: The lid should be concave and not flex when pressed. If unsure, refrigerate and consume soon.
Q3: Can I reuse mason jars?
A: Yes, jars can be reused if undamaged. Always use new lids.
Q4: How long can canned pickled green beans be stored?
A: Properly canned pickles can be stored for up to 1 year in a cool, dark place.
Q5: Is water bath canning difficult for beginners?
A: Not at all! With proper equipment and following the steps carefully, beginners can achieve great results.
Nutritional Benefits of Pickled Green Beans
Pickled green beans retain much of their original vitamin content while gaining probiotic and antioxidant benefits when fermented or pickled. They are low in calories and carbs, making them an excellent snack or addition to healthy meals.
Final Thoughts
Water bath canning is an invaluable skill that preserves the vibrant flavors and nutrition of your garden harvests safely and deliciously. Pickled green beans are an excellent beginner-friendly recipe to start your canning journey. With practice, you’ll gain confidence and enjoy a pantry stocked with homemade goodness year-round.
")